In this tutorial, we will learn about how to enable ssh password authentication in Linux using 8 easy steps. SSH authentication is considered as one of the most important aspect of system security as it provides the user access to the system. After installing SSH in the system, it becomes quite important to set the authentication method in order to protect the system from any attacks or direct access.
SSH Authentication Overview
There are basically two SSH authentication method used to securely access the remote Linux machine. These are:
- Password based SSH authentication
- Key based SSH authentication
In password based SSH authentication, once a secure connection is established with the remote server, user will provide the username and password to the server for client verification. In key based SSH authentication, after establishing a secure connection with server, user provides the key pair which will be used for client authentication.
Comparing two methods for SSH authentication, PKI based authentication is always prefer over password based authentication even though many organizations and users uses the SSH based method. Most common reason behind this is the evolving attacks tactics which are used to get the access to the system. Poor password, weak password often leads to attack and hence keeps the system at risk.
![How to Enable SSH Password Authentication in Linux [8 Easy Steps]](https://www.linuxnasa.com/wp-content/uploads/2023/04/ssh-password-1.jpg)
How to Enable SSH Password Authentication in Linux [8 Easy Steps]
Also read: 10+ Useful Linux Command
Please make sure prerequisites are met before starting with the steps given below to enable the SSH login.
Prerequisites
- An existing Linux machine
- A SSH client to connect to host
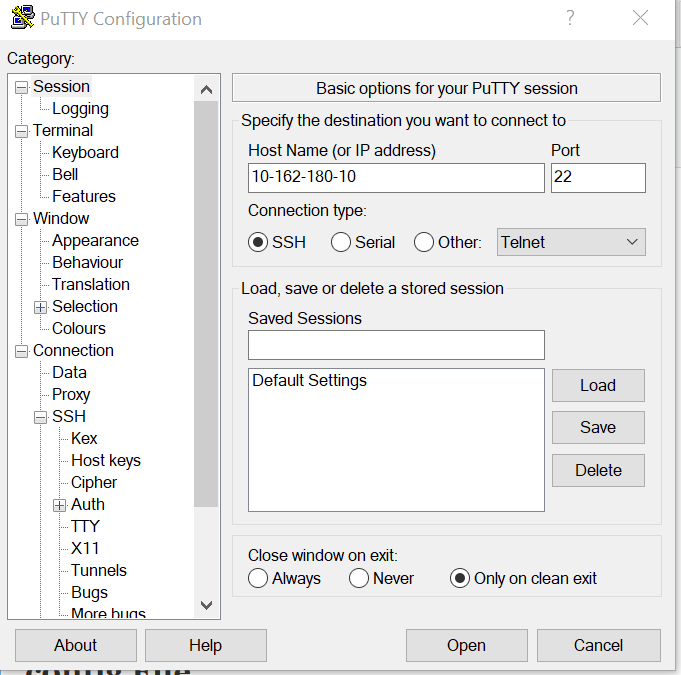
Step-1: Connect to EC2 instance
In this step, connect to your EC2 instance using any SSH client as shown below. Currently, only key based ssh authentication is enabled for the connectivity to EC2 instance. Provide the host ip and browse the private key in your local machine by selecting SSH -> Auth -> Browse option as shown below.
Step-2: Check OS version
In this step, check which Linux OS distribution is installed in your machine using below command.
[ec2-user@ip-10-162-180-10 ~]$ cat /etc/os-release
NAME="Amazon Linux"
VERSION="2023"
ID="amzn"
ID_LIKE="fedora"
VERSION_ID="2023"
PLATFORM_ID="platform:al2023"
PRETTY_NAME="Amazon Linux 2023"
ANSI_COLOR="0;33"
CPE_NAME="cpe:2.3:o:amazon:amazon_linux:2023"
HOME_URL="https://aws.amazon.com/linux/"
BUG_REPORT_URL="https://github.com/amazonlinux/amazon-linux-2023"
SUPPORT_END="2028-03-01"
Step-3: Switch to root user
In this step, switch to root user using below command as we will modify the system owned file to enable the password based ssh authentication.
[ec2-user@ip-10-162-180-10 ~]$ sudo su
[root@ip-10-162-180-10 ec2-user]#
Step-4: Locate sshd_config File
In this step, locate the sshd_config file and take a backup of this file before editing it. This will help to restore the working file later in case any wrong configuration is done. Open the file with any editor as shown below.
[root@ip-10-162-180-10 ec2-user]# vi /etc/ssh/sshd_config
Step-5: Enable SSH login
In this step, search for parameter PasswordAuthentication in the sshd_config file and change the value to Yes as shown below. Save the file and exit using :wq! .
PasswordAuthentication Yes
Step-6: Set password
In this step, set the password for user (ec2-user in this case) which will be used to login to the machine. Use below command to set the password.
[root@ip-10-162-180-10 ec2-user]# passwd ec2-user
Changing password for user ec2-user.
New password:
Retype new password:
passwd: all authentication tokens updated successfully.
Step-7: Restart sshd service
In this step, restart the sshd service so that system reads and apply the changes done in sshd_config file.
First check the status of sshd service using below command.
[root@ip-10-162-180-10 ec2-user]# systemctl status sshd
● sshd.service - OpenSSH server daemon
Loaded: loaded (/usr/lib/systemd/system/sshd.service; enabled; preset: ena>
Active: active (running) since Tue 2023-04-04 05:13:54 UTC; 4h 54min ago
Docs: man:sshd(8)
man:sshd_config(5)
Main PID: 1982 (sshd)
Tasks: 1 (limit: 1112)
Memory: 7.1M
CPU: 305ms
CGroup: /system.slice/sshd.service
└─1982 "sshd: /usr/sbin/sshd -D [listener] 0 of 10-100 startups"
Next, restart the sshd service using below command.
[root@ip-10-162-180-10 ec2-user]# systemctl restart sshd
NOTE:
If your system is using supervisor instead of systemd, then use supervisorctl status sshd to check the status of sshd service and supervisorctl restart sshd to restart the sshd service. Read more about supervisor or systemd services to understand which one to use in your environment.
To know which service system is using use which command as shown below
[root@ip-10-162-180-10 ec2-user]# which systemctl
/usr/bin/systemctl


[root@ip-10-162-180-10 ec2-user]# which supervisorctl
/usr/bin/which: no supervisorctl in (/root/.local/bin:/root/bin:/usr/local/sbin:/usr/local/bin:/usr/sbin:/usr/bin:/sbin:/bin:/var/lib/snapd/snap/bin)
Step-8: Verify SSH based login
In this step, start a new session to your EC2 instance. Provide the user name and password which we configured in previous step to connect to the machine as shown below.
login as: ec2-user
ec2-user@10-162-180-10's password:
Register this system with Red Hat Insights: insights-client --register
Create an account or view all your systems at https://red.ht/insights-dashboard
Last login: Tue Apr 4 10:45:36 2023 from 10.137.229.28
Conclusion
In this tutorial, we learnt about how to enable password based ssh authentication in Linux machine. To understand the SSH protocol in depth, explore what are key pairs , how to generate them and how keys are used between two machines to build up a connection.