What is Elastic Network Interface
In this tutorial, we will read about how to create Elastic network interface in EKS using 9 steps. Let’s first understand what is Elastic Network interface.
An ENI (Elastic Network interface) is a virtual network interface that can be attached to an EC2 instance to provide additional network functionalities. Through network interface, an EC2 instance can be connected to one or more subnets in VPC. A user can attach one or more network interfaces to an EC2 instance which allows the instance to communicate on separate subnets. This helps the user to create a more complex network topology which helps to separate different workloads running on the same instance.
![How to Create Elastic Network Interface in EKS [ 9 Steps]](https://www.linuxnasa.com/wp-content/uploads/2023/08/eni.jpg)
How to Create Elastic Network Interface in EKS [ 9 Steps]
Also read: How to Connect to EKS Worker Nodes [5 Steps]
Prerequisites
- An existing VPC
- An existing subnet
- An existing EKS cluster
- An existing Security group
- A Node group attached to the EKS cluster
Note: Make sure subnet attached to the Network interface must be in the same availability zone as EC2 instances (Worker nodes)
Create a subnet which must be in same availability zone as worker node. First connect to your EKS cluster and list down the worker node. check the availability zone of the worker node where you want to attach the network interface. Next, create the subnet in same availability zone. Later we will attach this subnet when creating a new interface.
Create an ENI(Elastic Network Interface)
Step-1: Search EC2 Service
In this step, go to EC2 console and click on Network Interfaces from the left panel as shown below.
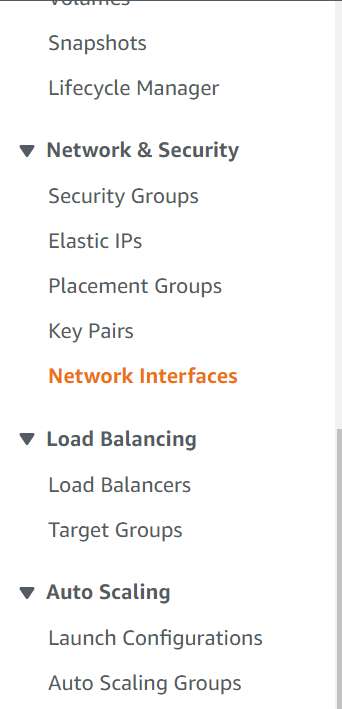
Next, click on Create network interface

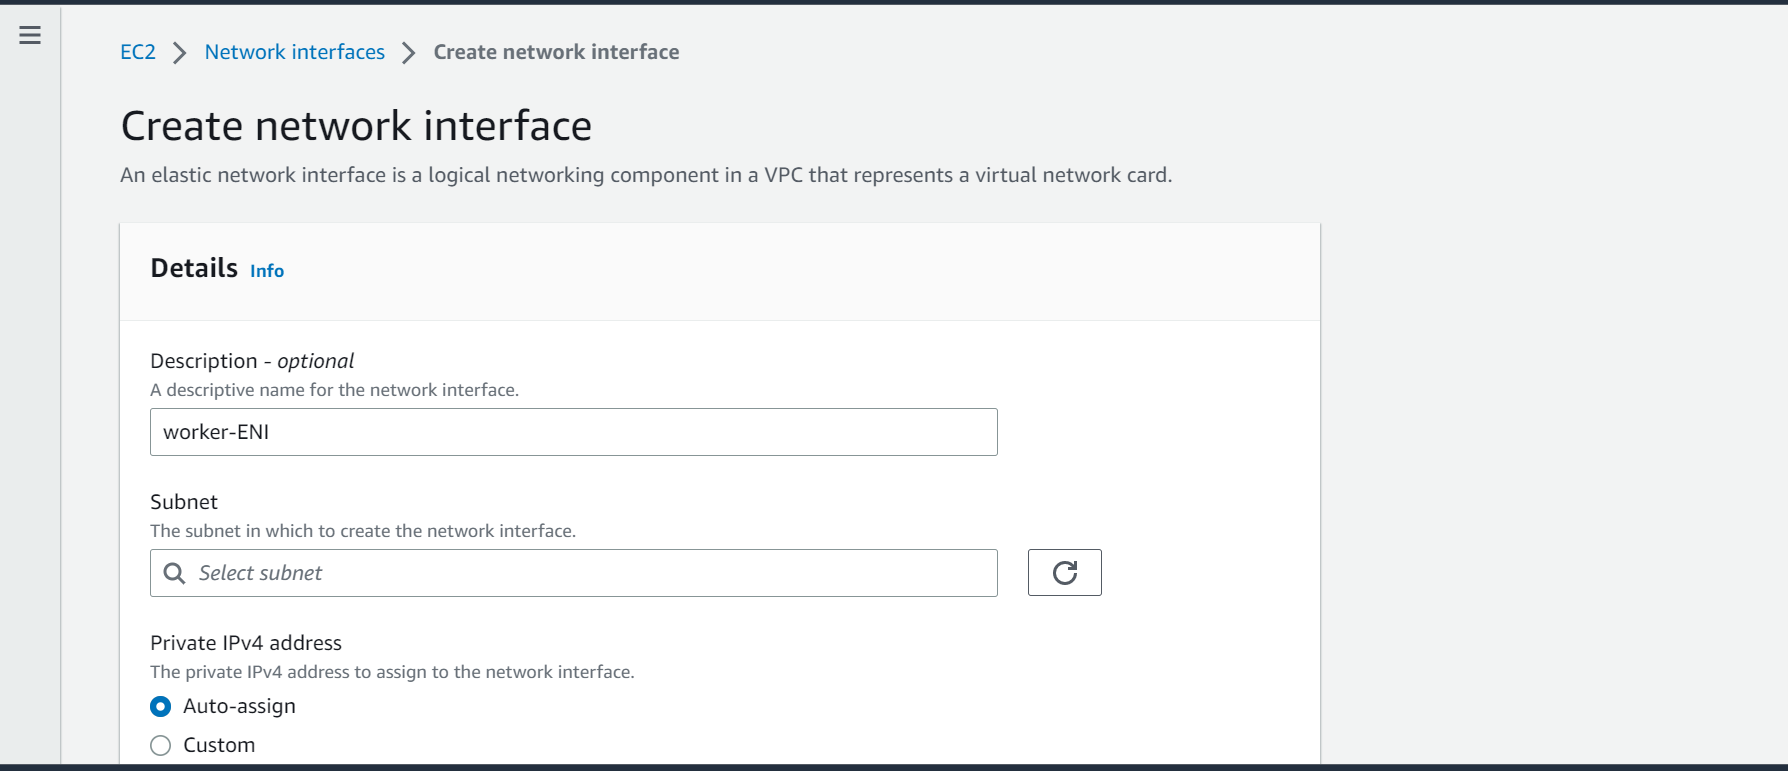
Step-2: Configure ENI
In this step, add the description for new network interface and the select the subnet in which network interface will be created.
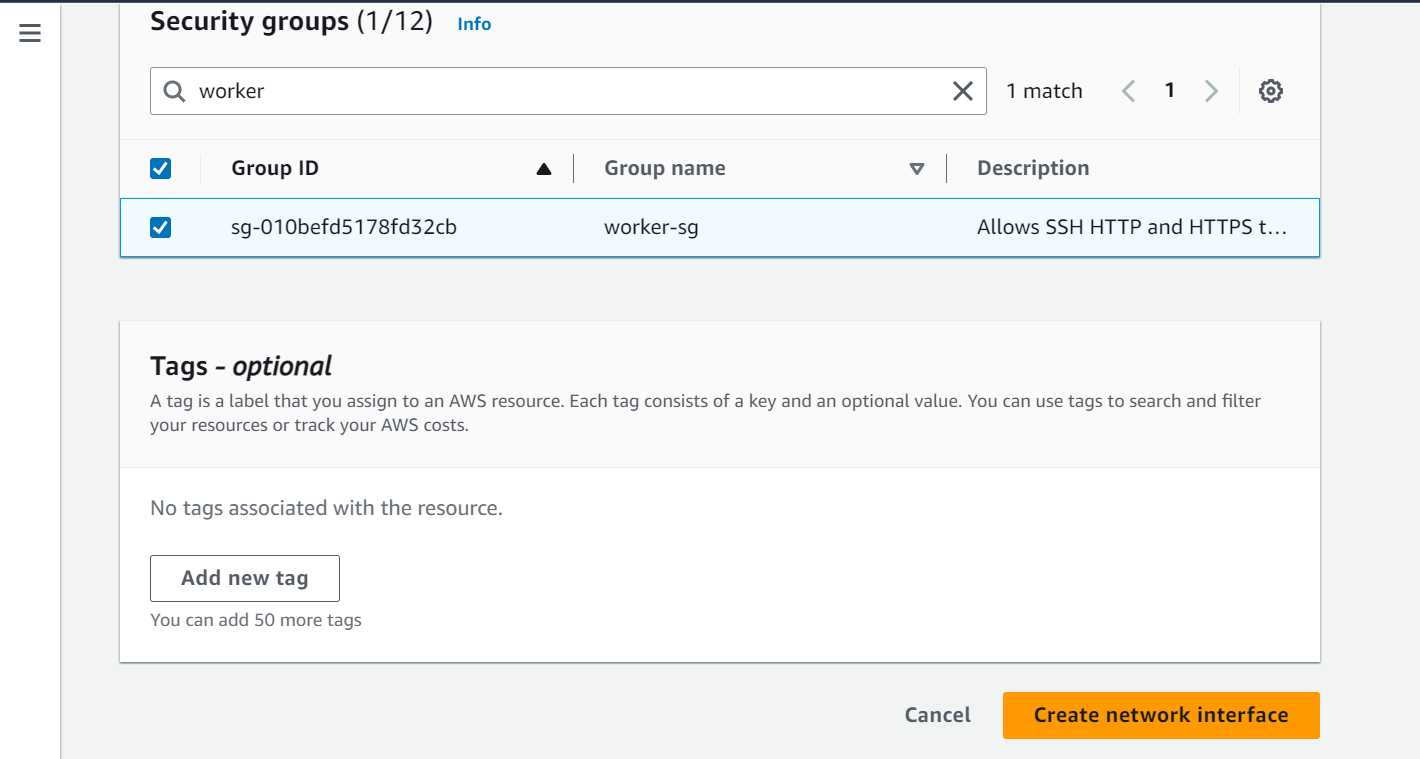
Step-3: Select Security group
In this step, select the security group which will be applied to the new network interface. If you have not created the security group already, you can refer to How to Create Security group in AWS [7 Steps ] to create one. Next, click on Create network interface.
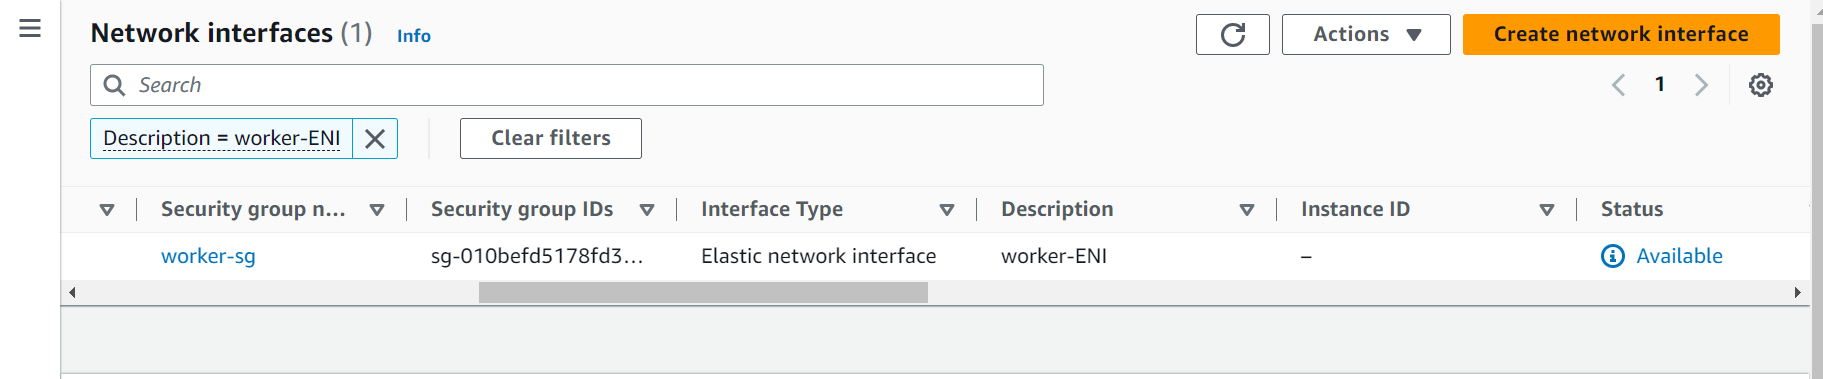
Step-4:Verify Created Network Interface.
In this step, if you see the green pop up on the top that means you have successfully created the network interface.

Next, search the created ENI with description name which was assigned during creation.
Attach the ENI to the Worker Node
Step-5: Check EKS worker nodes
In this step, execute below command to check if worker nodes are created in your cluster. -o wide option will also list down the ip of each worker node.
[linuxnasa@ip-10-156-114-128 ~]$ kubectl get node -o wide
NAME STATUS ROLES AGE VERSION INTERNAL-IP EXTERNAL-IP OS-IMAGE KERNEL-VERSION CONTAINER-RUNTIME
ip-10-156-114-103.ap-south-1.compute.internal Ready <none> 31h v1.22.17-eks-a59e1f0 10-156-114-103 <none> Amazon Linux 2 5.4.238-148.346.amzn2.x86_64 docker://20.10.17
ip-10-156-114-88.ap-south-1.compute.internal Ready <none> 31h v1.22.17-eks-a59e1f0 10-156-114-88 <none> Amazon Linux 2 5.4.238-148.346.amzn2.x86_64 docker://20.10.17
Step-6: Connect to Worker node
In this step, select any one of the worker node where you would like to attach the new network interface and connect to the node using below command.
[linuxnasa@ip-10-156-114-128 ~]$ ssh -i ec2-instance-key.pem linuxnasa@10-156-114-103
Last login: Thu Aug 18 11:47:58 2023 from 10-156-114-128

__| __|_ )
_| ( / Amazon Linux 2 AMI
___|\___|___|

https://aws.amazon.com/amazon-linux-2/
[linuxnasa@ip-10-156-114-103 ~]$
Step-7: Check current network interfaces
In this step, execute ifconfig command within the node. You will see that only one network interface is present i.e eth0 which is expected.
[linuxnasa@ip-10-156-114-103 ~]$ ifconfig
eni59cd51d4f4d: flags=4163<UP,BROADCAST,RUNNING,MULTICAST> mtu 9001
inet6 fe80::98d7:26ff:fe33:8c50 prefixlen 64 scopeid 0x20<link>
ether 9a:d7:26:33:8c:50 txqueuelen 0 (Ethernet)
RX packets 682 bytes 46590 (45.4 KiB)
RX errors 0 dropped 0 overruns 0 frame 0
TX packets 905 bytes 8957958 (8.5 MiB)
TX errors 0 dropped 0 overruns 0 carrier 0 collisions 0

eth0: flags=4163<UP,BROADCAST,RUNNING,MULTICAST> mtu 9001
inet 10-156-114-103 netmask 255.255.255.224 broadcast 10-156-114-95
inet6 fe80::4f:bff:fe9c:7f54 prefixlen 64 scopeid 0x20<link>
ether 02:4f:0b:9c:7f:54 txqueuelen 1000 (Ethernet)
RX packets 2482087 bytes 1329151343 (1.2 GiB)
RX errors 0 dropped 0 overruns 0 frame 0
TX packets 2043684 bytes 314025082 (299.4 MiB)
TX errors 0 dropped 0 overruns 0 carrier 0 collisions 0

lo: flags=73<UP,LOOPBACK,RUNNING> mtu 65536
inet 127.0.0.1 netmask 255.0.0.0
inet6 ::1 prefixlen 128 scopeid 0x10<host>
loop txqueuelen 1000 (Local Loopback)
RX packets 536711 bytes 36541567 (34.8 MiB)
RX errors 0 dropped 0 overruns 0 frame 0
TX packets 536711 bytes 36541567 (34.8 MiB)
TX errors 0 dropped 0 overruns 0 carrier 0 collisions 0
Step-8: Attach Network Interface
In this step, intall AWS CLI package on the worker node using package manager. Once done, execute below command to attach the network interface to this current worker node.
Command Syntax:
aws ec2 attach-network-interface –network-interface-id <eni-id> –instance-id <instance-id> –device-index <device-index>
[linuxnasa@ip-10-156-114-103 ~]$ aws ec2 attach-network-interface --network-interface-id eni-0ce43c89780f45c38 --instance-id i-0e74b6d2198c1b135 --device-index 1
{
"AttachmentId": "eni-attach-0a4bcc586ee4a2606"
}
NOTE:
Make sure your EC2 instance and Network Interface are in same availability zone . Else you will get below error while attaching the interface.
An error occurred (InvalidParameterCombination) when calling the AttachNetworkInterface operation: You may not attach a network interface to an instance if they are not in the same availability zone.
Step-9: Verify new Network Interface
In this step, again execute the ifconfig command within the node. You will find a new network interface eth1 is added.
[linuxnasa@10-156-114-103 ~]$ ifconfig
eni59cd51d4f4d: flags=4163<UP,BROADCAST,RUNNING,MULTICAST> mtu 9001
inet6 fe80::98d7:26ff:fe33:8c50 prefixlen 64 scopeid 0x20<link>
ether 9a:d7:26:33:8c:50 txqueuelen 0 (Ethernet)
RX packets 682 bytes 46590 (45.4 KiB)
RX errors 0 dropped 0 overruns 0 frame 0
TX packets 905 bytes 8957958 (8.5 MiB)
TX errors 0 dropped 0 overruns 0 carrier 0 collisions 0

eth0: flags=4163<UP,BROADCAST,RUNNING,MULTICAST> mtu 9001
inet 10-156-114-103 netmask 255.255.255.224 broadcast 10.176.128.95
inet6 fe80::4f:bff:fe9c:7f54 prefixlen 64 scopeid 0x20<link>
ether 02:4f:0b:9c:7f:54 txqueuelen 1000 (Ethernet)
RX packets 2485045 bytes 1329933831 (1.2 GiB)
RX errors 0 dropped 0 overruns 0 frame 0
TX packets 2046741 bytes 314493385 (299.9 MiB)
TX errors 0 dropped 0 overruns 0 carrier 0 collisions 0

eth1: flags=4163<UP,BROADCAST,RUNNING,MULTICAST> mtu 9001
inet 10.255.16.32 netmask 255.255.255.192 broadcast 10.255.16.63
inet6 fe80::f6:94ff:fe50:9602 prefixlen 64 scopeid 0x20<link>
ether 02:f6:94:50:96:02 txqueuelen 1000 (Ethernet)
RX packets 0 bytes 0 (0.0 B)
RX errors 0 dropped 0 overruns 0 frame 0
TX packets 8 bytes 640 (640.0 B)
TX errors 0 dropped 0 overruns 0 carrier 0 collisions 0

lo: flags=73<UP,LOOPBACK,RUNNING> mtu 65536
inet 127.0.0.1 netmask 255.0.0.0
inet6 ::1 prefixlen 128 scopeid 0x10<host>
loop txqueuelen 1000 (Local Loopback)
RX packets 537336 bytes 36585167 (34.8 MiB)
RX errors 0 dropped 0 overruns 0 frame 0
TX packets 537336 bytes 36585167 (34.8 MiB)
TX errors 0 dropped 0 overruns 0 carrier 0 collisions 0
Conclusion
That’s it! You have successfully created a network interface on an EKS worker node. You can now use the ENI to connect to resources in your VPC or to expose your worker nodes to the internet.