
![How to Install Docker on Windows [Step by Step Guide]](https://www.linuxnasa.com/wp-content/uploads/2023/12/install-docker-windows-300x169.jpg)
In this tutorial, we will learn about how to install Docker on Windows system. In today’s era Docker has become an integral part of modern development. It provides a platform for building, shipping and running applications is containers. As a Windows user, one can leverage the power of Docker by installing and configuring the Docker desktop. We will learn about two different methods to install the Docker desktop on Windows. So, let us begin the tutorial.
How to Install Docker on Windows [Step by Step Guide]
Also Read: How to setup Windows Subsystem for Linux [WSL] in Windows
There are two different ways available to install the Docker Desktop on Windows as mentioned below. We will look at both the installation technique one by one in the next section. Before you start following the installation process, please make sure all the given prerequisites are met so make the installation process smooth and avoid any possible error.
- Install from GUI.
- Install from Command line.
Prerequisite
- Hyper-V Windows feature is enabled.
- 4 GB system RAM required
- Basic Widows operating system understanding is required.
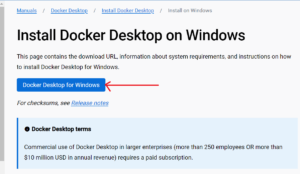
So now we have the basic understanding of Docker desktop. Next thing we have to do is to download the Docker desktop installer.exe file from Docker’s official website. Open the website docker.com and click on the link Docker Desktop for Windows to download the installer.exe file.
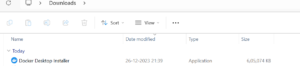
Once the .exe installer is download, it will be saved in your system under the Download folder as shown below.
Downloading the Docker installer is a must in order to do the installation. Now that we have download the installer, we are good to go ahead and start the installation procedure. You can use either of the two approach given below to install the Docker desktop. Let us look at them one by one
Method-1: Install from GUI
This is user friendly GUI based approach to install the Docker desktop on Windows. In your system, switch to the path where Docker desktop installer.exe is placed. Double click on the .exe file to begin the installation procedure. Keep following the installation wizard until the installation is completed.
Method-2: Install from Command Line
This is CLI based method where we will use command to install the Docker desktop on Windows. Follow below steps in the sequential order.
Step-1: Switch to Docker Desktop Installer.exe Path
In this step, open the Windows command prompt (cmd) and switch to the directory where Docker Desktop installer.exe is installed as shown below. List the directories in the current folder using the command dir.
C:\Users\linuxnasa.com\Downloads>dir

Directory of C:\Users\linuxnasa.com\Downloads

26-12-2023 22:29 <DIR> .
01-10-2023 20:27 <DIR> ..
26-12-2023 21:39 619,595,368 Docker Desktop Installer.exe
NOTE:
Step-2: Install Docker Desktop
In this step, execute below command to install the Docker Desktop using installer.exe file as shown below.
C:\Users\linuxnasa.com\Downloads>"Docker Desktop Installer.exe" install
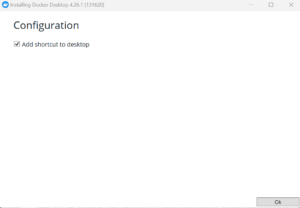
Next, after executing above command, a pop up will appear. Click on Ok button to proceed with the installation process as shown below.
Step-3: Restart the System
In this step, once the installation completes, a pop up will appear which will ask you to restart the system. Click on Close and restart button as shown below. It will restart the system.

Step-4: Accept the license
In this step, after the system restarts, a pop up will appear which will ask you to accept he license. Click on Accept button to accept the license and move to the next step as shown below.

Step-5: Sign-up to Docker Desktop
In this step, in order to use the Docker desktop, click on Sign up button to create a new user account as shown below.

Next, it will redirect you to the sign-up page. Provide all the details and click on Sign up button to create a new user account.

Step-6: Verify Docker Desktop Installation
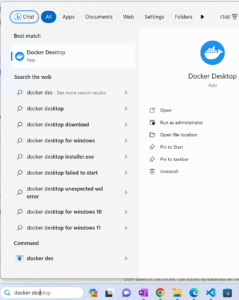
In this step, to verify the Docker desktop installation, search for keyword “Docker desktop” in the Windows search bar and open the application as shown below.
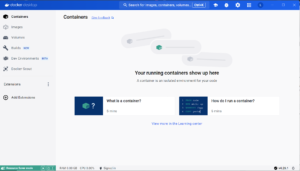
After opening the app, if you see the below screen, it means Docker desktop is installed successfully and ready to use.
Alternatively, you can also verify the Docker desktop installation via Windows cmd. To do so, open cmd and execute below command to find out the installed Docker desktop version. If the output returns the installed Docker desktop version, it means it is installed successfully as shown below.
C:\Users\linuxnasa.com>docker --version
Docker version 24.0.7, build afdd53b
You can also list the running docker process using below command. Since there are no containers created currently, the output returned will be empty as shown below.
C:\Users\linuxnasa.com>docker ps
CONTAINER ID IMAGE COMMAND CREATED STATUS PORTS NAMES
Summary
We have successfully installed the Docker desktop in Windows using one of the method given in this tutorial. We also verified the Docker desktop installation using Windows cmd as well as using Docker desktop GUI. You are now all set to create your first Docker container and explore all the corner of Docker in Windows.