Overview
In this tutorial, I will share with you how to install Go extension in VS code Using 9 easy steps. Go is also known as golang and is a programming language like C, C++ and Java. It is open source and compiled programming language which was build and launched by google in the year 2007. It supports multiple programming challenges which may or may not be supported by other programming languages. For example Concurrency and Parallelism. Go uses goroutines which makes it easier for developers to write concurrent code without dealing with the complexity of traditional thread. Similarly, go also supports use cases like efficiency and performance, simplicity and readability, garbage collection, stability and many more.
![]()
How To Install Go Extension in VS Code : [9 Easy Steps]
There are many IDEs available which can be used to write and compile the go code applications. Few of the IDEs are GoLand, VS Code, Zeus, GoSublim etc. In this tutorial, we will see how to install go package in VS Code in order to write go applications and compile in VS Code.
Also read: How to Install ChatGPT in VS Code
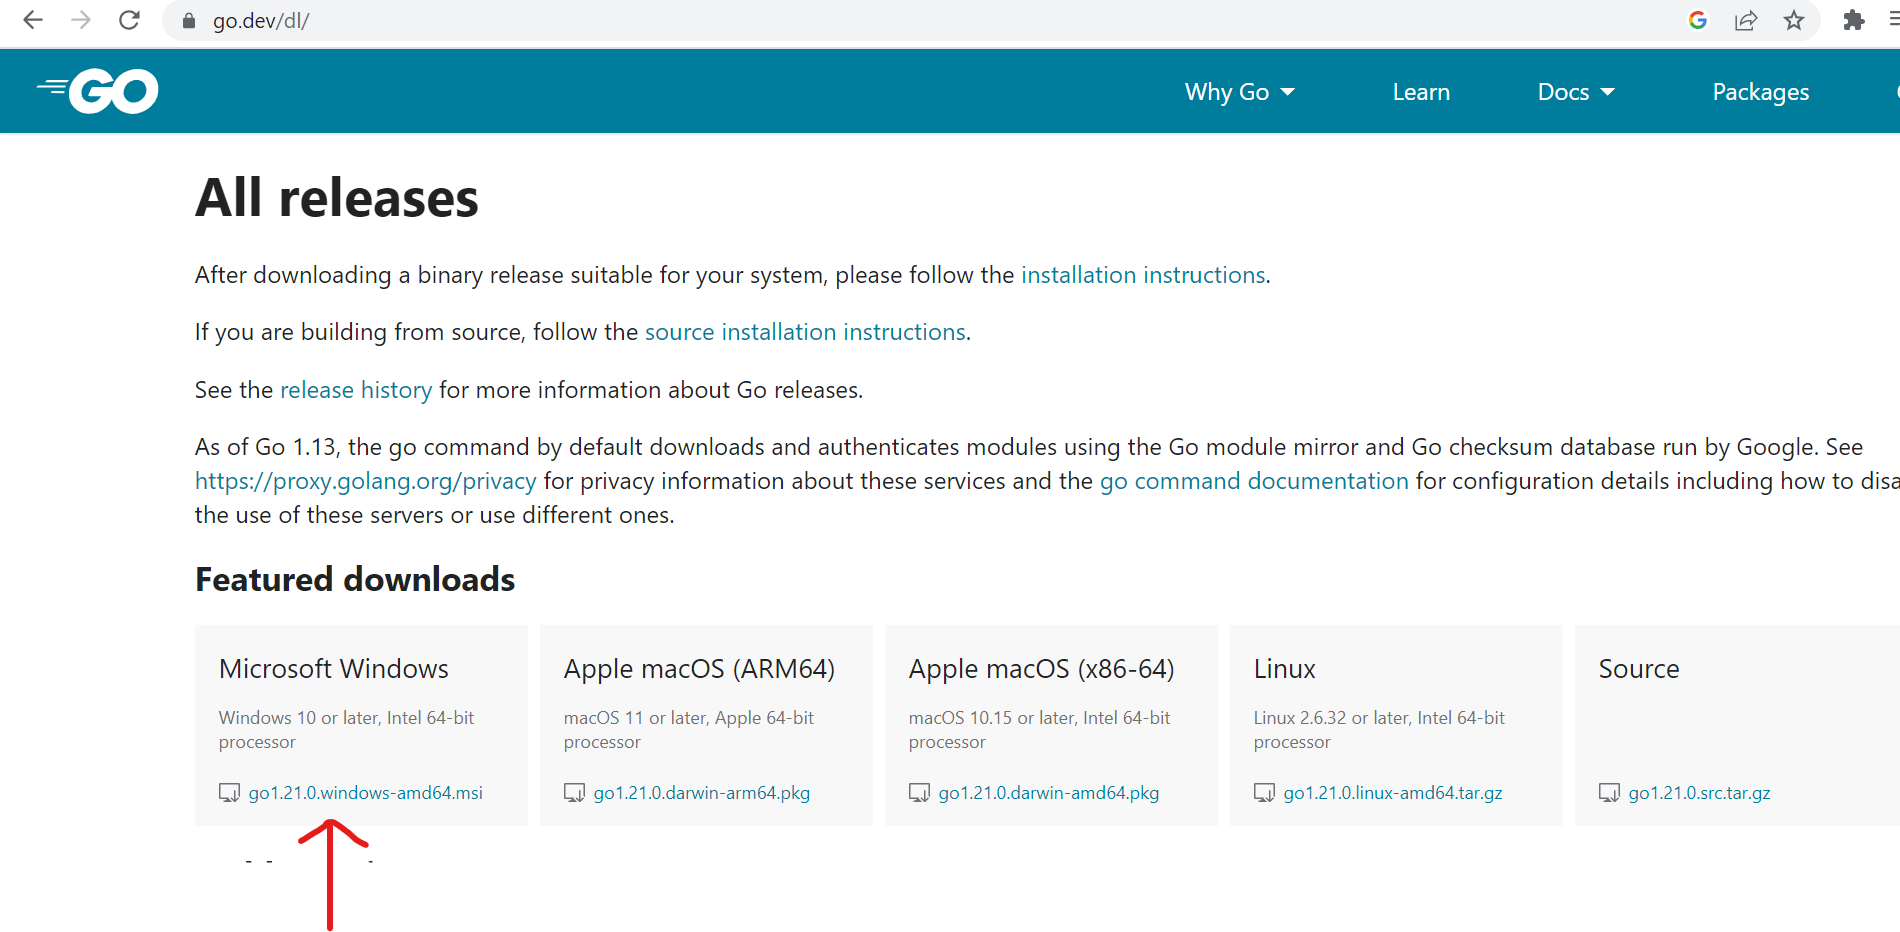
Step1 – Download Go package
In this step, install the go package from Go official website. Click on the link and depending on which operating system your local machine is using, select corresponding download link. I am using Windows operating system so I will download the Windows supported go binary as shown below.
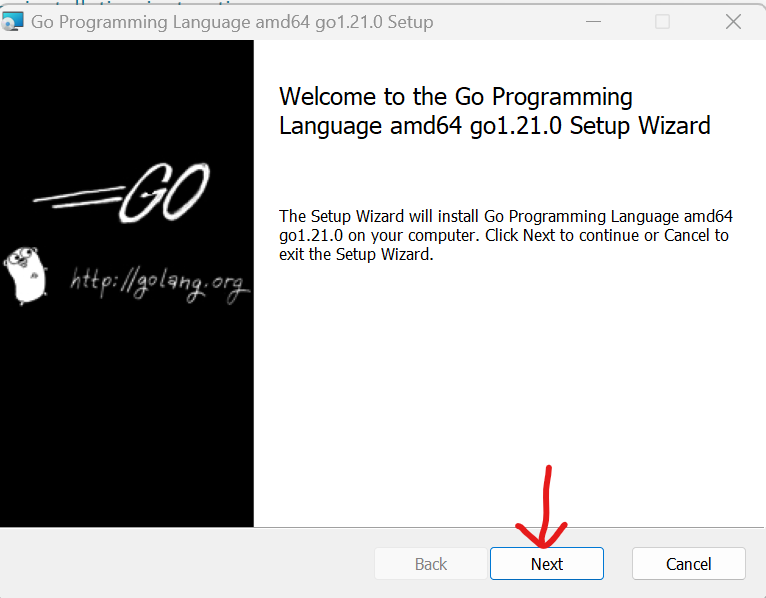
Step2 – Open Downloaded Go Binary
In this step, open the downloaded go .msi file from the download folder in your machine and click on this file. Once you click on the file, below pop up will appear, Click on next.
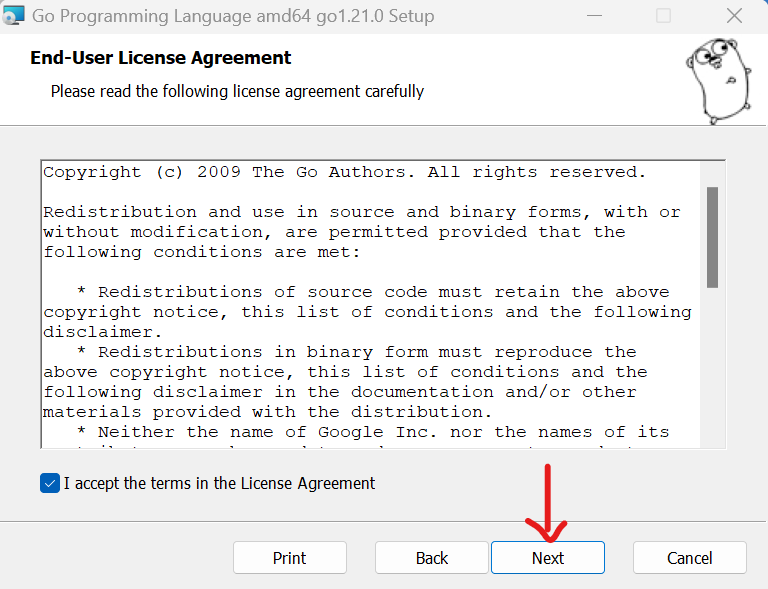
Step3 – Select go amd64 Destination Path
In this step, accept the license and click on next as shown below. After accepting the license, you can either change the destination path where go amd64 file will be installed or you can go ahead with the default destination path. I have left the destination path unchanged.
Accept License and click on Next button.
Select destination path and click on Next button.

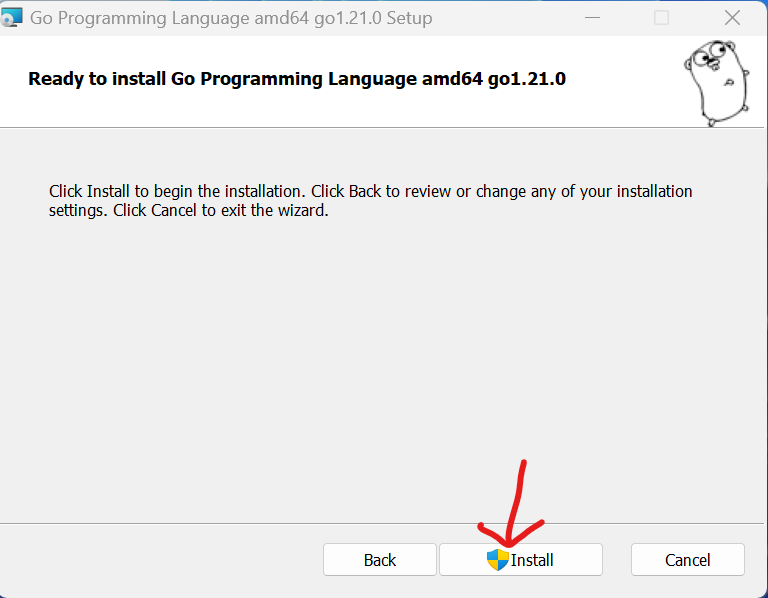
Step4 – Install Go package
In this step, click on Install button to install the go package in your local machine as shown below.
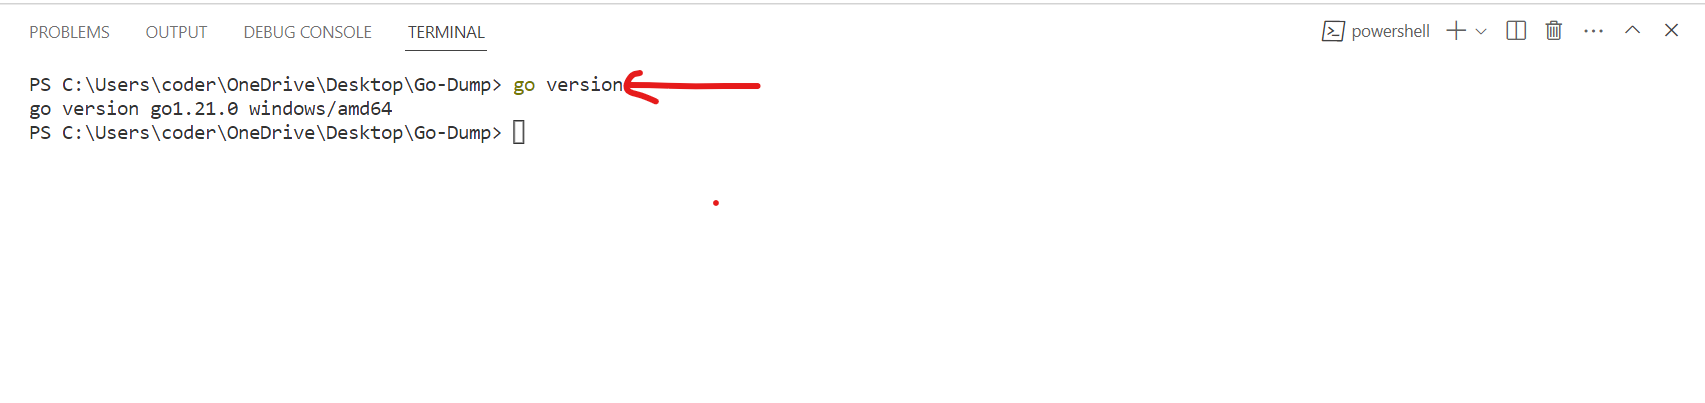
Step5 – Check go Version
In this step open VS code in your machine, go to the VS Code terminal and type below command to check the installed go version in your machine. As you see, go1.21.0 version has been installed in my machine.
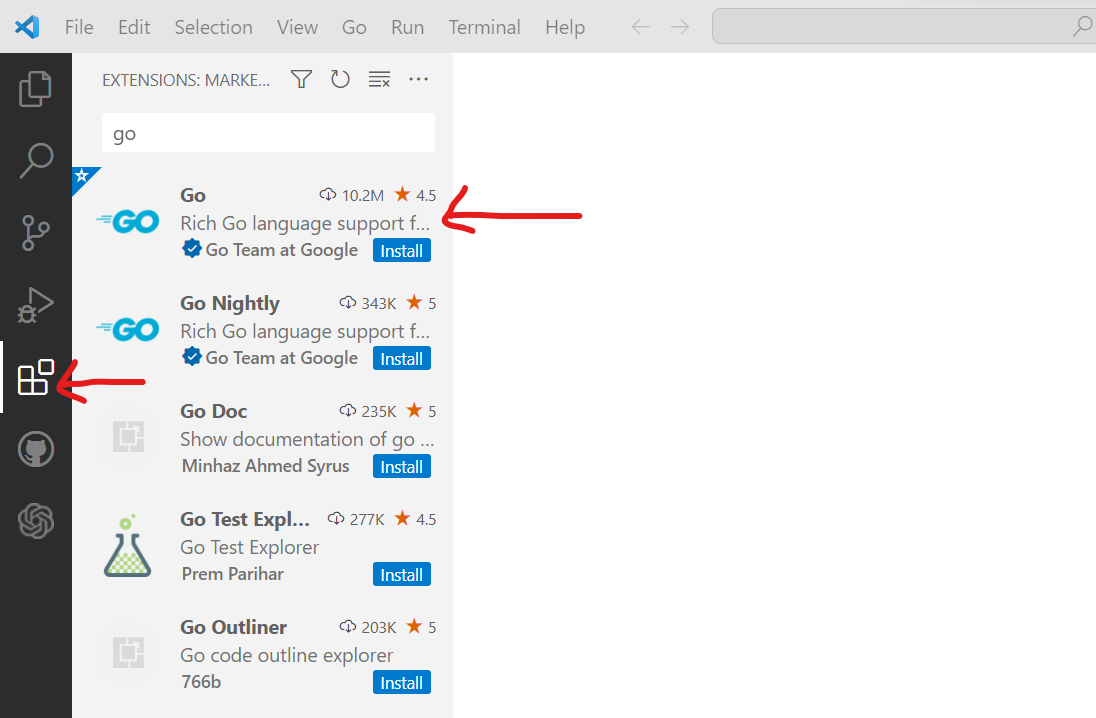
Step-6 – Install the go extension in VS Code
In this step, we will install the go extension. Click on the extensions icon first and then search keyword go in the search bar. Next, click on Install button as shown in below.
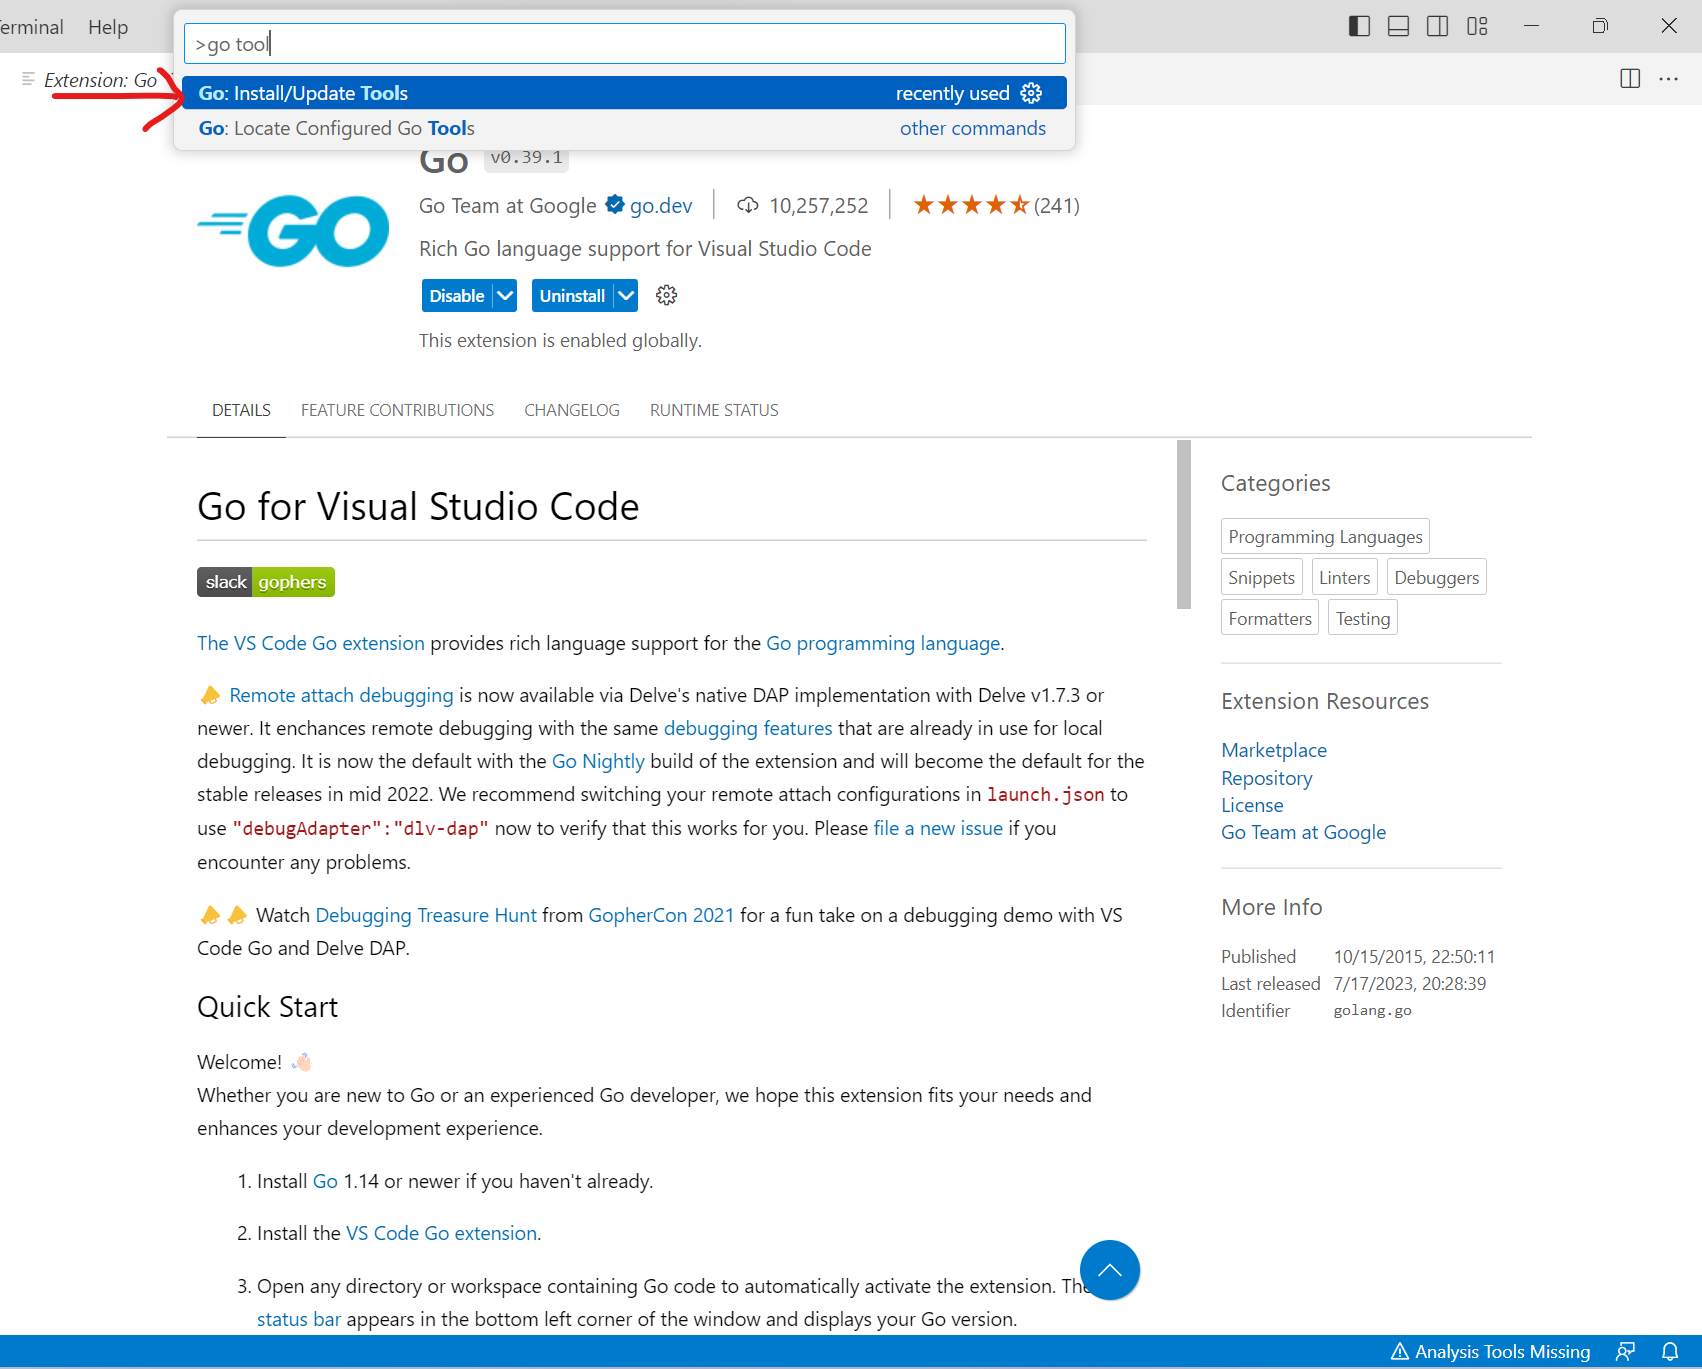
Step7 – Activate the go extension
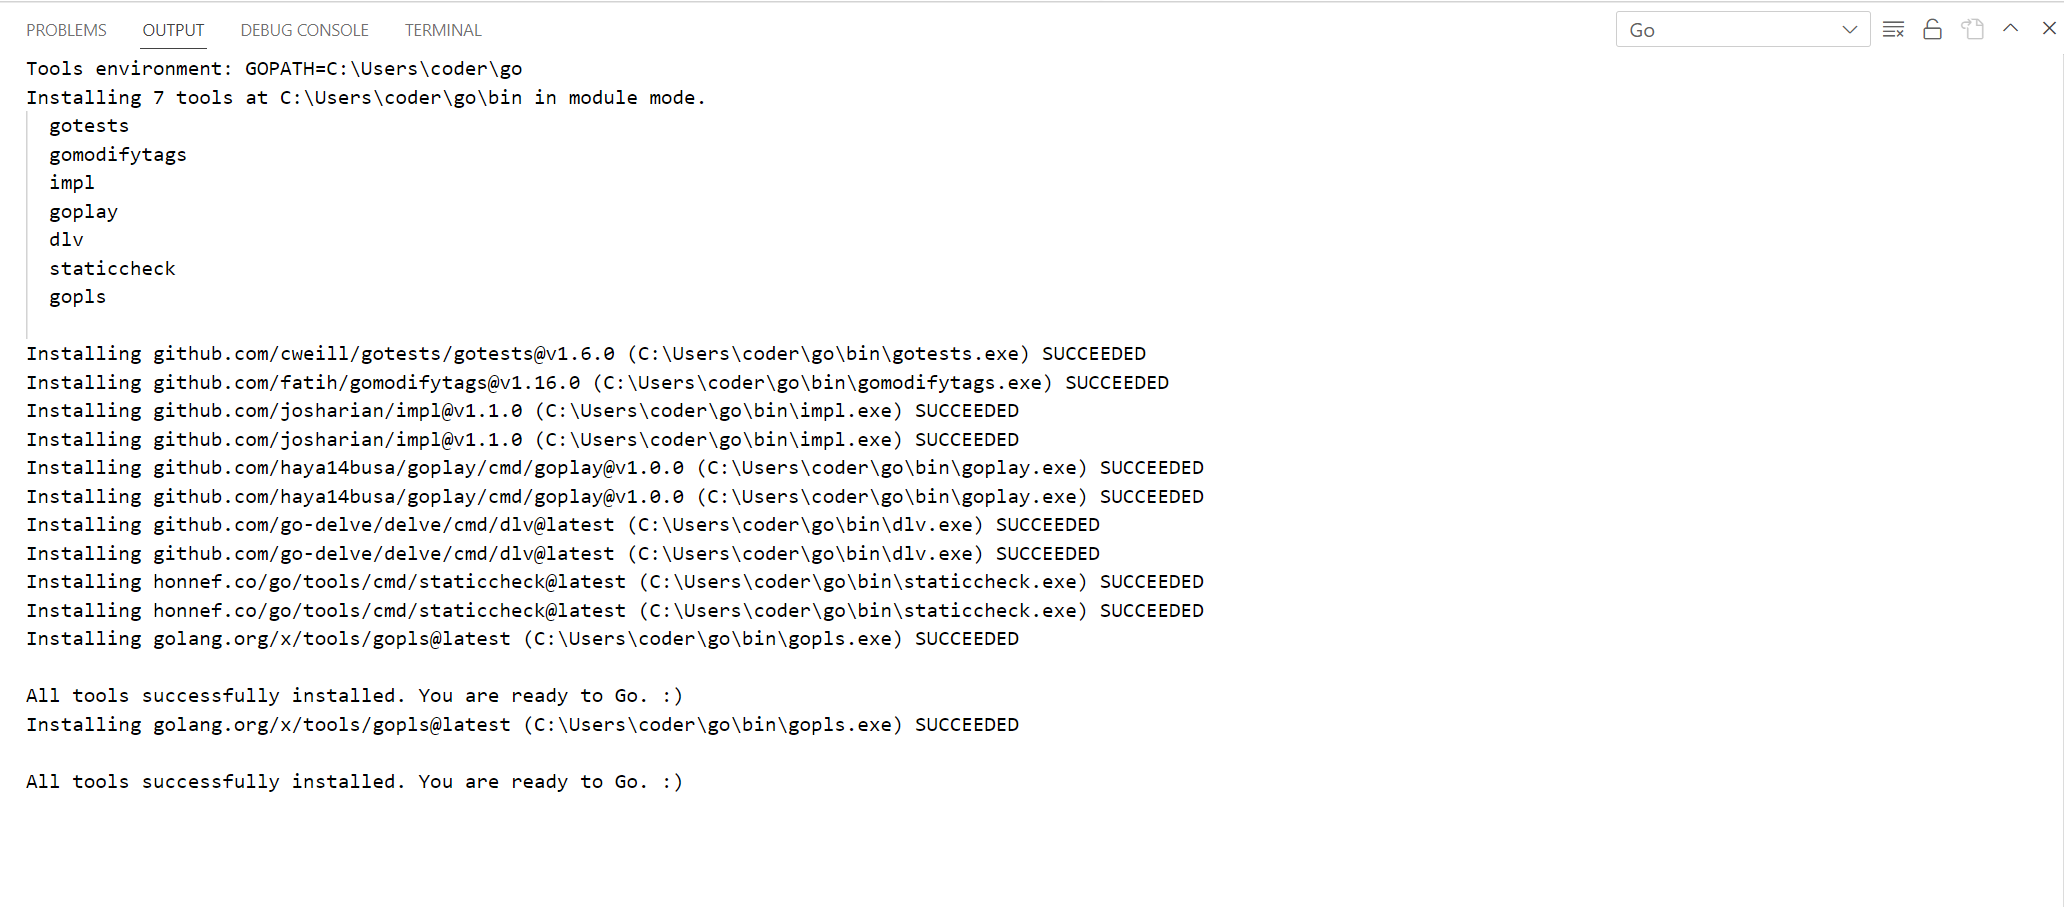
In this step, we will install some command line tools which are prerequisite for go extension to work. These CLI tools must be installed separately. Use Ctrl+Shift+P to open the command palette and type go tool. Select the first option to Install the required go CLI tools as shown below.
Check all the boxes and click on Ok as shown below to install all the tools.
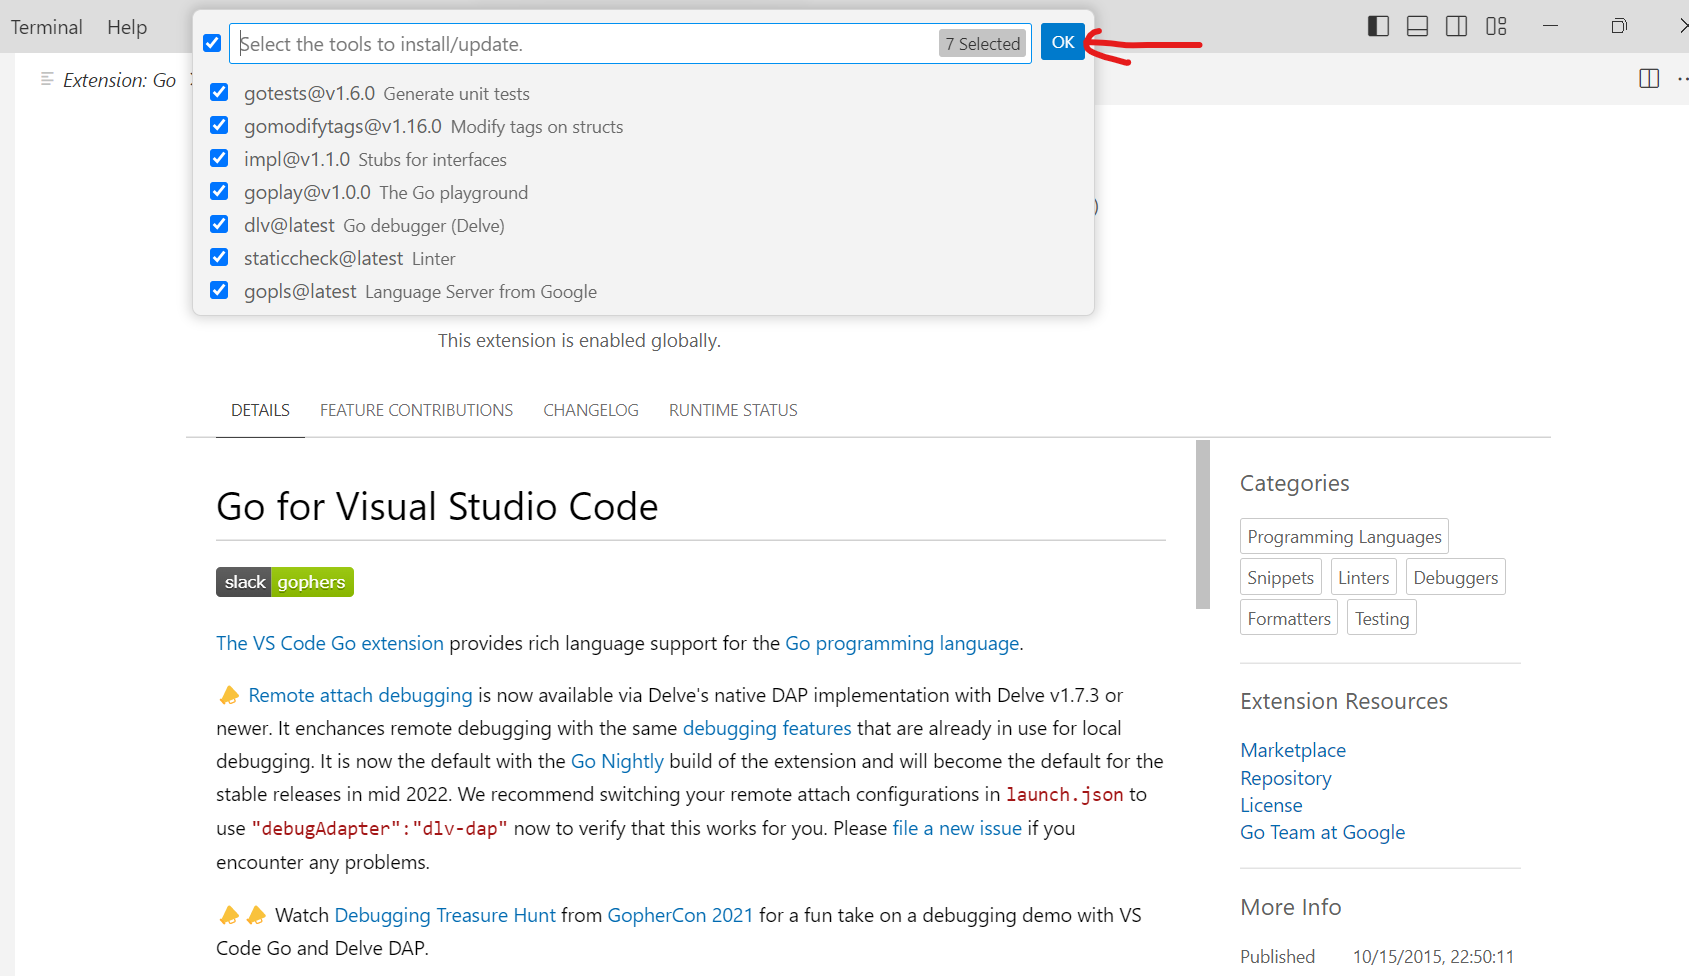
If there are no errors while installing the go CLI tools, it will show below message in the output tab.
Step8 – Create sample go Code
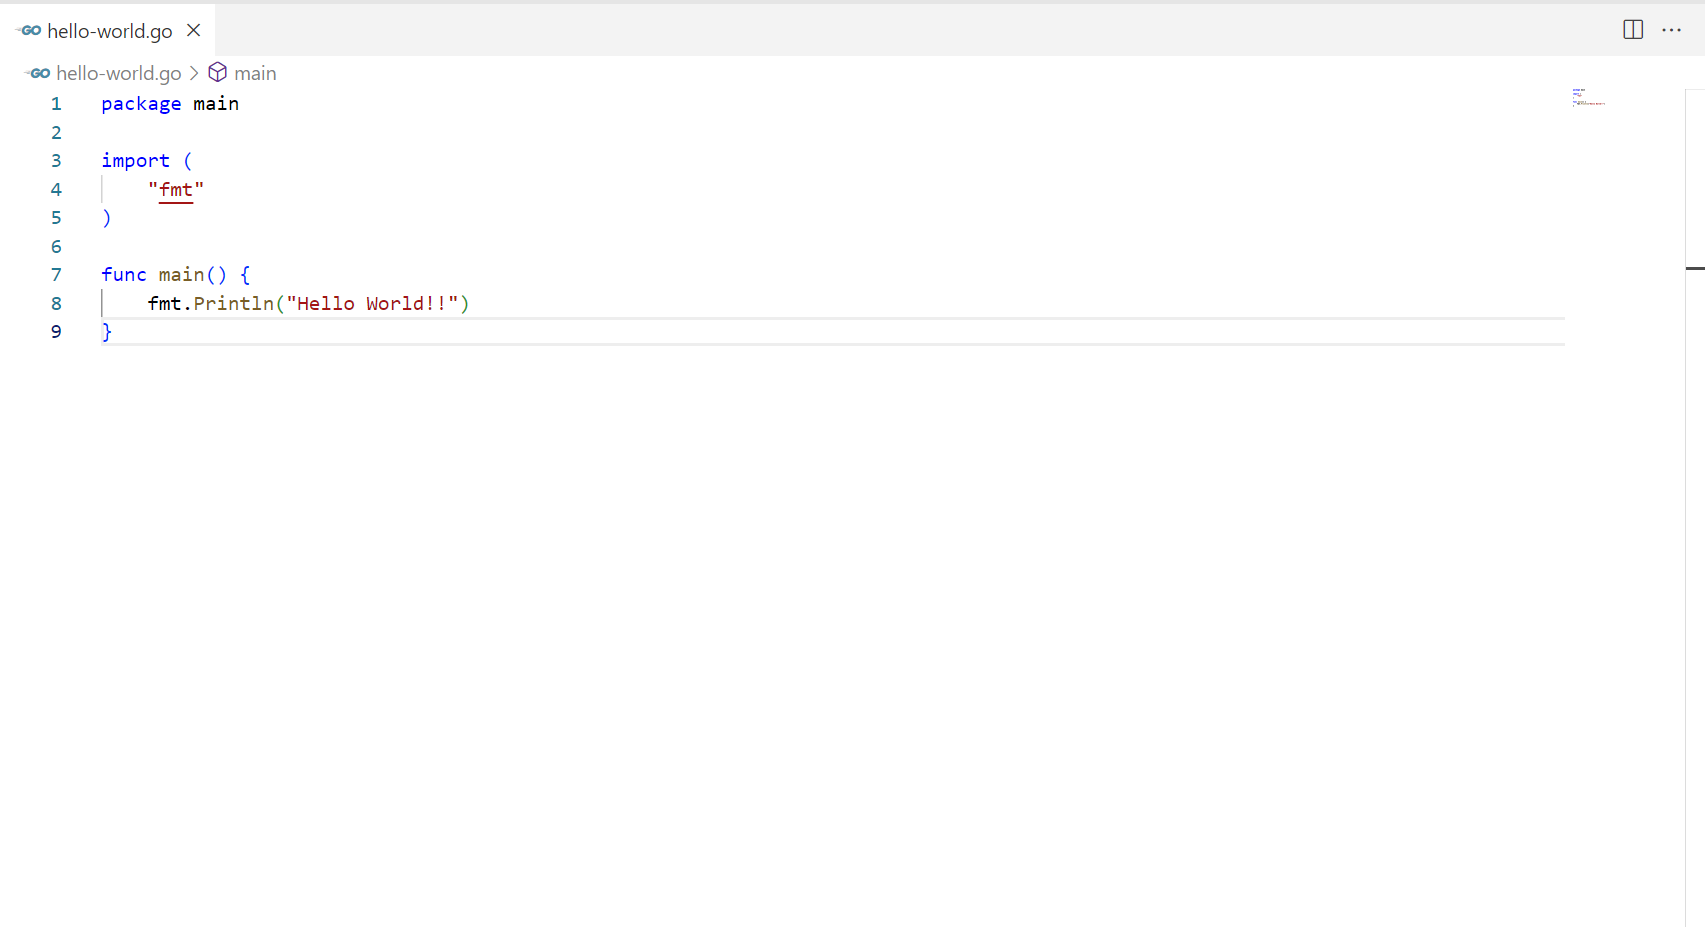
In this step, we will create a sample go code to check if go extension is working. Press Ctrl+N to create a new file. Add go code and save it as hello-world.go as shown below.
Step9 – Run sample go Code
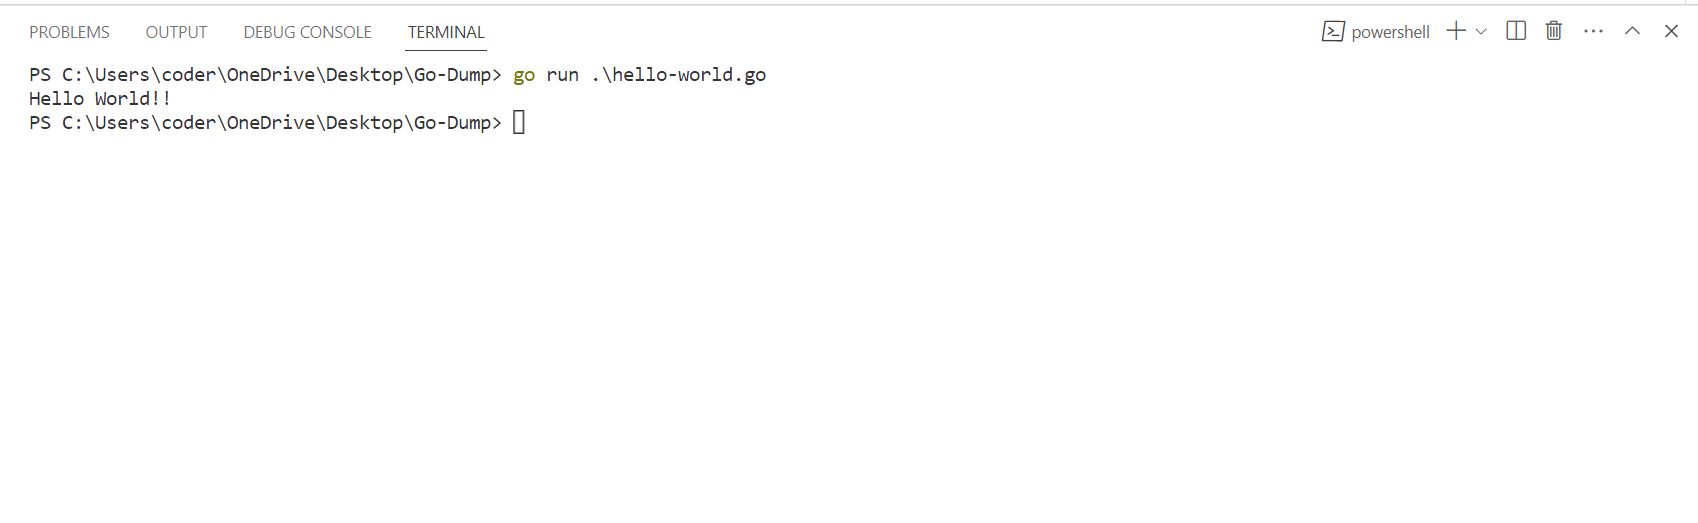
In this step, run the go code using command go run <file-name> as shown below. If you get the output after executing the code then you have successfully installed the go package in VS Code.
Conclusion
In this tutorial, we learnt about how to install go extension in VS Code on Windows operating system. Similarly, you can install the go extension on any other IDEs which supports go programming language. Now that your go setup is up and running, you can practice the go application development and concepts.