![How to Install PostgreSQL on Windows [Step by Step Guide]](https://www.linuxnasa.com/wp-content/uploads/2023/11/install-postgresql-windows.jpg)
In this tutorial, we will learn about how to install PostgreSQL on Windows using step by step guide. PostgreSQL is a SQL database. There are other SQL databases like SQLite and MySQL. PostgreSQL was initially designed for Unix-like Operating Systems. However, it is portable which means it can also be installed on Windows and macOS. We will look at every steps required to be followed to install the PostgreSQL database in Windows operation system.
How to Install PostgreSQL on Windows [Step by Step Guide]
Also Read: How to Install Istio on Windows 10 [4 Easy Steps]
In order to install the PostgreSQL database on Windows machine, we will broadly follow three steps, download the installer, install the PostgreSQL database and verify the installation. Follow the steps given below in a sequential order to install the database successfully.
Prerequisite
- Windows Operating System Installed.
- Access to Internet.
Step-1: Download PostgreSQL Installer
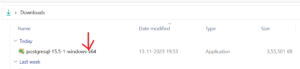
In this step, download the PostgreSQL installer from the official website PostgreSQL Packages and Installer. I have installed 15.5 version but you can install any version based on your requirement.
Step-2: Install the PostgreSQL using Installer
In this step, click on the PostgreSQL installer file saved in your local system to start the installation process as shown below.
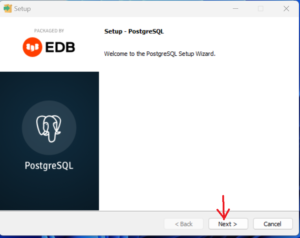
Next, installation wizard will pop up as shown below. click on Next button to proceed towards the installation process.
Step-3: Select Installation Directory
In this step, browse the directory path in your local machine where you want to install the PostgreSQL. The path selection is optional, you can also proceed with the default given path as shown below. I have selected the default path. Once done, Click on Next button.

Step-4: Select PostgreSQL Components
In this step, there are 4 components that by default will get install. You can check each component usage by selecting each component. I have unchecked the Stack Builder as this is not required for this tutorial.

Step-5: Select Data Directory
In this step, select the path in your local system where you want to store all the PostgreSQL database data. I have selected the default path. Once done, Click on Next button.

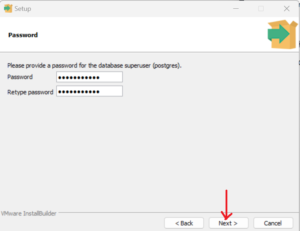
Step-6: Set PostgreSQL Superuser Password
In this step, enter the password for the superuser postgres. Save and remember this password as this will be required later on while connecting to the database.
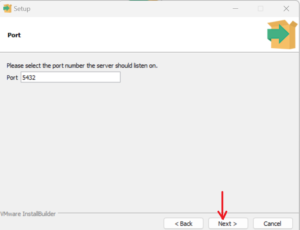
Step-7: Select PostgreSQL Server Port
In this step, select the port where the PostgreSQL server will run. By default it will run on port 5432 as shown below. Once done, click on Next button.
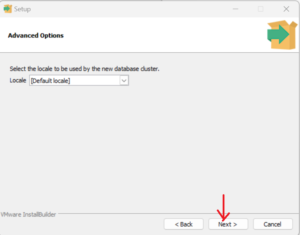
Step-8: Select Locale for Database Cluster
In this step, select the locale used by the PostgreSQL database. I have left it default so that it will use the operating system locale. Once done, click on next button.
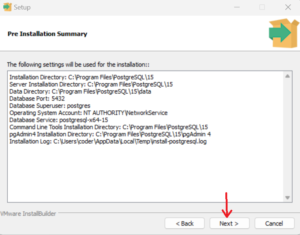
Step-9: Acknowledge Pre Installation Summary
In this step, check the summary of all the configuration that has been selected for the PostgreSQL installation. If you want to change any of the given installation configuration, click on Back button and change it. Once done, click on Next button.
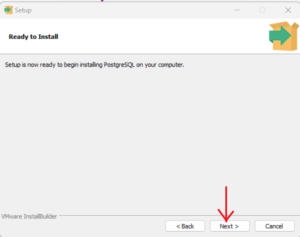
Next, start the installation with all the configuration done by clicking on the Next button.
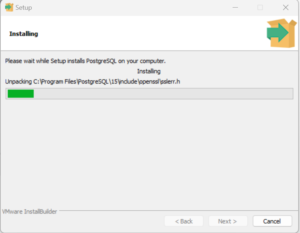
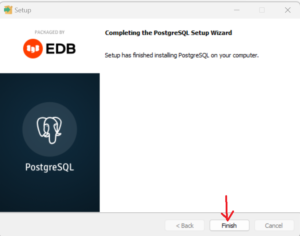
Step-10: Finish the Installation
In this step, the installation will begin and you will see the wizard as shown below.
 ‘
‘
Next, after the installation is completed, click on Finish button to finish the installation.
Verify PostgreSQL Installation
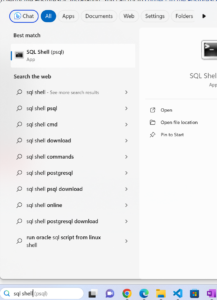
So far, we have installed the PostgreSQL database but how do we know if it is really working as expected without any error?. To verify the installation, best way is to connect with psql program as shown below. Search for SQL Shell from search bar and open the prompt.
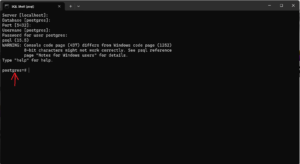
Next, click enter button for server, database, port and Username. For password, enter the postgres superuser password which you had configured during the installation. If the password is correct, you will be logged in and see the prompt as shown Below. If you have reached this step then PostgreSQL installation is successfully.
Summary
We have successfully installed the PostgreSQL database in the Windows machine. You can also install the PostgreSQL database on other operating systems like Linux and macOS. You have to select the correct installed based on the operating system where you are installing.