In this tutorial we will learn about how to provision EKS cluster in AWS. AWS is one of the most usable and adopted cloud platform. AWS provides around 200 fully featured services which is more than any other cloud provider. AWS EKS is one of the container management service which integrates with Kubernetes to deploy applications. Kubernetes is a portable, extensible, open-source platform used for managing containerized workloads and services.
What is AWS EKS
AWS Elastic Kubernetes Service (EKS) is a cloud based managed Kubernetes service which is used to run Kubernetes on AWS or on-premises. The best part about the EKS service is that you do not need to install or maintain your own control planes and worker nodes. Control plane nodes are responsible for managing key tasks like scheduling containers, managing application availability, storing cluster data and other important tasks. According to applications requirement, EKS automatically scales up or down the control planes across multiple Availability zones to ensure the high scalability and availability.
How to provision EKS cluster in AWS using 10 Easy Steps
Follow below steps to provision the EKS cluster in AWS. Please check if prerequisites are satisfied before starting the cluster creation.
Also read: Python module
Prerequisites
- An existing VPC and minimum 2 subnets in different availability zones.
- kubectl CLI tool installed on AWS cloudshell. kubectl version must be same as or up to 1 version earlier or later than kubernetes version installed in the cluster.
- AWS CLI installed on AWS.
- An IAM role with necessary permissions to create and describe an Amazon EKS cluster.
We will cover the IAM role creation and attaching the policy which provides necessary permission to the EKS service in this tutorial along with EKS cluster creation.
Create IAM role
Follow below steps to create an IAM role for EKS.
Step-1: Select IAM service
In this step, open the IAM console and click on IAM service.

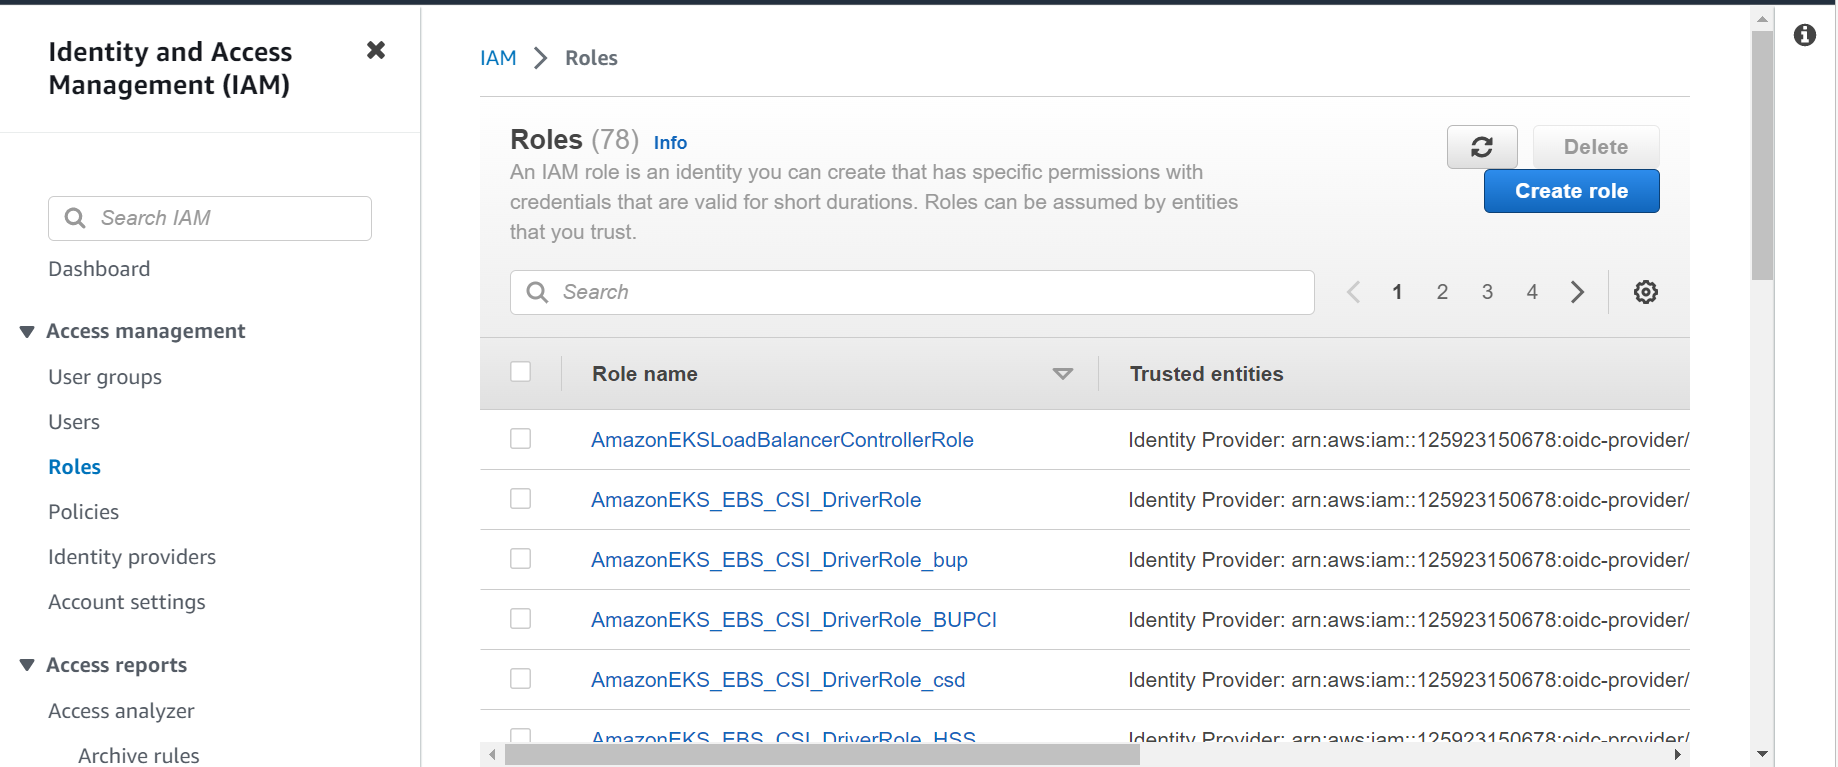
Step-2: Select Create role
In this step, click on “Roles” from the left panel and then click on Create role button
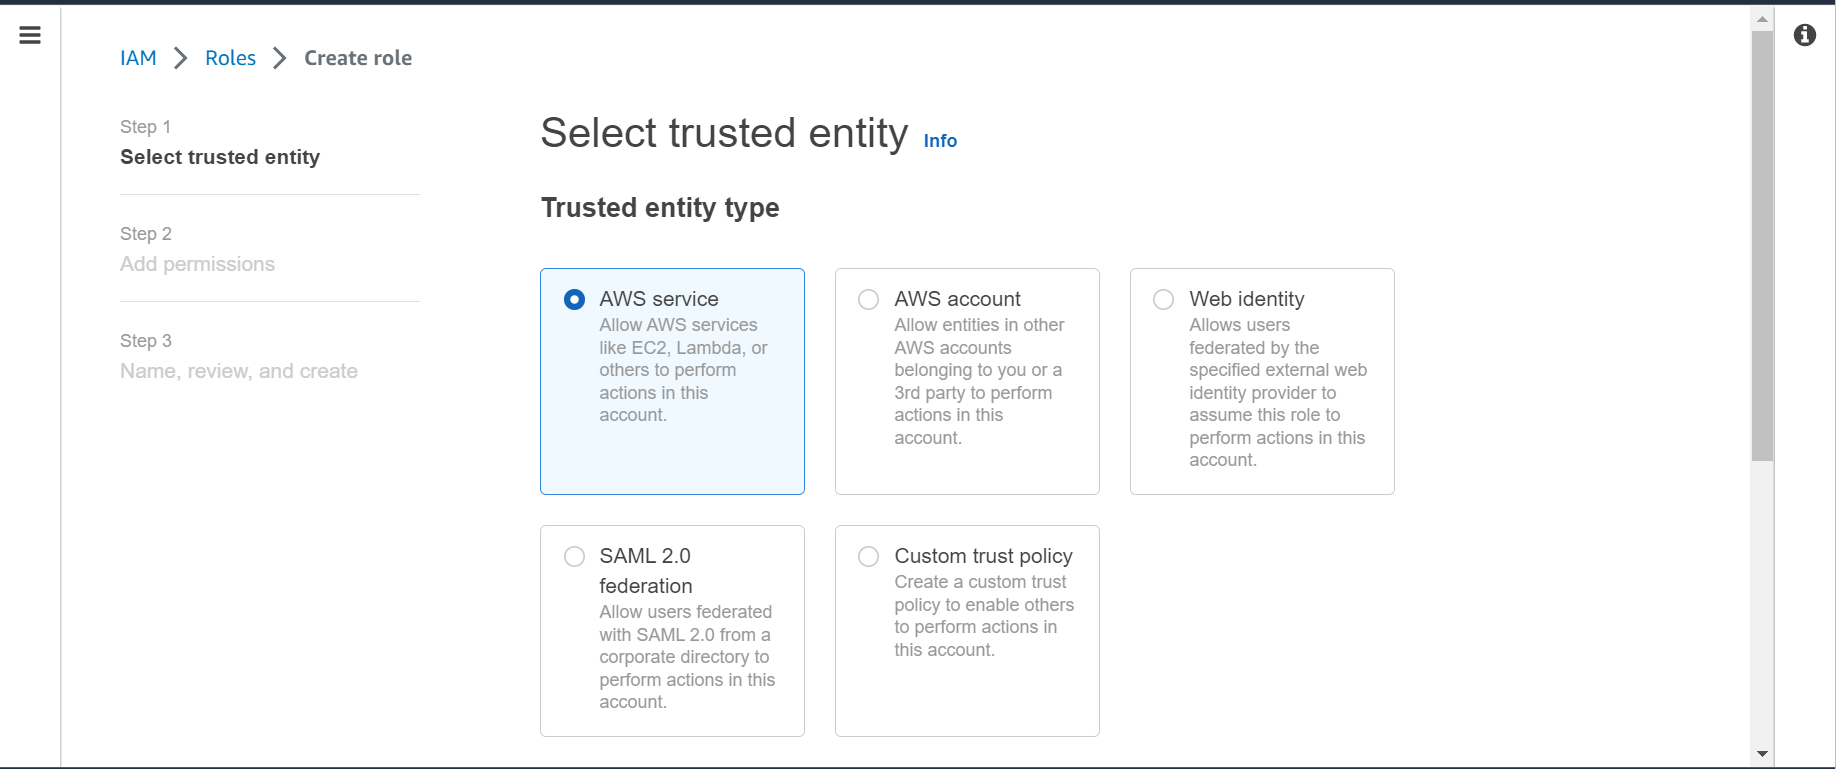
Step-3: Select trusted entity
In this step, select the trusted entity. By default AWS service is selected so we will proceed with default one. Click on Next button
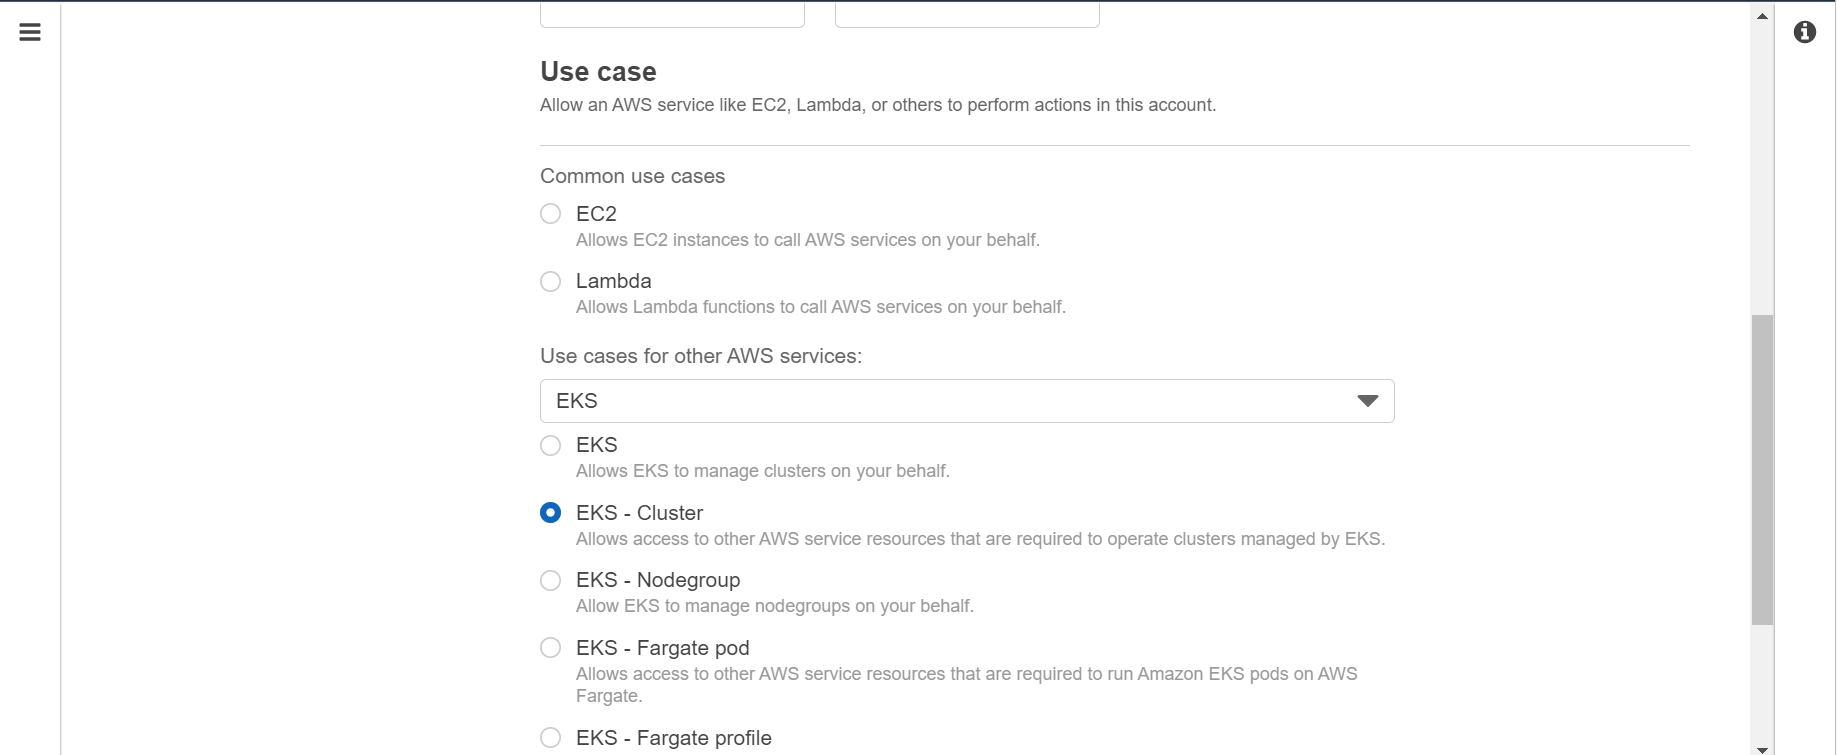
Step-4: Select Use case
Use cases are defined by the service to include the trust policies required by the service. In this step, select EKS-Cluster and then click on Next button.
Step-5: Add permissions
In this step, add the permissions for the role by attaching the policies. Here we will select AmazonEKSClusterPolicy. We can also create custom policies. Click on Next button

NOTE:
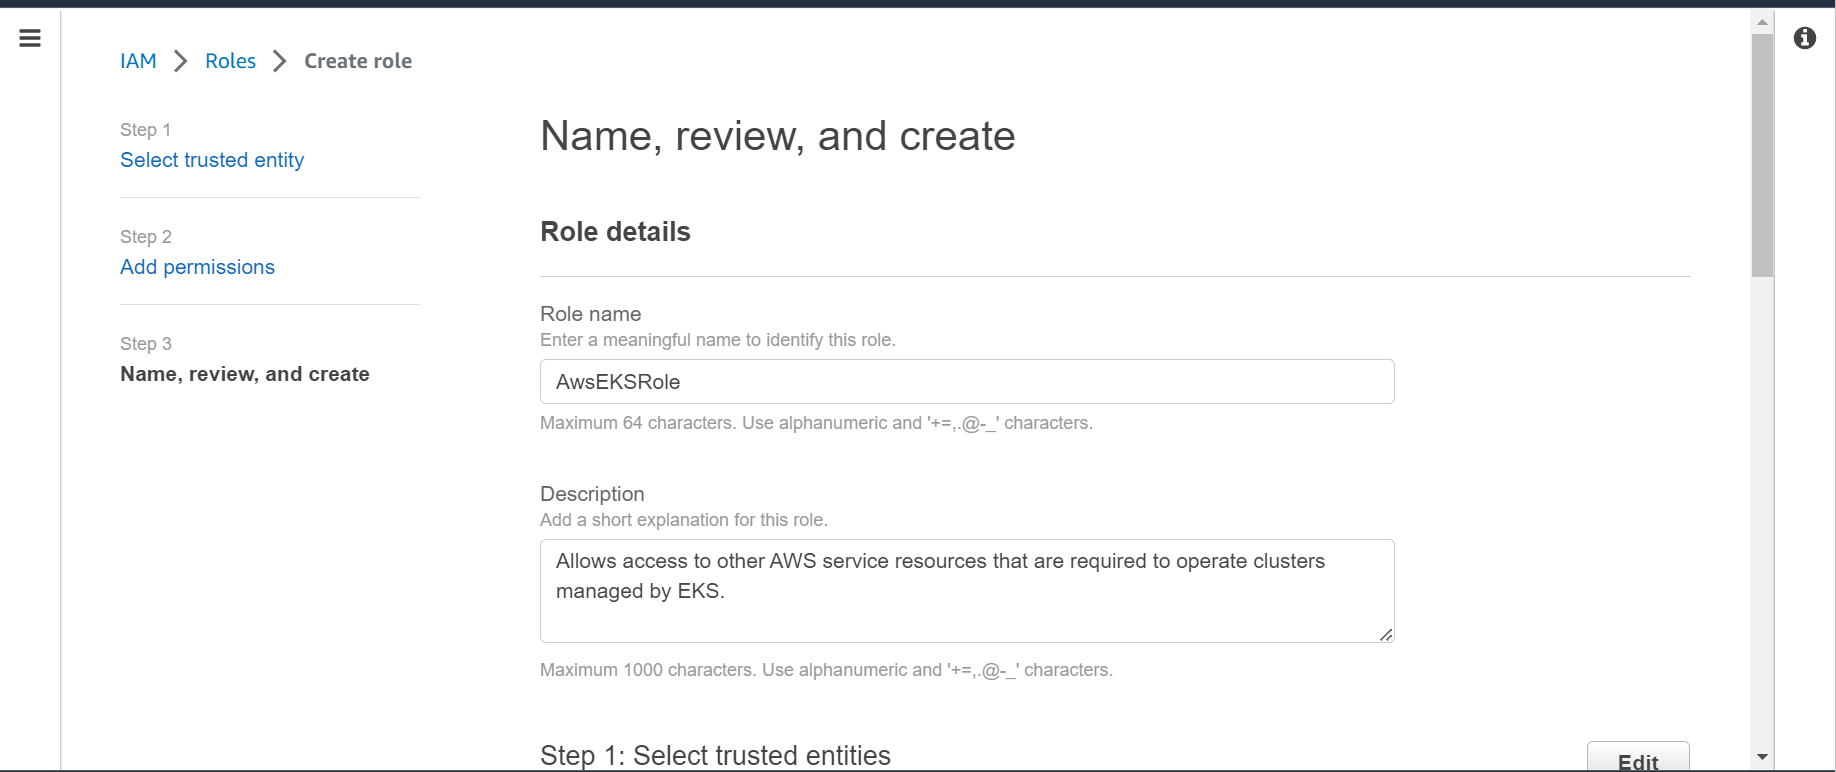
Step-6: Role details
In this step, we will provide role details which includes Role name and Description. After providing the details, review the previous configuration. I have given the Role name as AwsEKSRole. Once all looks good, click on Create role button at the bottom of the page.
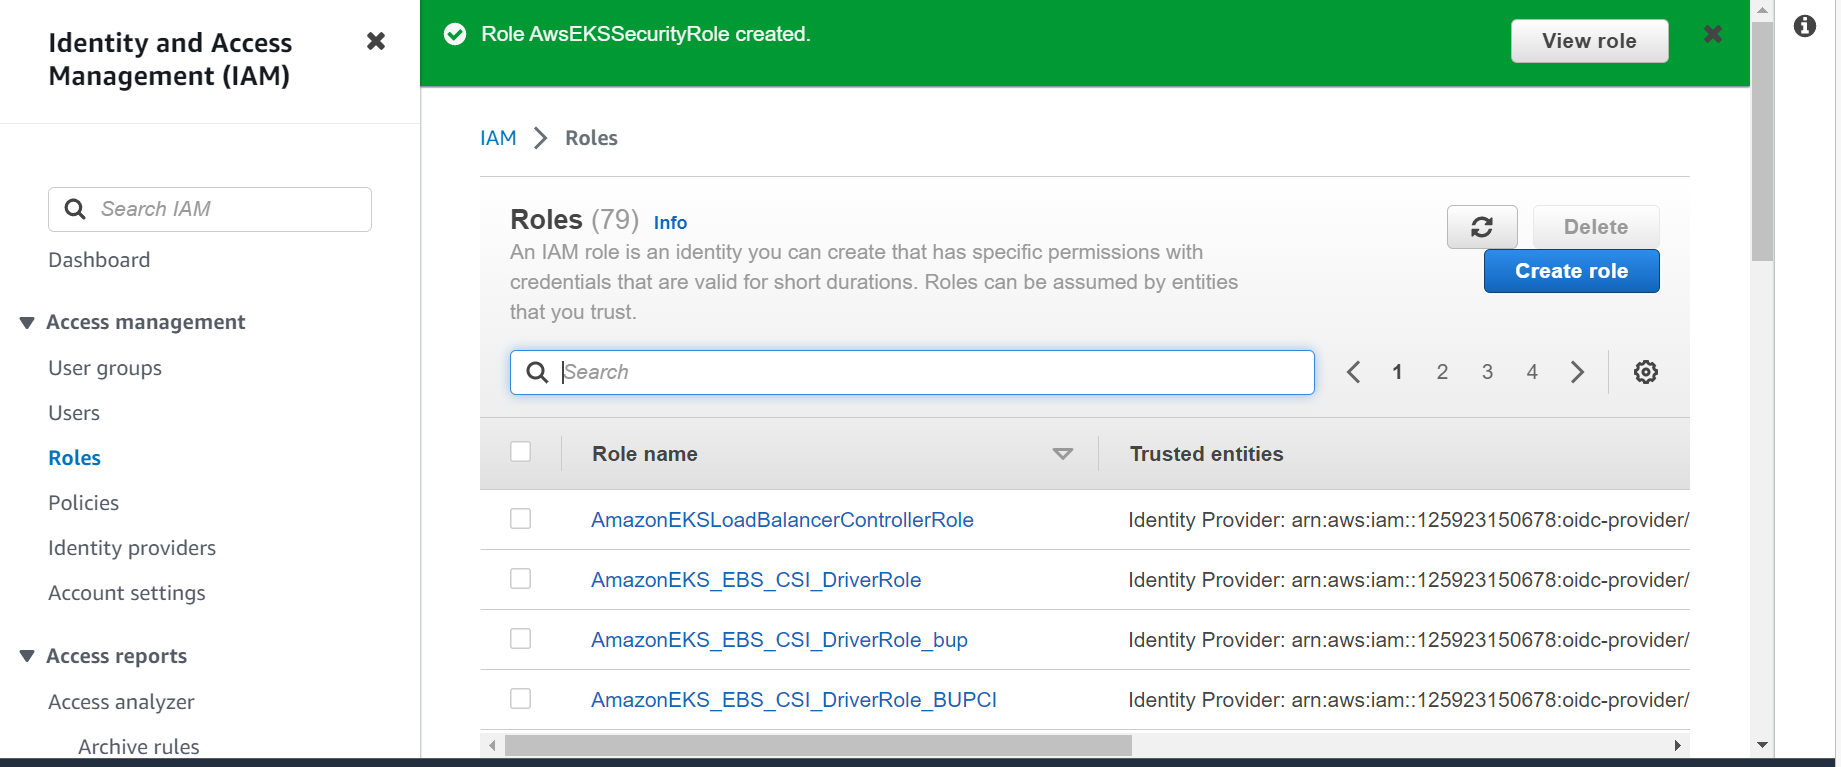
Step-7: Verify created role
IAM role is successfully created. In this step, you can verify the same by click on View role.
Create EKS cluster
Now that we have created the EKS IAM role, next step is to create the cluster. Follow below steps to easily create the EKS cluster.
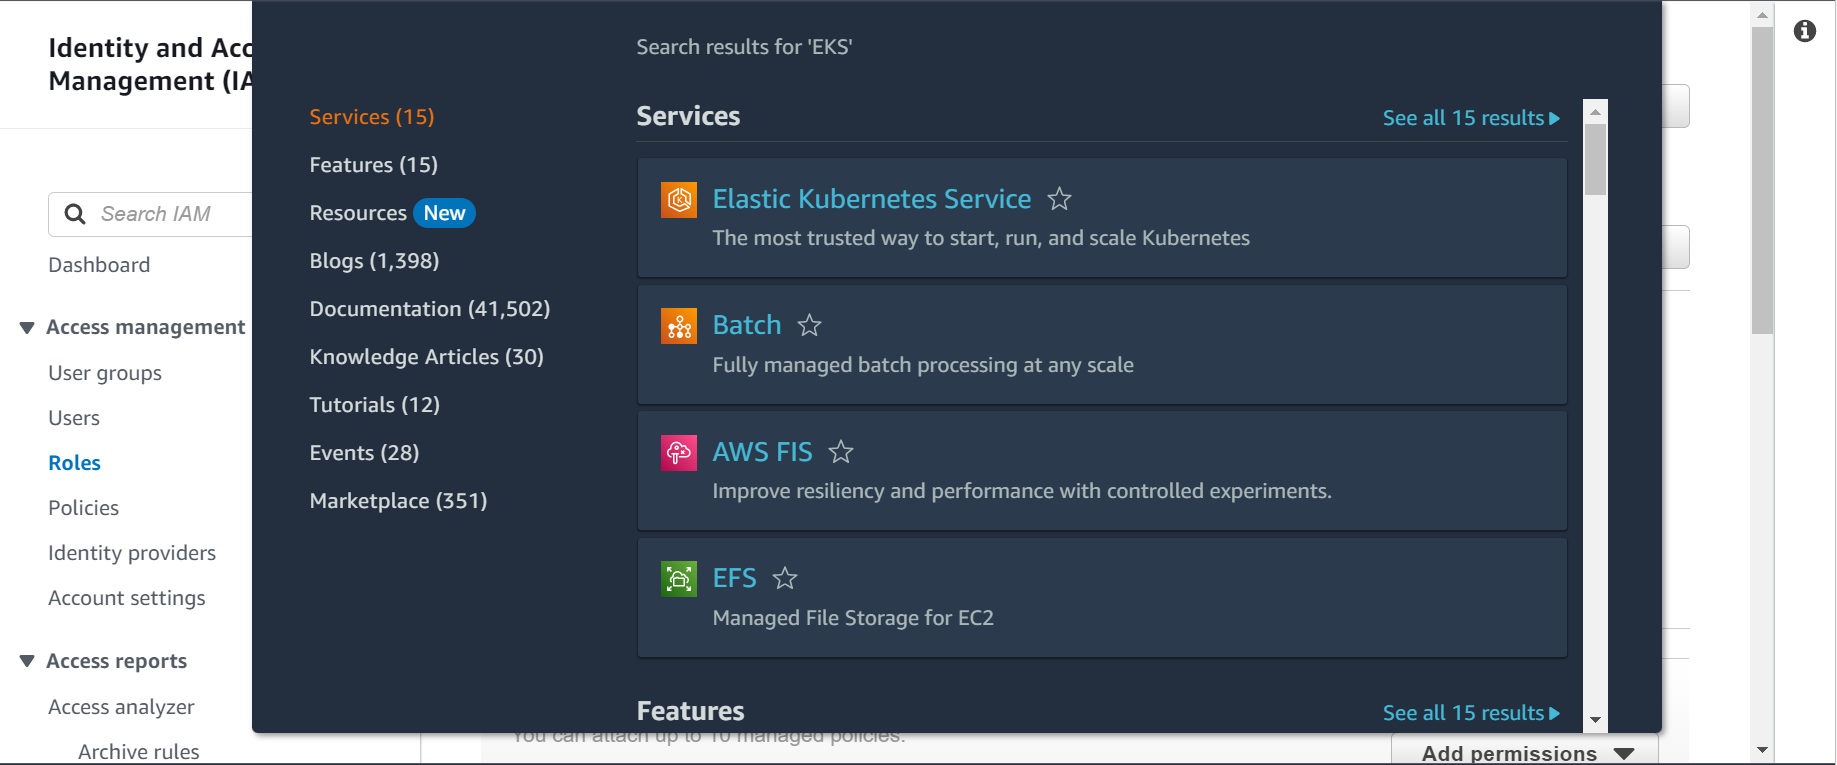
Step-1: Select EKS service
In this step, search for EKS service in AWS console. Click on Elastic Kubernetes Service (EKS)
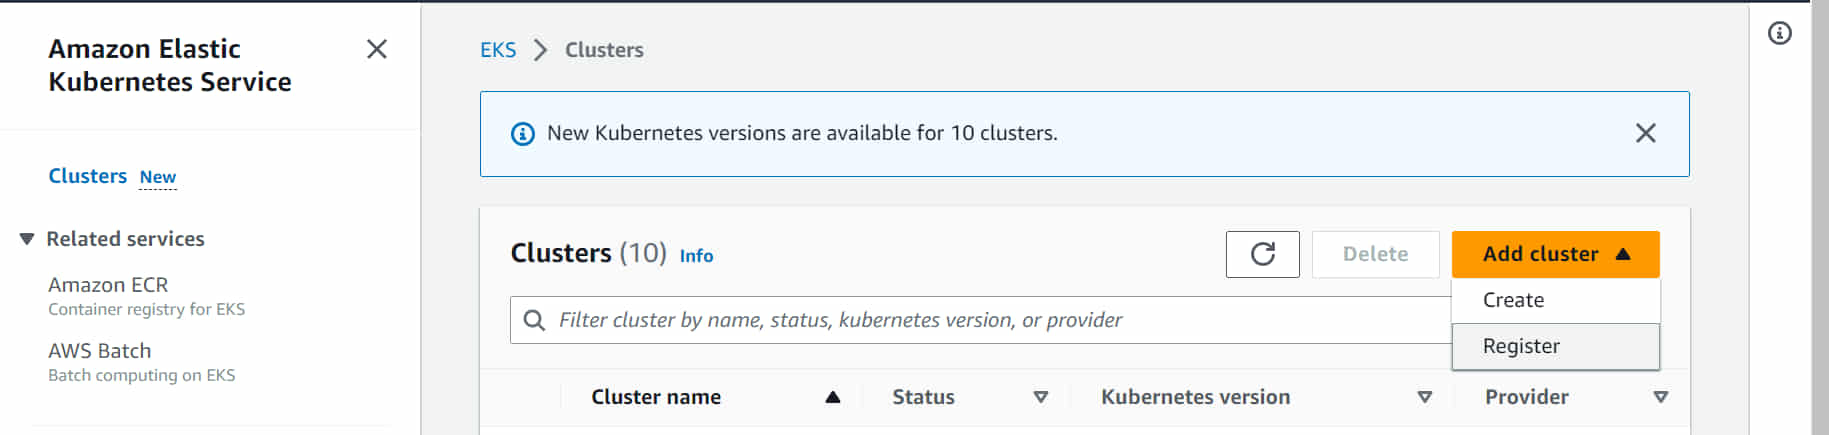
Step-2: Select Add cluster
In this step, click on Add cluster button and then click on Create button.
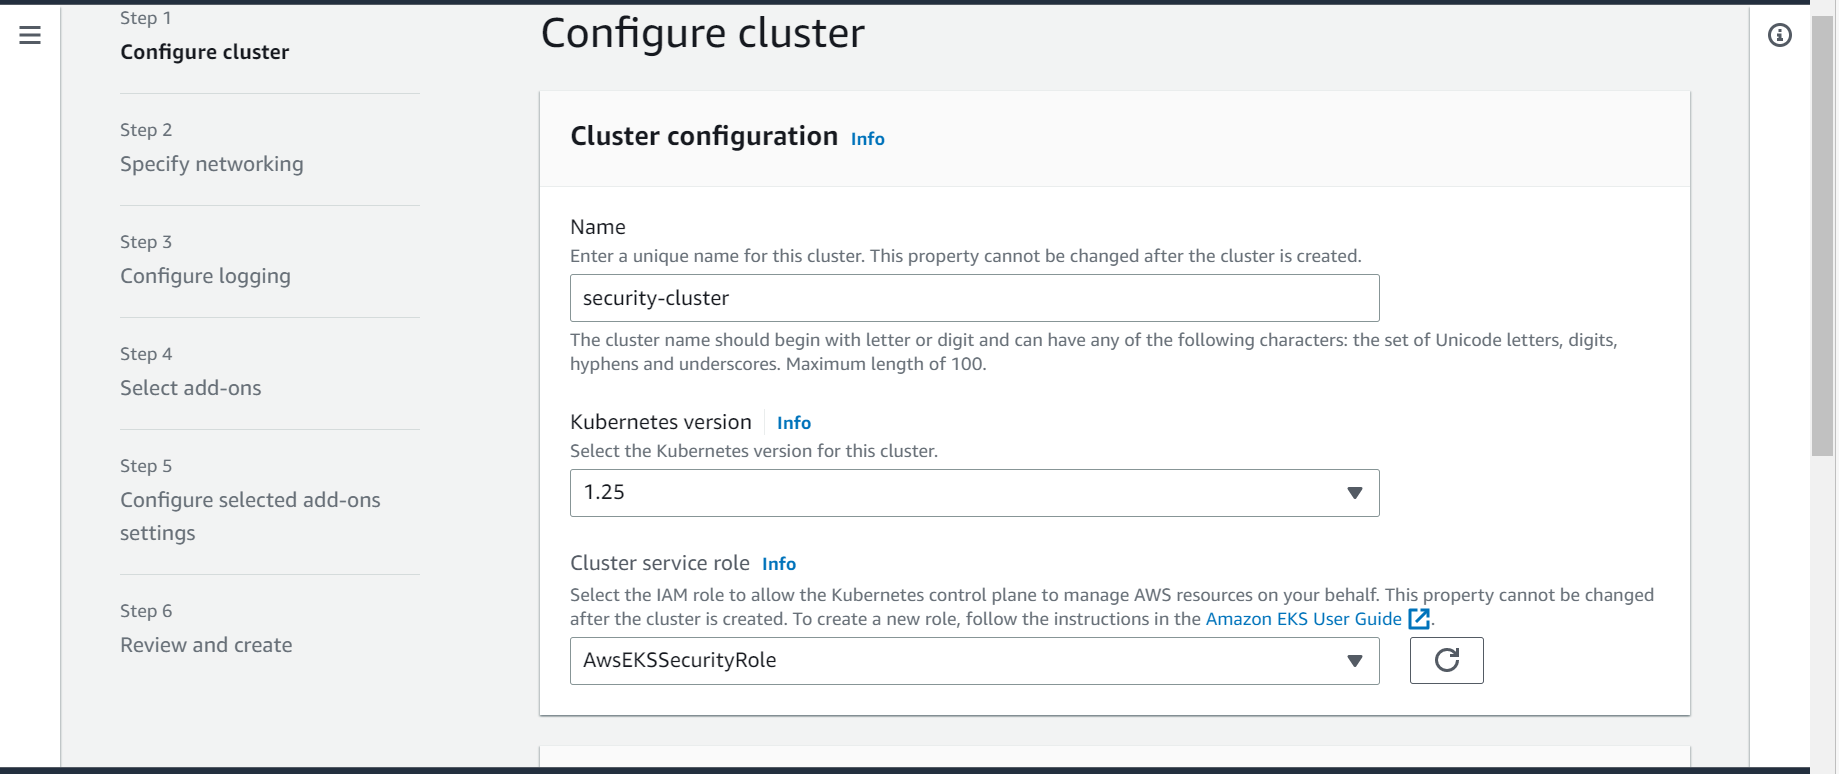
Step-3: Cluster configuration
In this step, give a name to your cluster along with the version of Kubernetes you want to install. I have given the cluster Name as security-cluster and I have selected the Kubernetes version as 1.25 . Also, select the IAM role which we have created above under Create IAM role section.
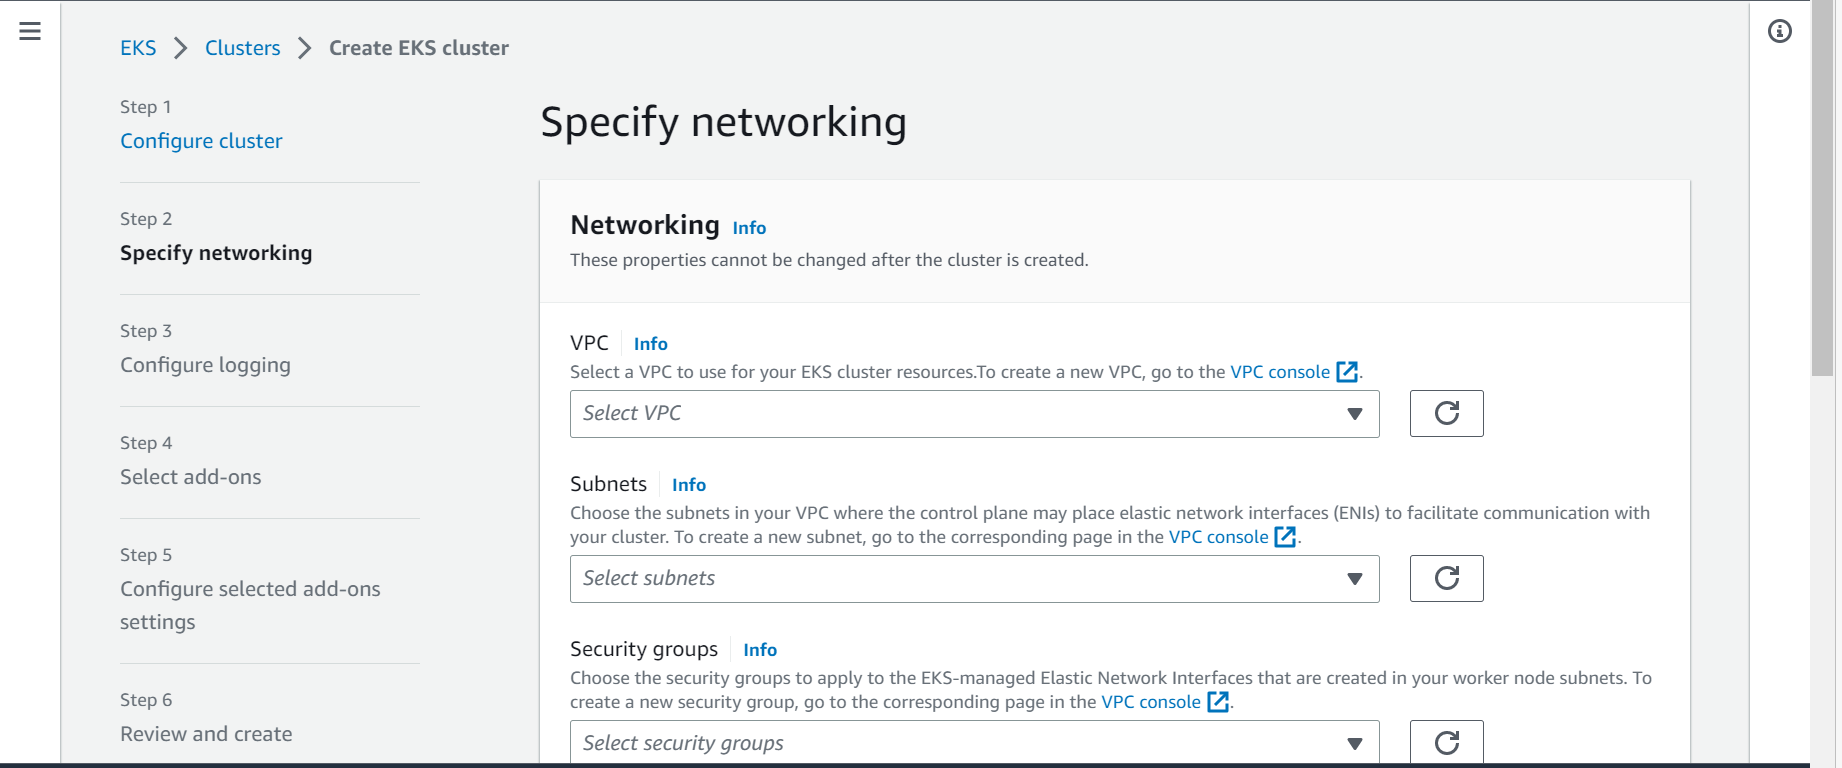
Step-4: Specify networking
In this step, configure the networking section. Here, select the VPC which you must have created as prerequisite. It will automatically detect the subnets attached to the selected VPC. Also select Security groups(Optional). These security groups will be associated to the network interfaces which EKS will create.
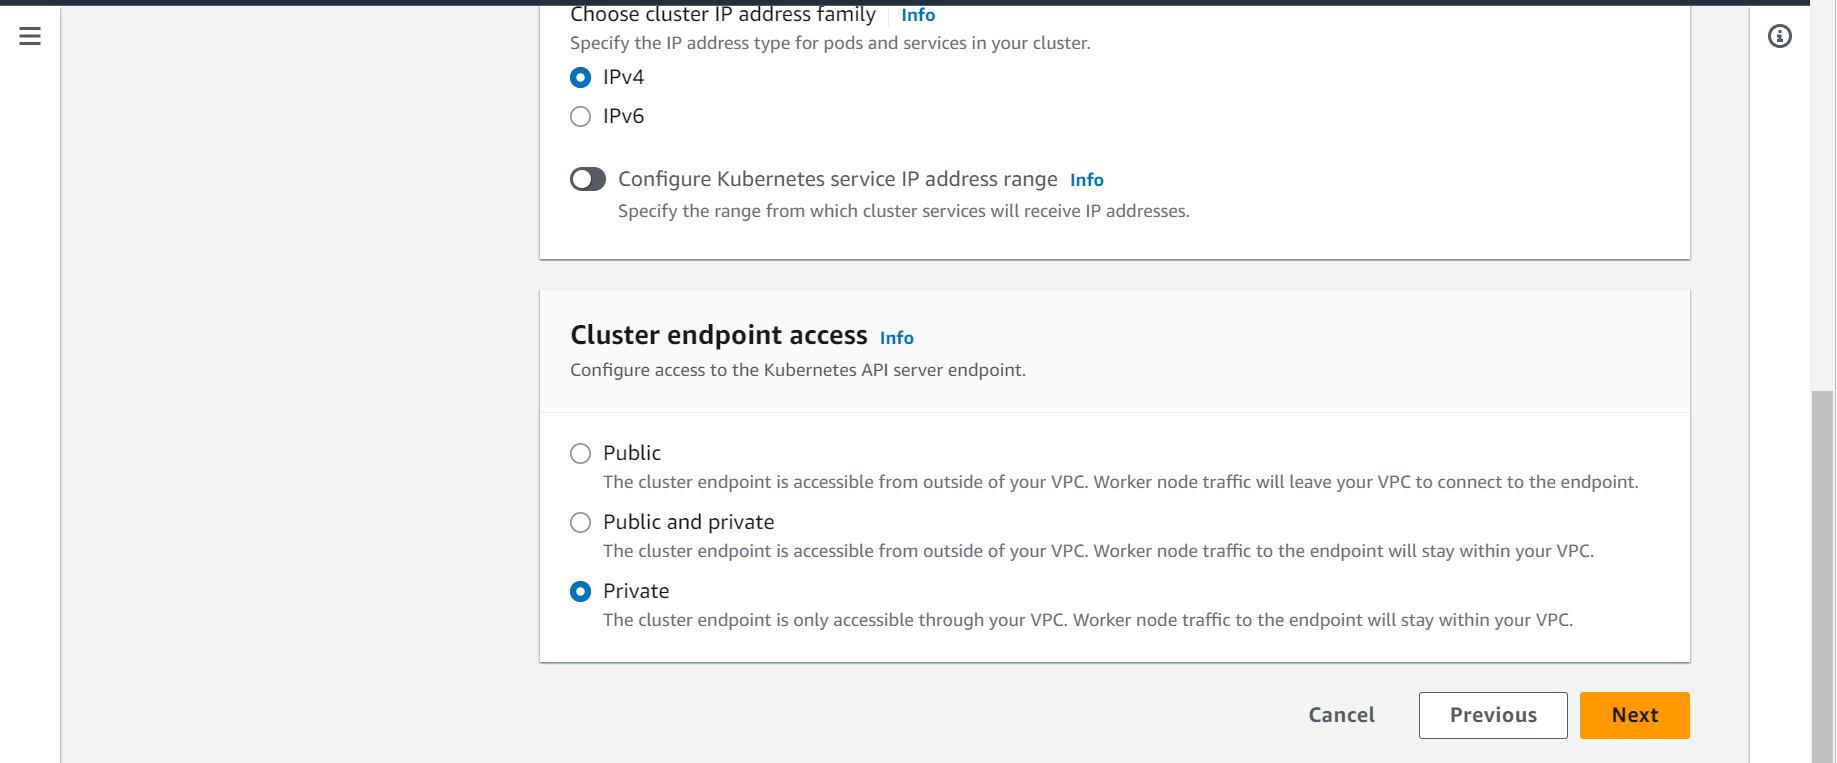
Step-5: Select Cluster endpoint access
In this step, select the Cluster endpoint access. I have left the default option Private. Also select IP address family. I have selected IPv4. Once done, click on Next.
Note: You can read more about the EKS cluster endpoint here
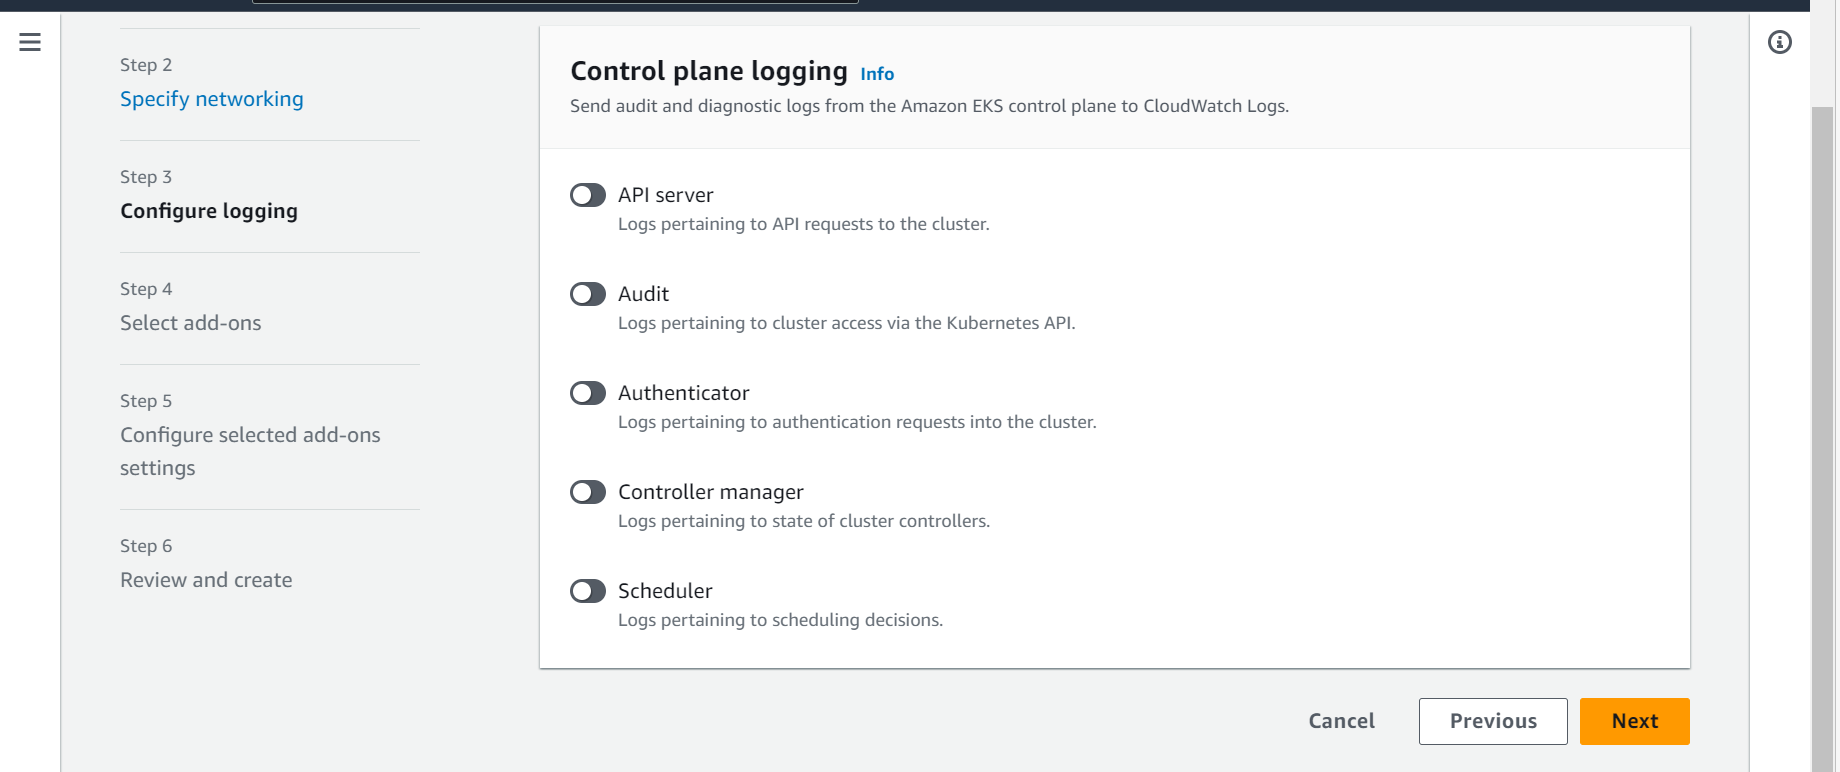
Step-6: Control plane logging
In this step, we will configure the logging functionality of the EKS cluster. By default, all the log type is disabled. You can enable each one of them based on your requirement.
Refer to Create IAM Policies to create the custom policies.
NOTE:
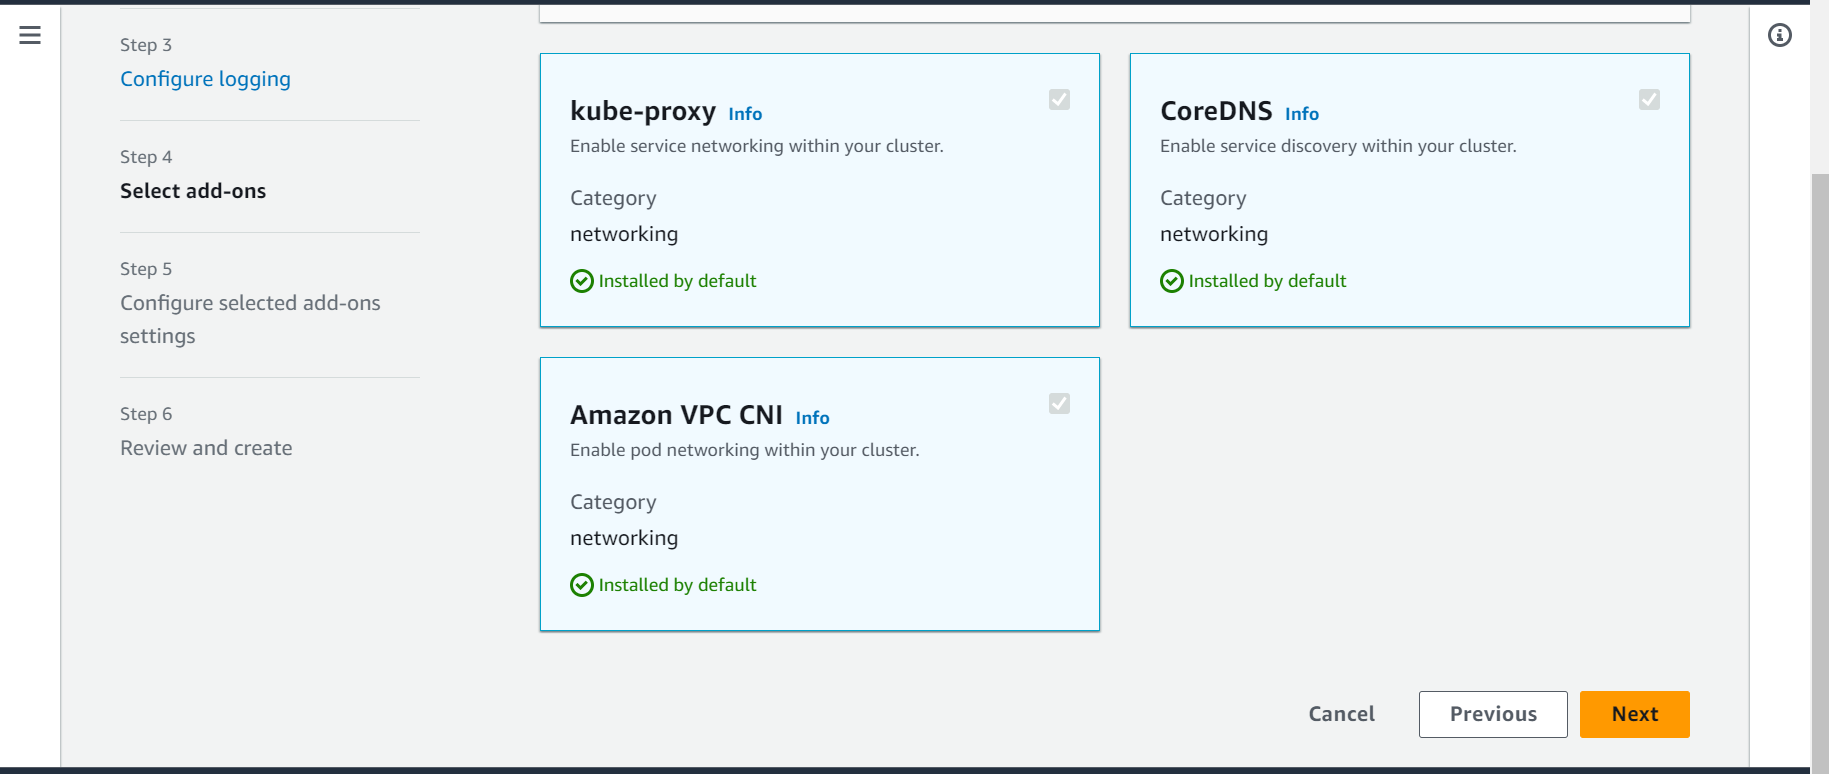
Step-7: Select add-ons
In this step, you can select multiple add-ones which you want to add to your cluster.
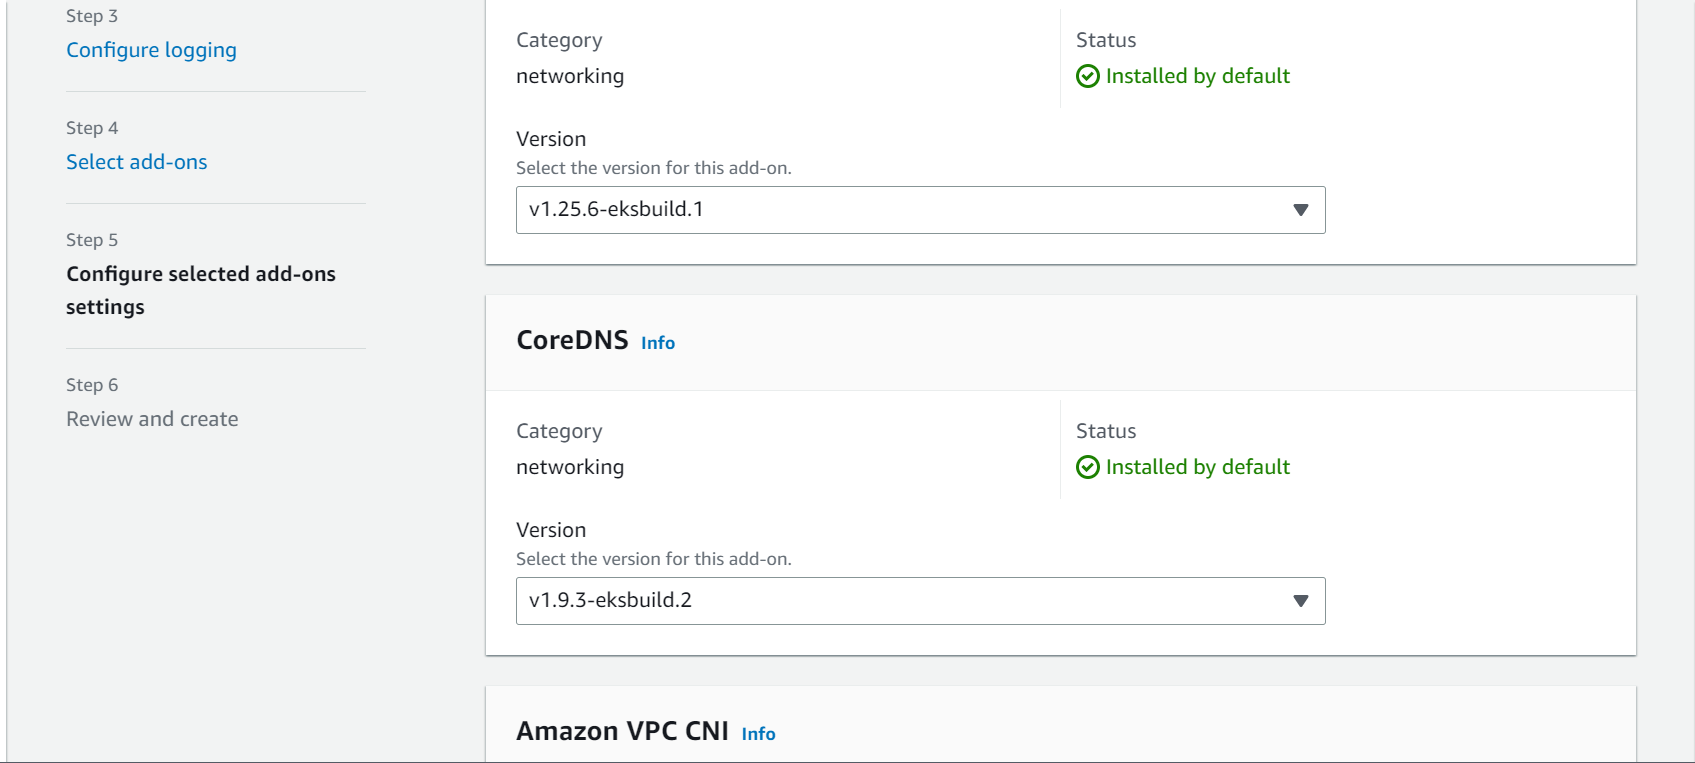
Step-8: Configure selected add-ons settings
In this step, select the versions for each of the add-ons which we have selected in previous step.
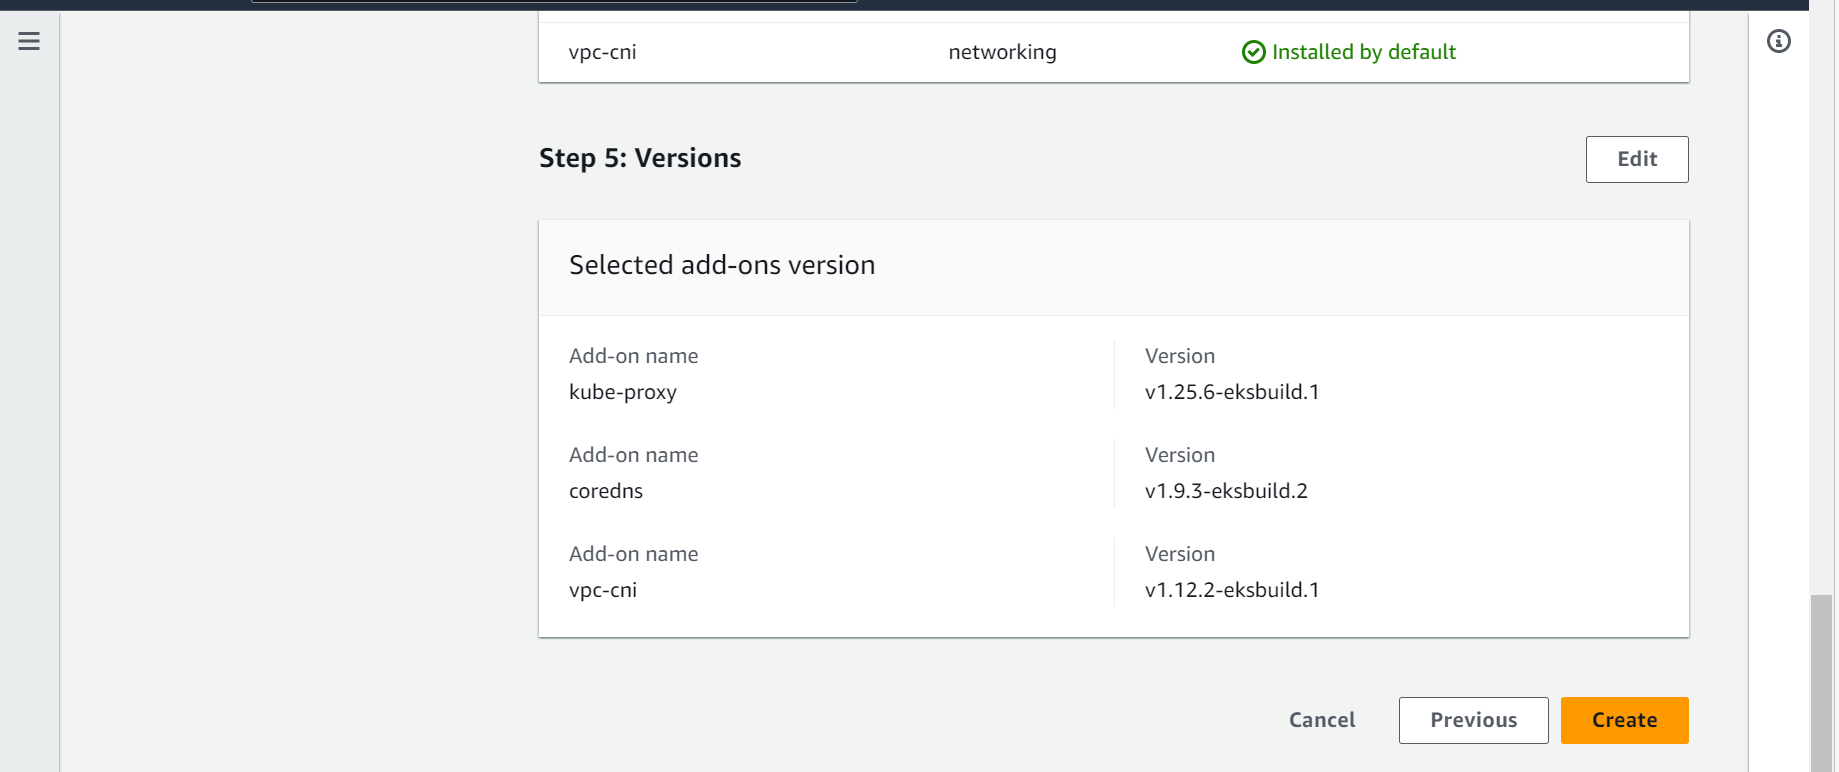
Step-9: Click on create to create the cluster
In this step, review all the configuration done in previous steps. Once verified, click on Create button
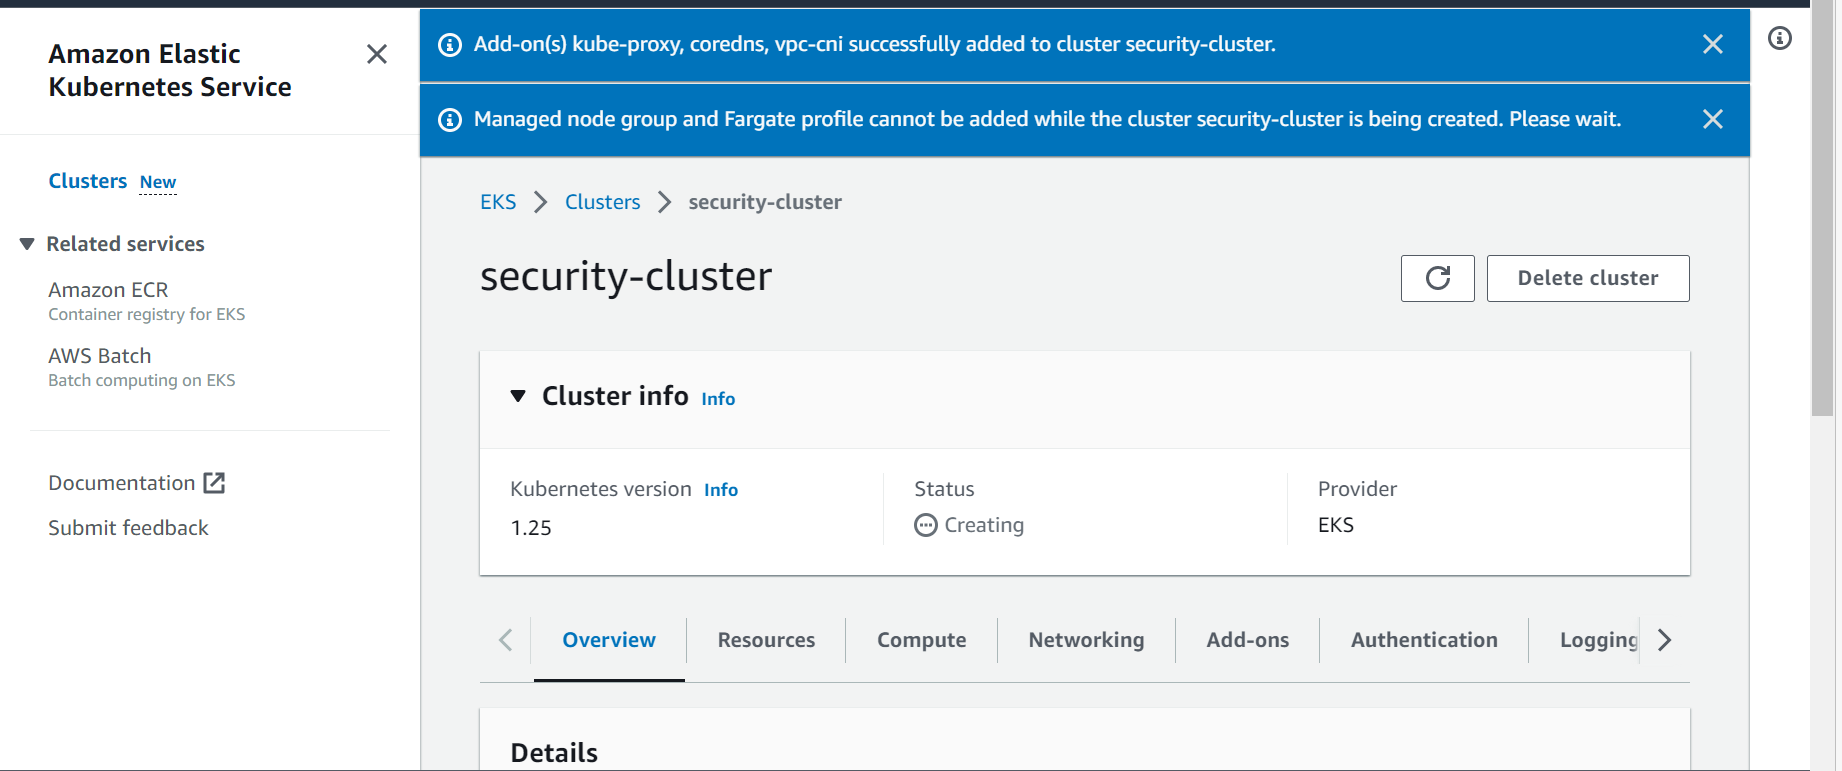
Step-10: Verify created cluster
EKS cluster is created successfully. In this step, Verify your cluster.
Conclusion
We have successfully created the EKS cluster with basic minimum configuration. We can modify most of the configuration even after creating the cluster. Example, we can modify the logging configuration.
Next step is to configure node groups. To learn about how to configure managed Node group, refer to create managed node group.