Putty Overview
In this tutorial, we will see how to install Putty on Windows using 6 easy steps. Putty is an open-source free SSH and telnet client, initially developed for windows platform. Putty is basically used to establish SSH connection from Windows platform. With time, Putty has been ported to other operating systems as well like Linux and mac. Putty was originally developed by Simon Tatham . Putty supports various network protocols like SSH, telnet, Serial, Rlogin and SUPDUP. All these network protocols does the same thing but in different manner.
Among all, SSH uses the strong cryptography to protect the network connection against any form of attacks and hence is the widely used network protocol. SSH connects to the remote server and send a command automatically. Once the command is executed, connection will be closed from the server. Hence, there is no chance of leakage in the network connection.

How to Install Putty on Windows using 6 Easy Steps
Also read: How to Install Helm3 on CentOS 8
It is simple and easy to install the Putty on Windows operating system. Follow the below steps to install the Putty.
Step-1:Check the system type of your windows machine
First of all, check the system type of your windows machine. To do so, open the cmd and type the command systeminfo. In the output you can check the type for your machine as highlighted below.
C:\Users\linuxnasa>systeminfo

Host Name: linuxnasa
OS Name: Microsoft Windows 11 Home Single Language
OS Version: 10.0.22621 N/A Build 22621
OS Manufacturer: Microsoft Corporation
OS Configuration: Standalone Workstation
OS Build Type: Multiprocessor Free
Registered Owner: [email protected]
Registered Organization: N/A
Product ID: 00356-24555-48865-AAOEM
Original Install Date: 22-10-2022, 17:45:23
System Boot Time: 21-02-2023, 21:50:51
System Manufacturer: realme
System Model: CloudProXXXX
System Type: x64-based PC
Processor(s): 1 Processor(s) Installed.
..................

..................
Step-2:Download Putty Installer
Go to the link Download Putty and download the Putty installer. I have downloaded and installed 64 bit installer as shown below.

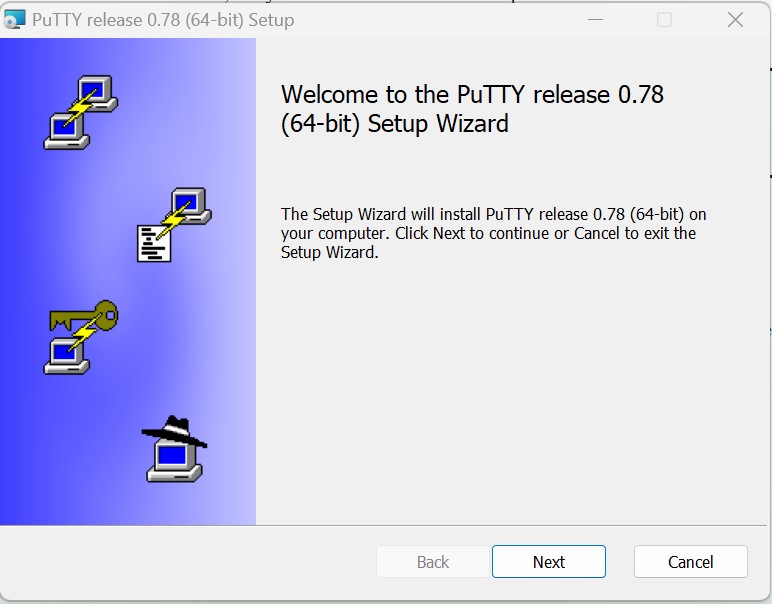
Step-3:Click on the downloaded installer and then click on Next as shown below.
We are installing Putty 0.78 version which is the latest Putty version when this article is written.
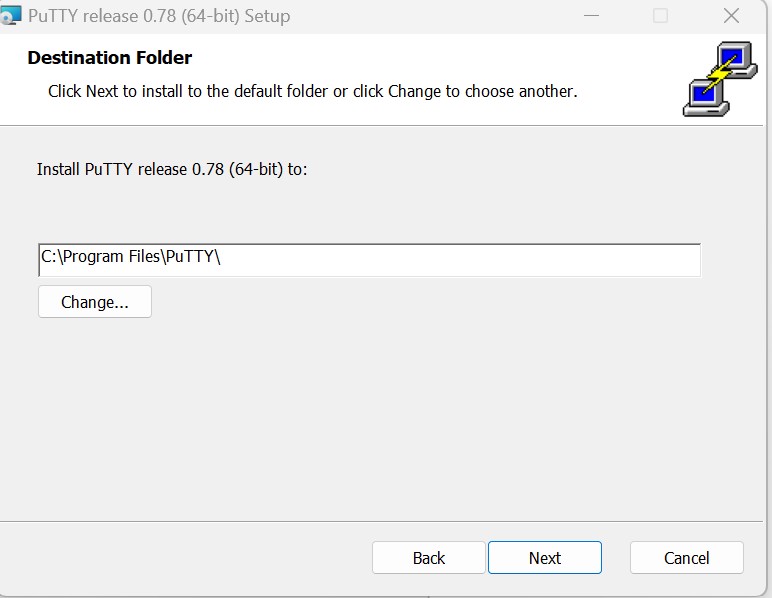
Step-4:Select destination folder
In the next step, select the destination folder where you want to keep the installer. I have kept the installer in default selected path. Click on Next.
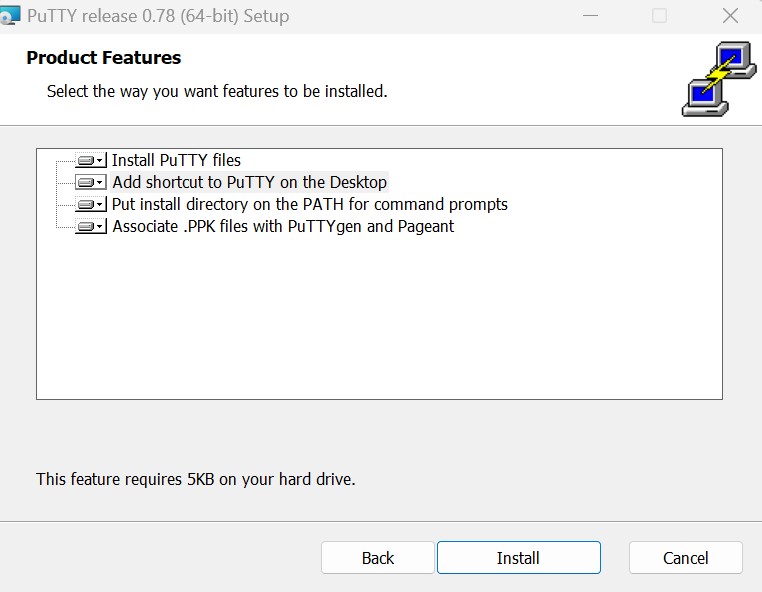
Step-5:Select the features you want to install with Putty.
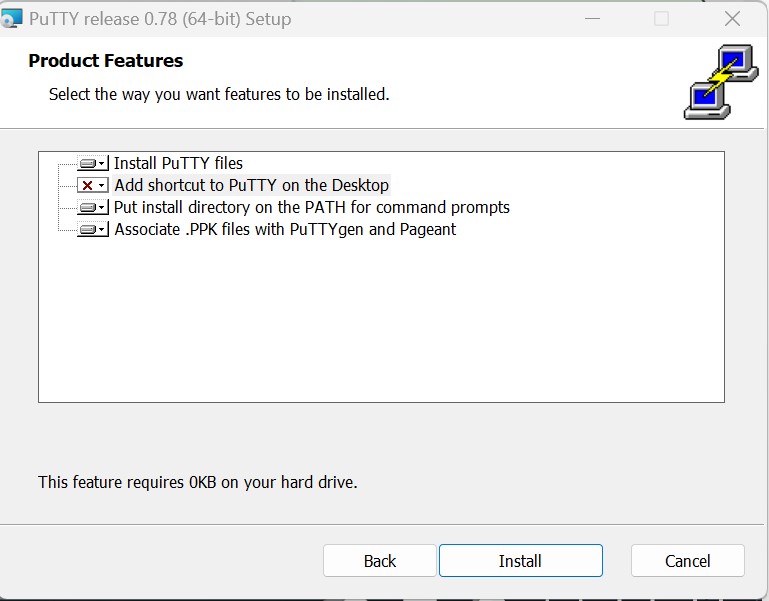
Click on the cross symbol as shown in above image and from the drop down select ‘Will be installed on local hard drive‘. Once selected, cross sign will disappear. Rest all feature I have left default. Click on Install
Note: After step-5, a default windows pop-up will appear. Make sure you approve the Putty Install by clicking on Yes button to reach the Step6.
Step-6: Click on Finish button to complete the installation.

After installing Putty successfully, you will see a desktop icon as shown below.

Conclusion
After following this article, you should be able to successfully install and ready to use Putty in Windows. The best way to get familiarize with the SSH application is to explore all the network protocols and other features Putty offers.