In this tutorial we will learn about how to create EKS managed node groups using 8 easy steps. There are two types of node groups. Self managed node groups and EKS managed node groups. Self managed node groups requires more action and responsibilities from you than the EKS managed node groups. In Kubernetes terms, managed node groups are same as worker nodes that we provision in a Kubernetes cluster.
What is EKS managed node group
Amazon EKS managed node group is a feature which is used to automate the provisioning of nodes(Amazon EC2 instances) for Amazon EKS Kubernetes clusters. We do not need to separately provision the EC2 instances to run Kubernetes applications. We can automatically create, terminate or update nodes for our cluster with a single operation. Each node in managed group is part of Amazon EC2 auto scaling group which is managed by Amazon EKS . We can create multiple node groups and each node group can run in multiple availability zones that you define. These node groups (Amazon EC2 instances) are the ones where pod scheduling and deployment happens.
How to Create EKS Node Groups Using 8 Easy Steps
Also read: How to install Putty on Windows.
There are multiple ways to create Amazon EKS managed node groups like using AWS CLI, Amazon EKS console or eksctl tool. EKS managed node groups can be created for existing clusters or for new clusters. All the nodes launched as part of managed node groups are automatically tagged for auto-discovery by the Kubernetes cluster autoscaler.
In this tutorial, we will use AWS EKS console to create the managed node groups for an existing cluster. First, we will create an IAM role for the node groups then we will create the node groups and attach the created IAM role to it.
Prerequisites
- An existing AWS EKS cluster. You can refer to How to provision EKS cluster in AWS to create a new cluster.
- AWS VPC CNI plugin for Kubernetes add-on configured with it’s own IAM role . Role must be attached with necessary IAM policies.
- Prior knowledge on type of EC2 instances. based on the type you choose When creating EC2 instances, there could be additional prerequisites for you cluster as well as for the VPC.
Create IAM role
In this section, we will create the IAM role for node group and attach necessary policies to it. Follow below steps to create a new IAM role.
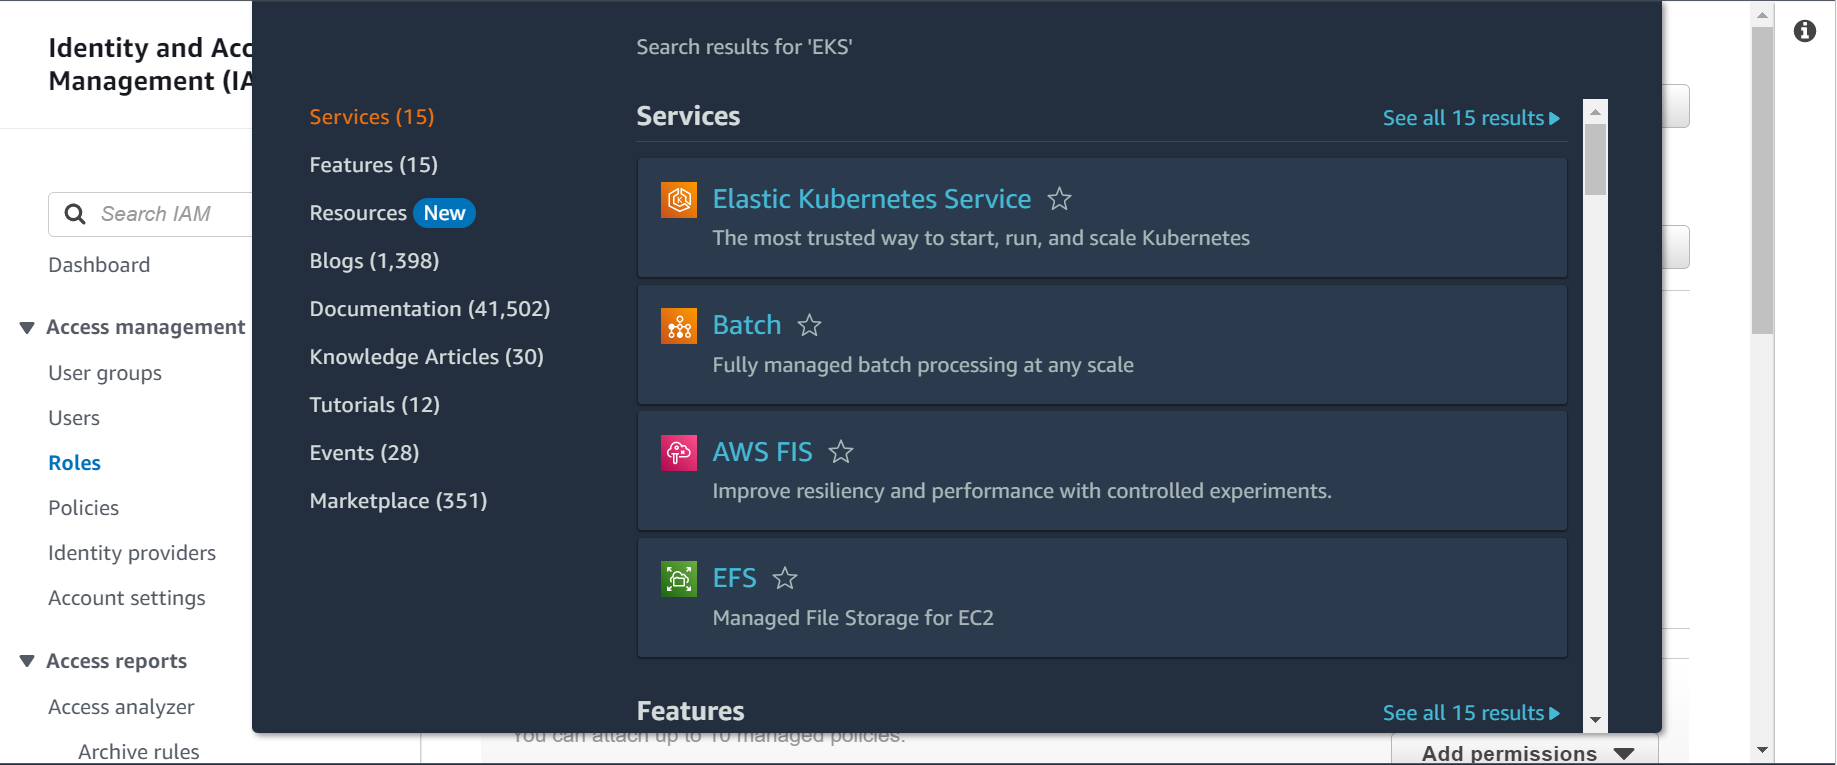
Step-1: Search IAM service
Go to the AWS console and search for IAM service. Click on the IAM service.

Step-2: Select Create role
In this step, click on the Create role button on top right side as shown below. Provide a name to your role. Click on Next.

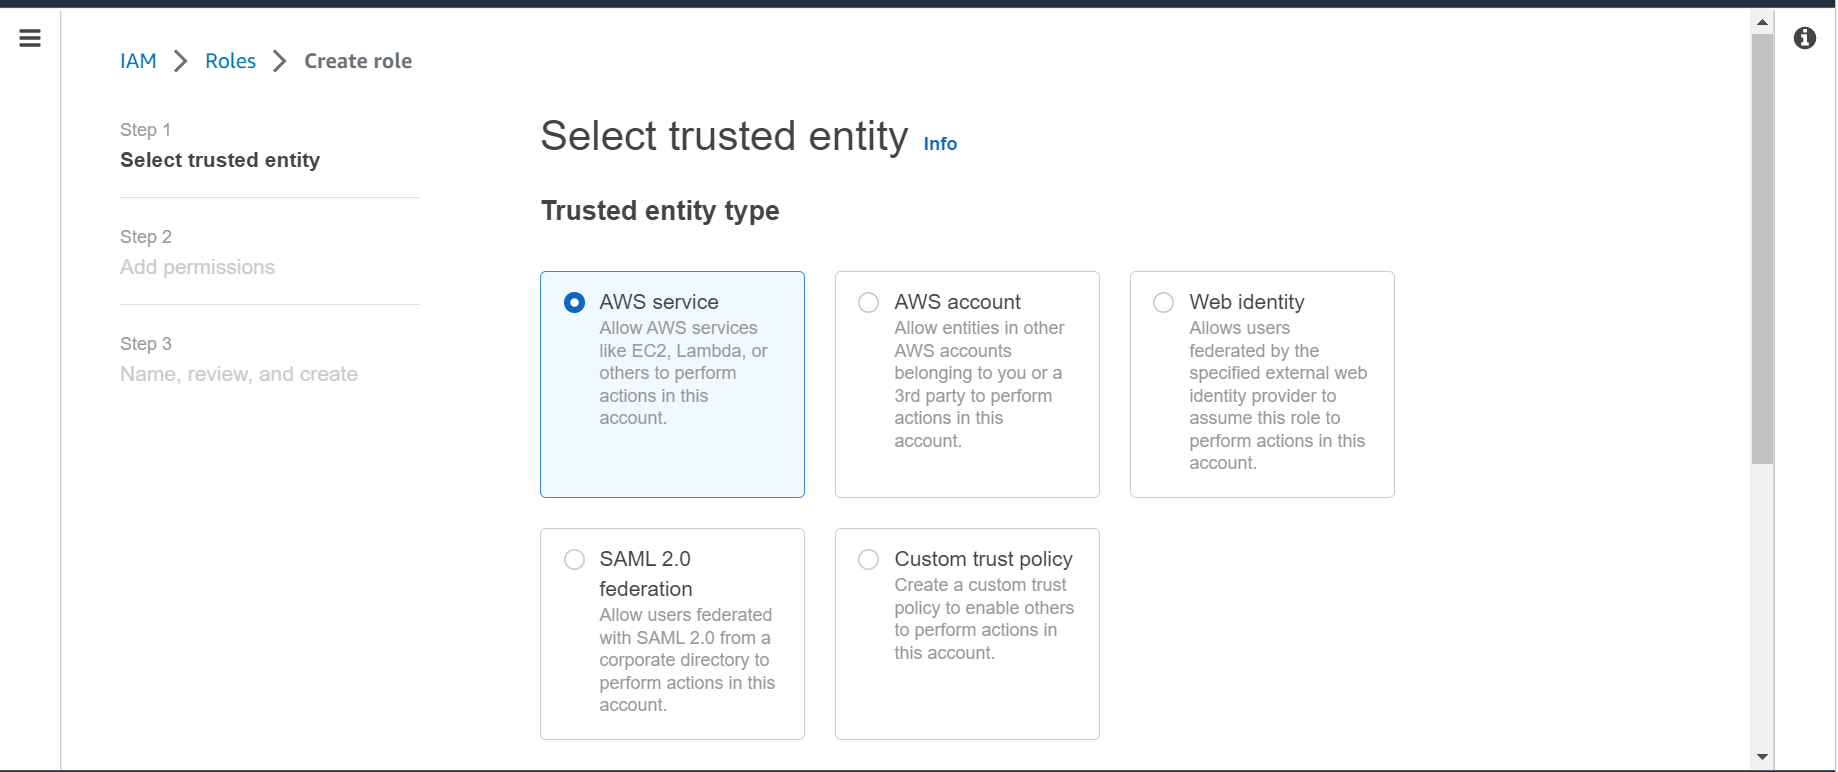
Step-3: Select trusted entity
In this step, Select the trusted entity type. By selecting this option, you decide on giving access to the objects to the resources in your account. I have left the default selection which is AWS service, which means only the services in AWS will have access to perform any action in my account. Click on Next.
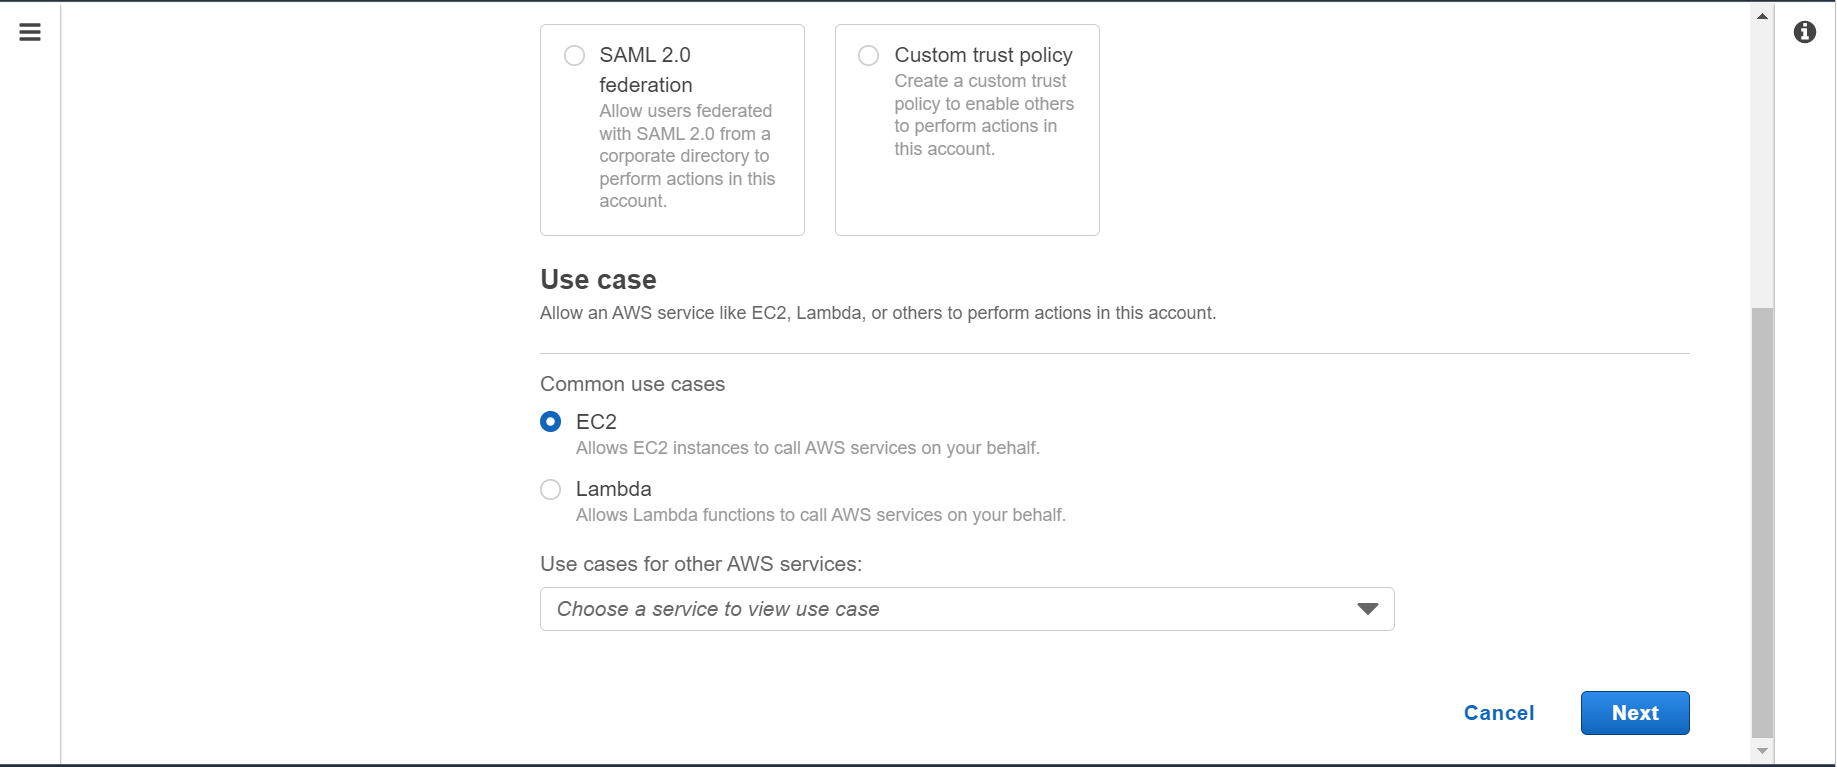
Step-4: Select Use case
In this step, select the Use case. Use case includes the trust policy needed by the service. Here I have selected EC2. Click on Next.
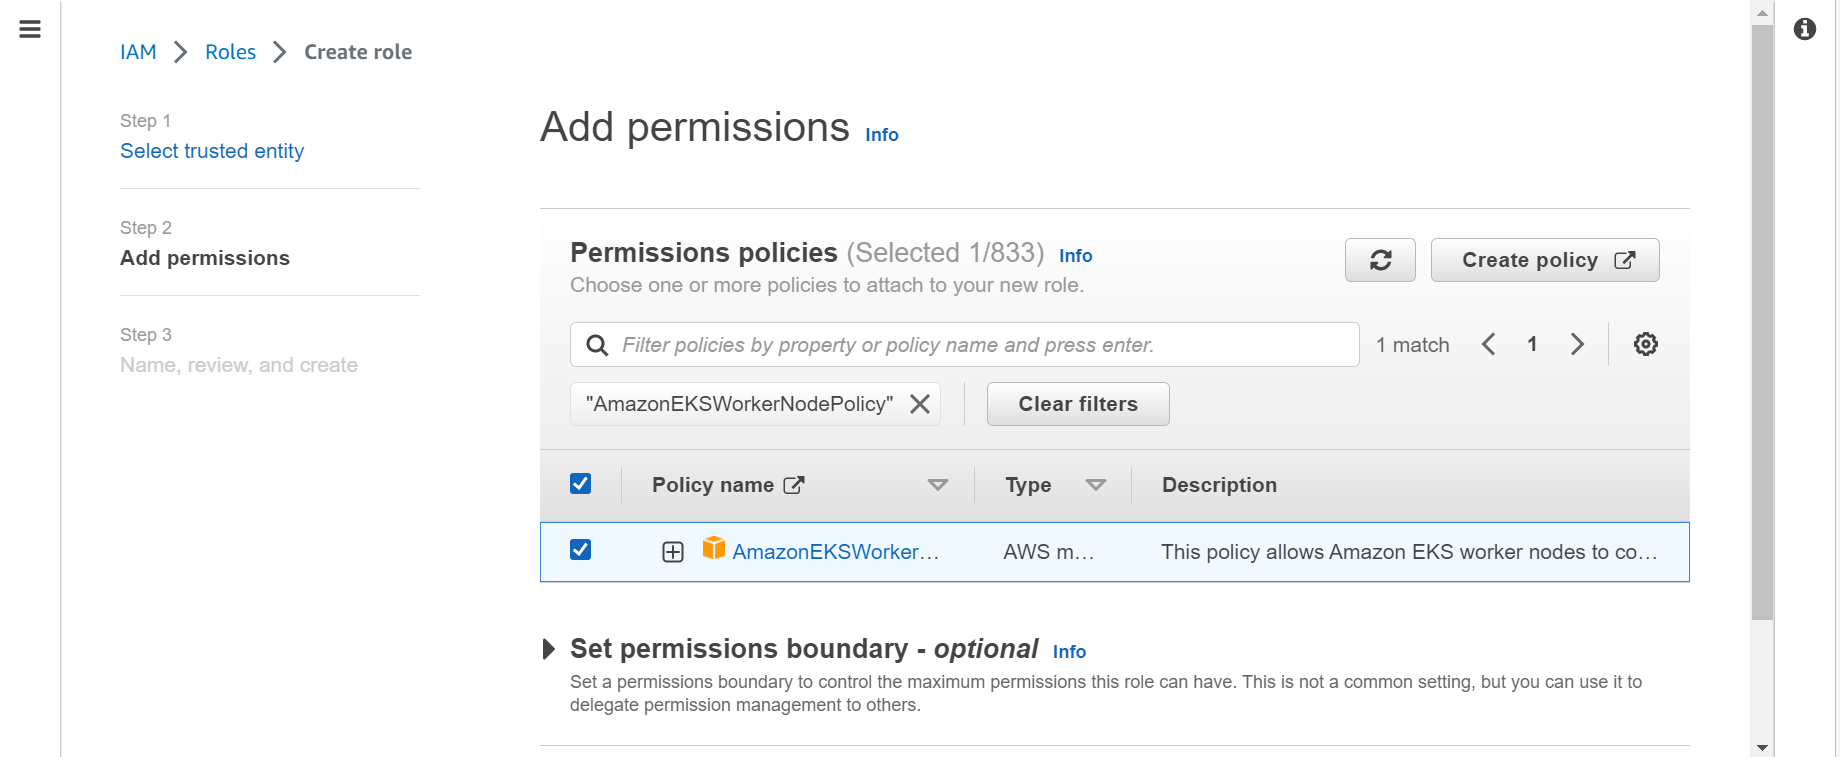
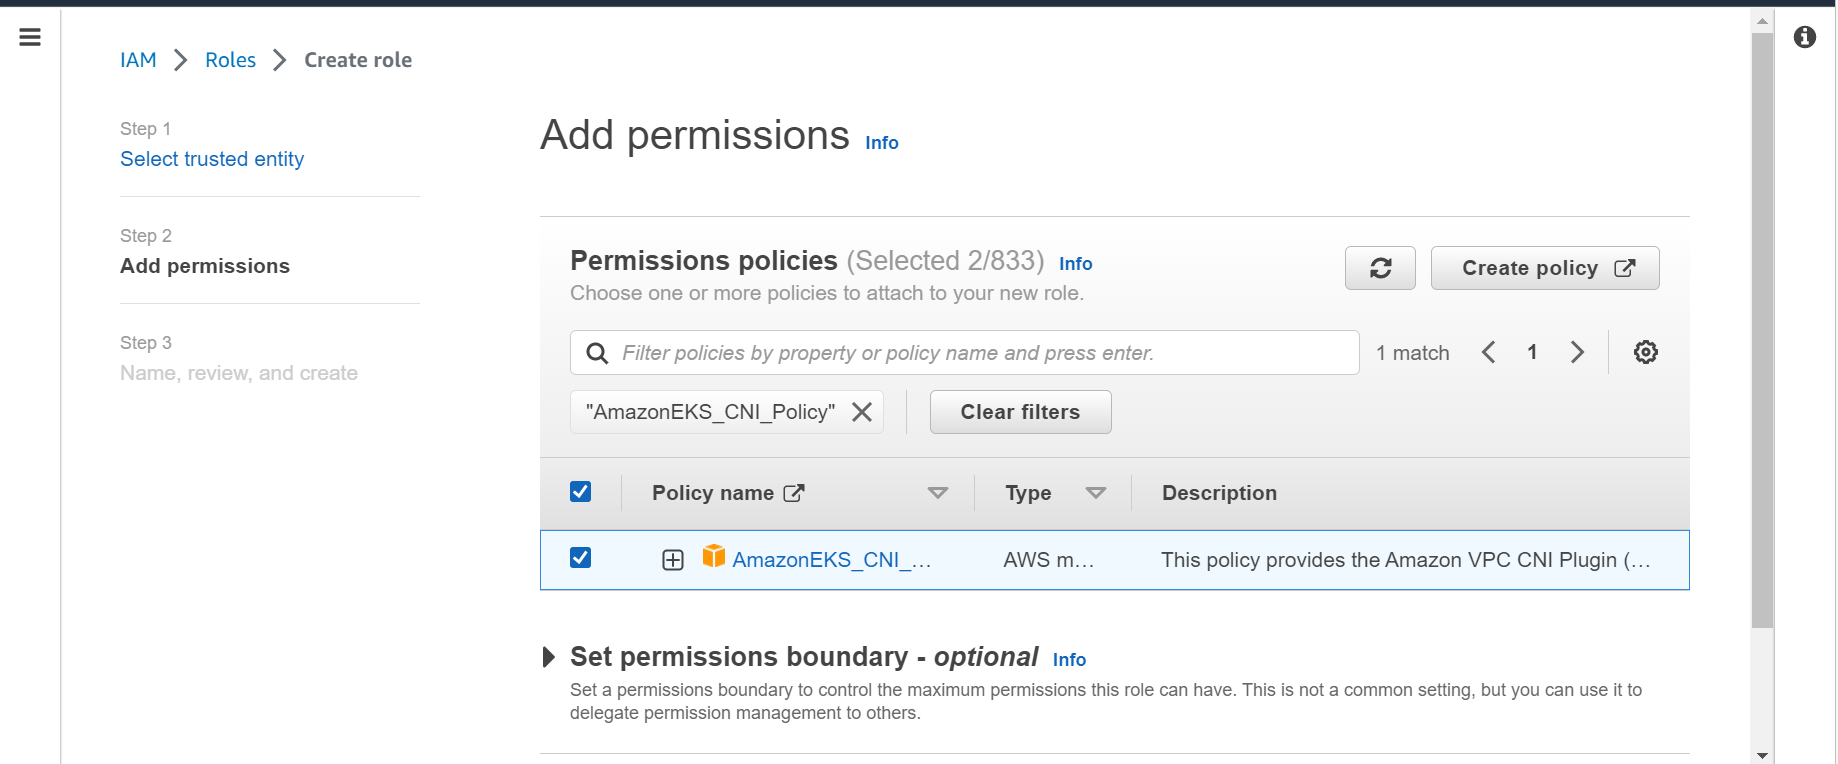
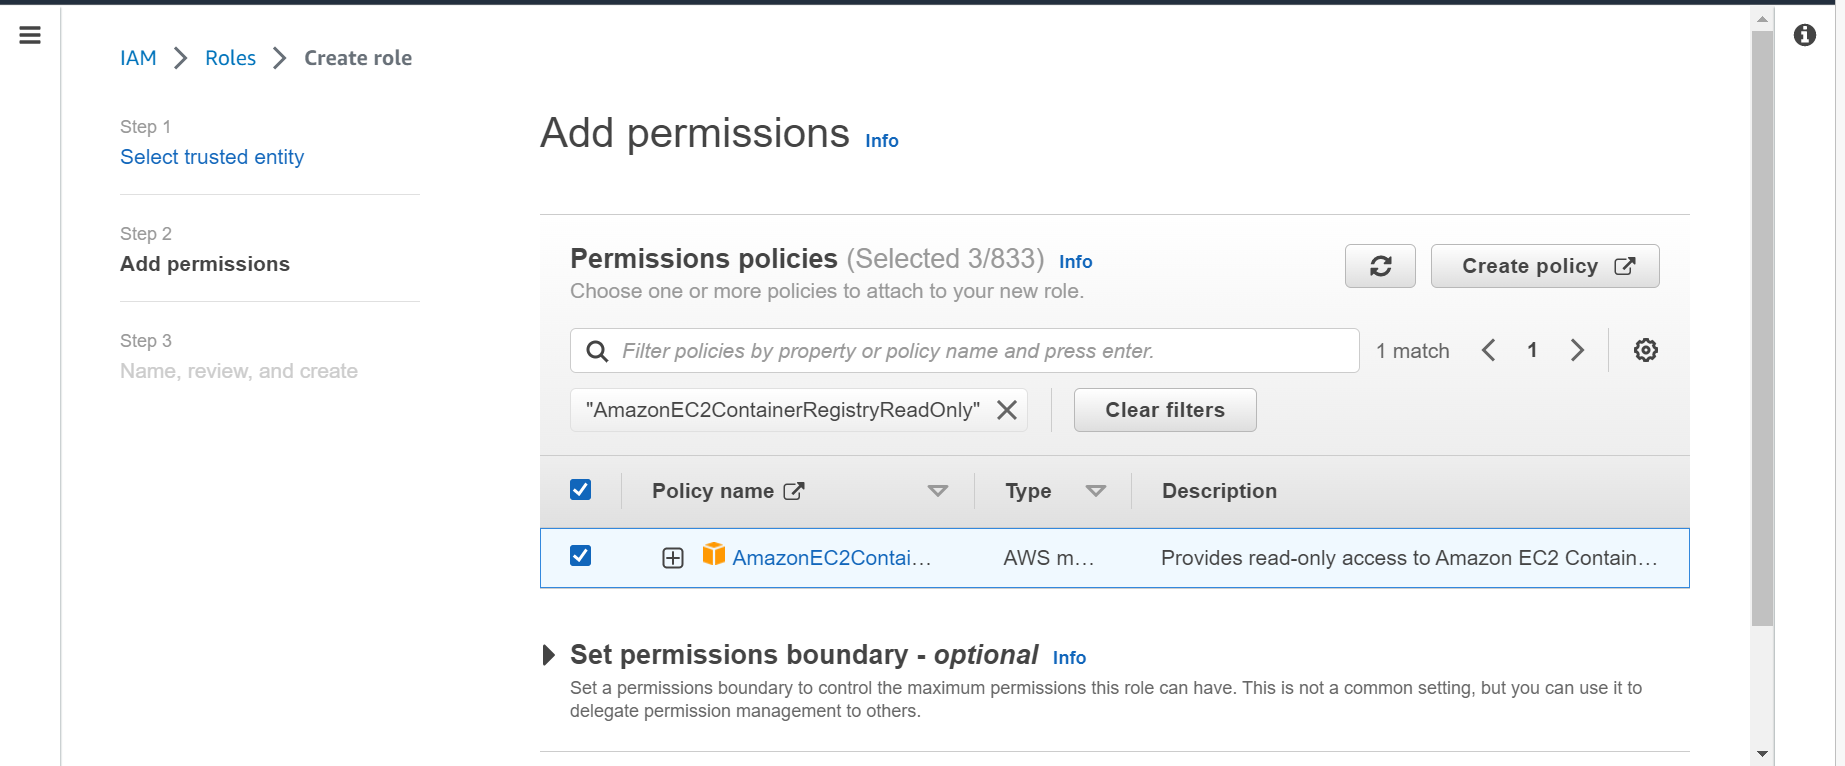
Step-5: Add permissions
In this step, we will add necessary permissions. Since we are creating the role for managed node group, we will attach 3 policies to this role namely, AmazonEKSWorkerNodePolicy, AmazonEKS_CNI_Policy, AmazonEC2ContainerRegistryReadOnly. Click on Next.
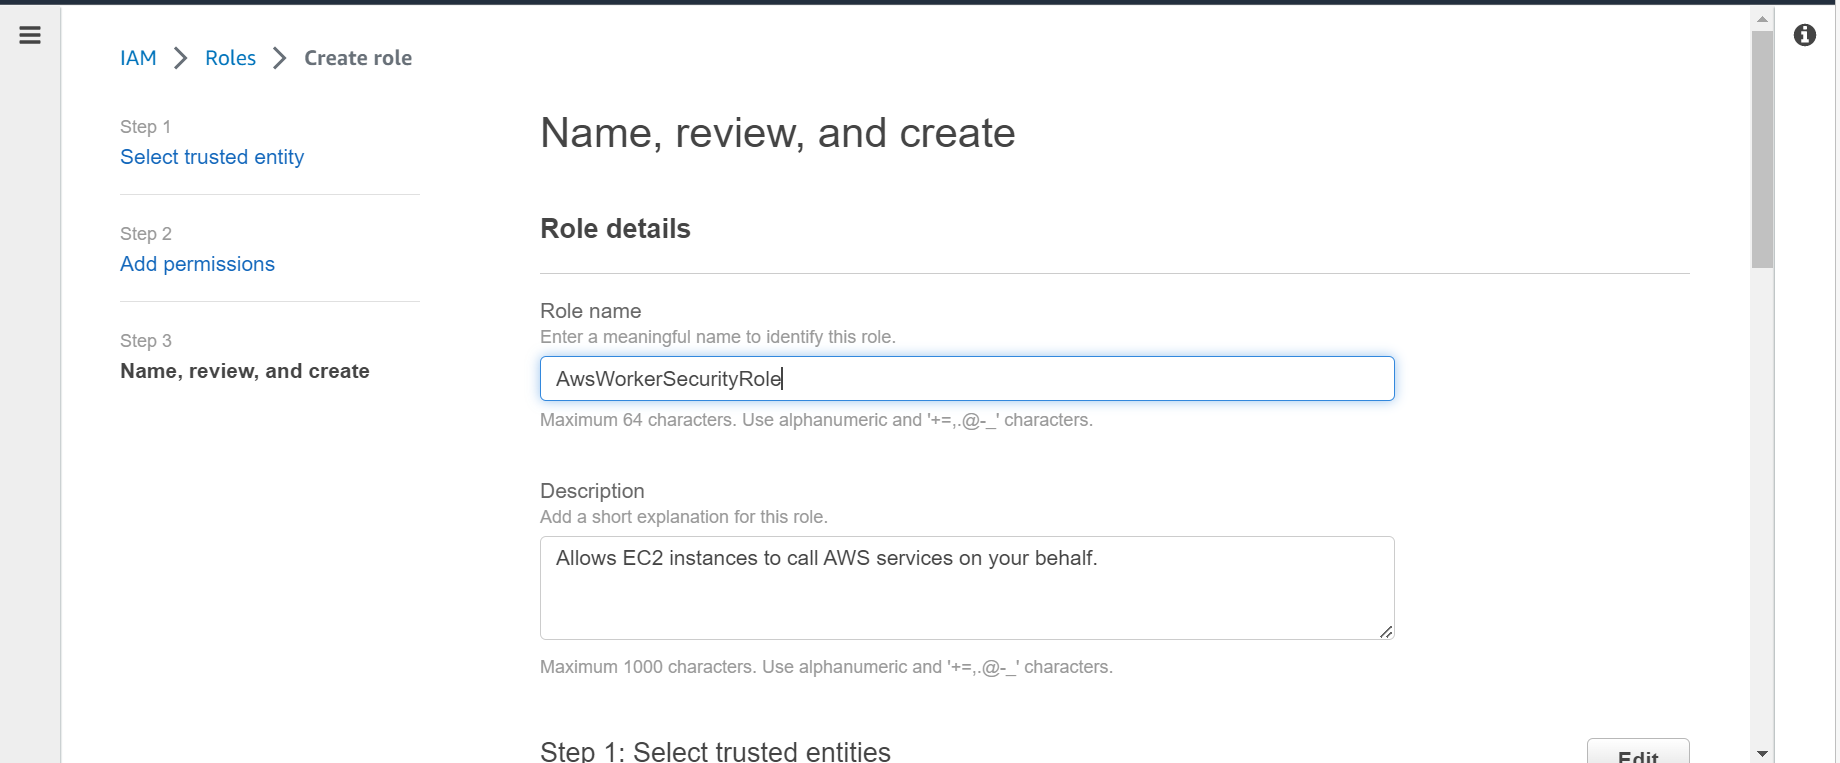
Step-6: Role details
In this step, give your role a name and the description for the role. I have given the name as AwsWorkerSecurityRole. Click on Create role button.
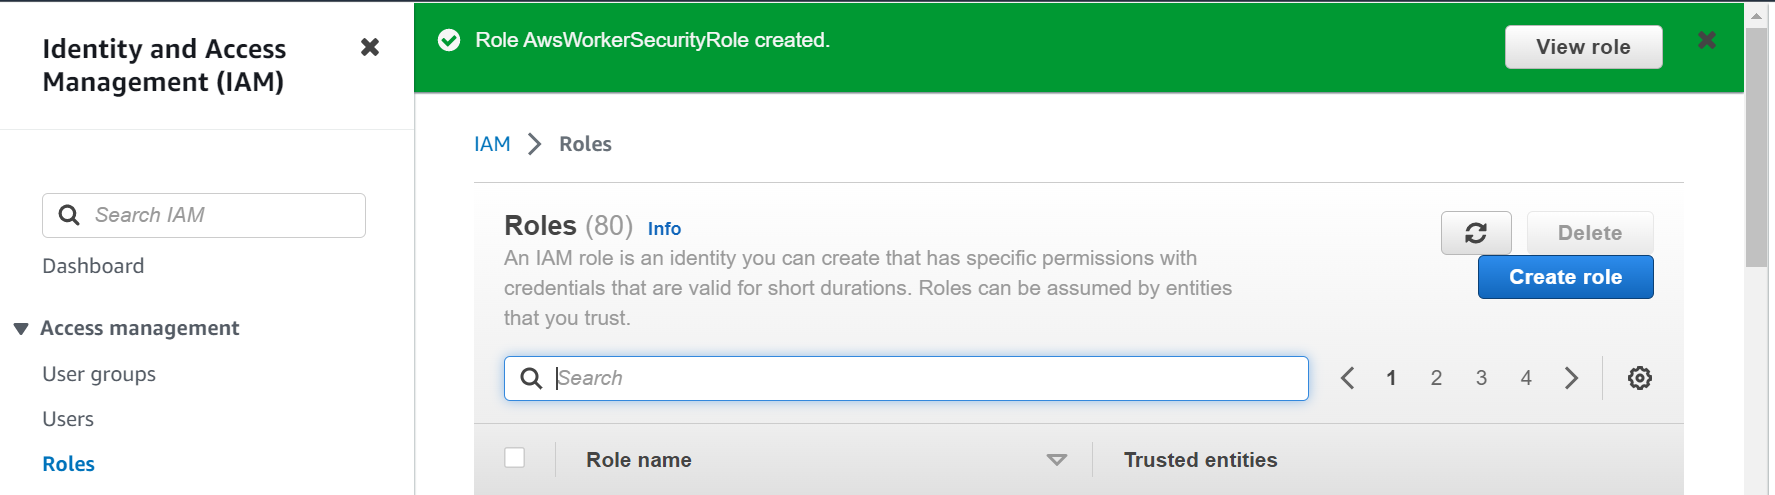
Step-7: Verify Role
Role has been created successfully. You can verify the same by clicking on View role as shown below.
Create managed node groups
In this section, we will create an EKS managed node group and attach the role we have created in above section. To do so, follow the below steps.
Step-1: Select EKS service
In this step, go to AWS console and search for EKS service. Click on EKS service.
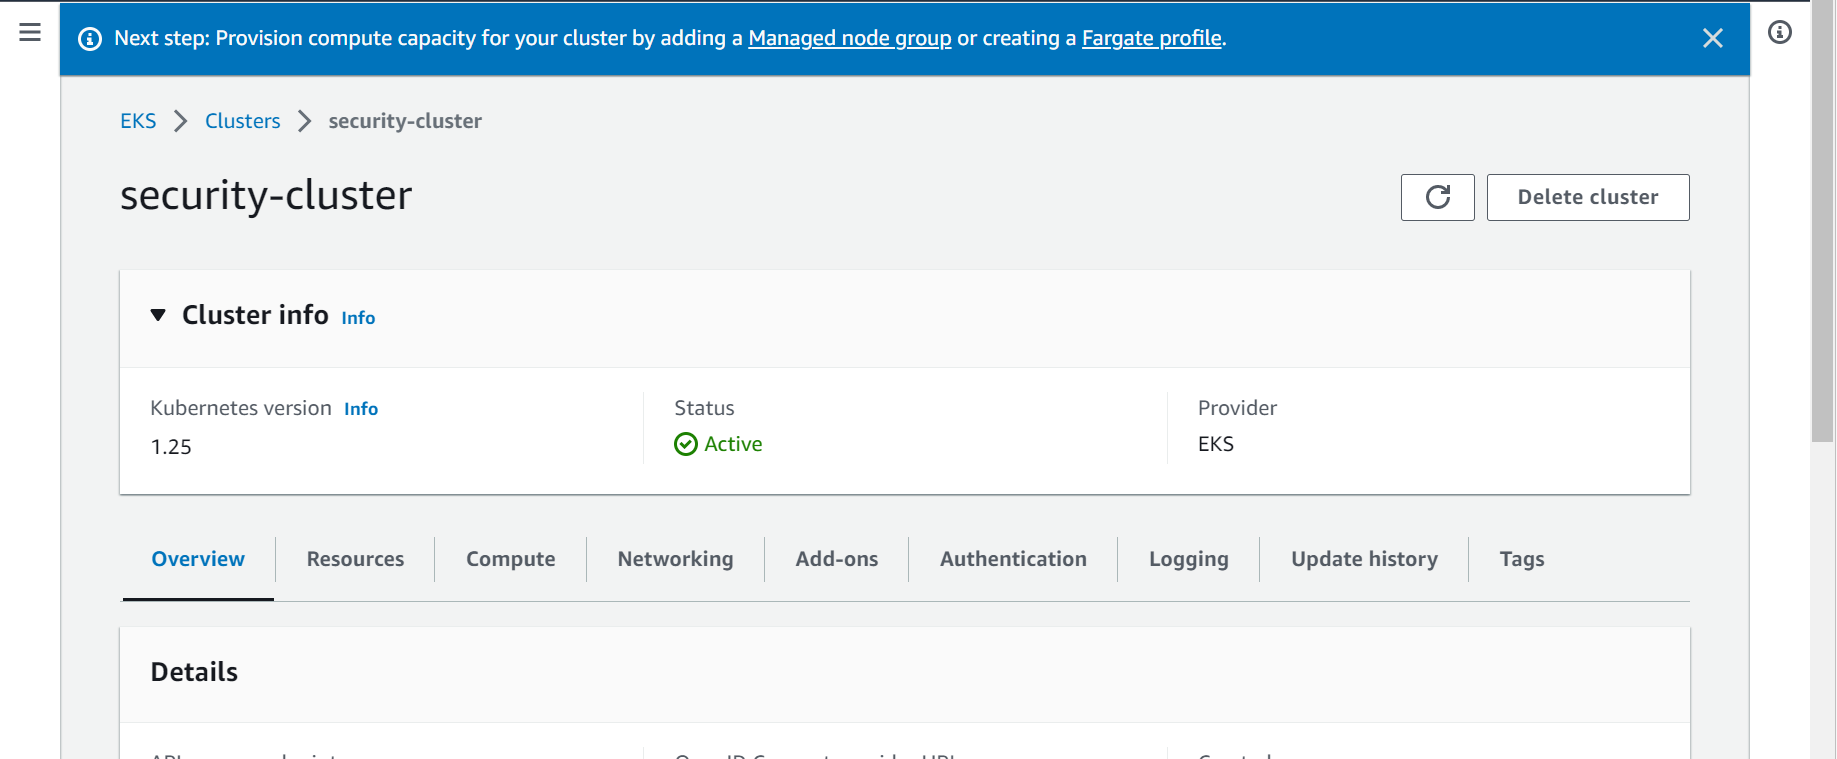
Step-2: Click on compute
In this step, go the the cluster you must have created as prerequisite and then click on Compute option as shown below.
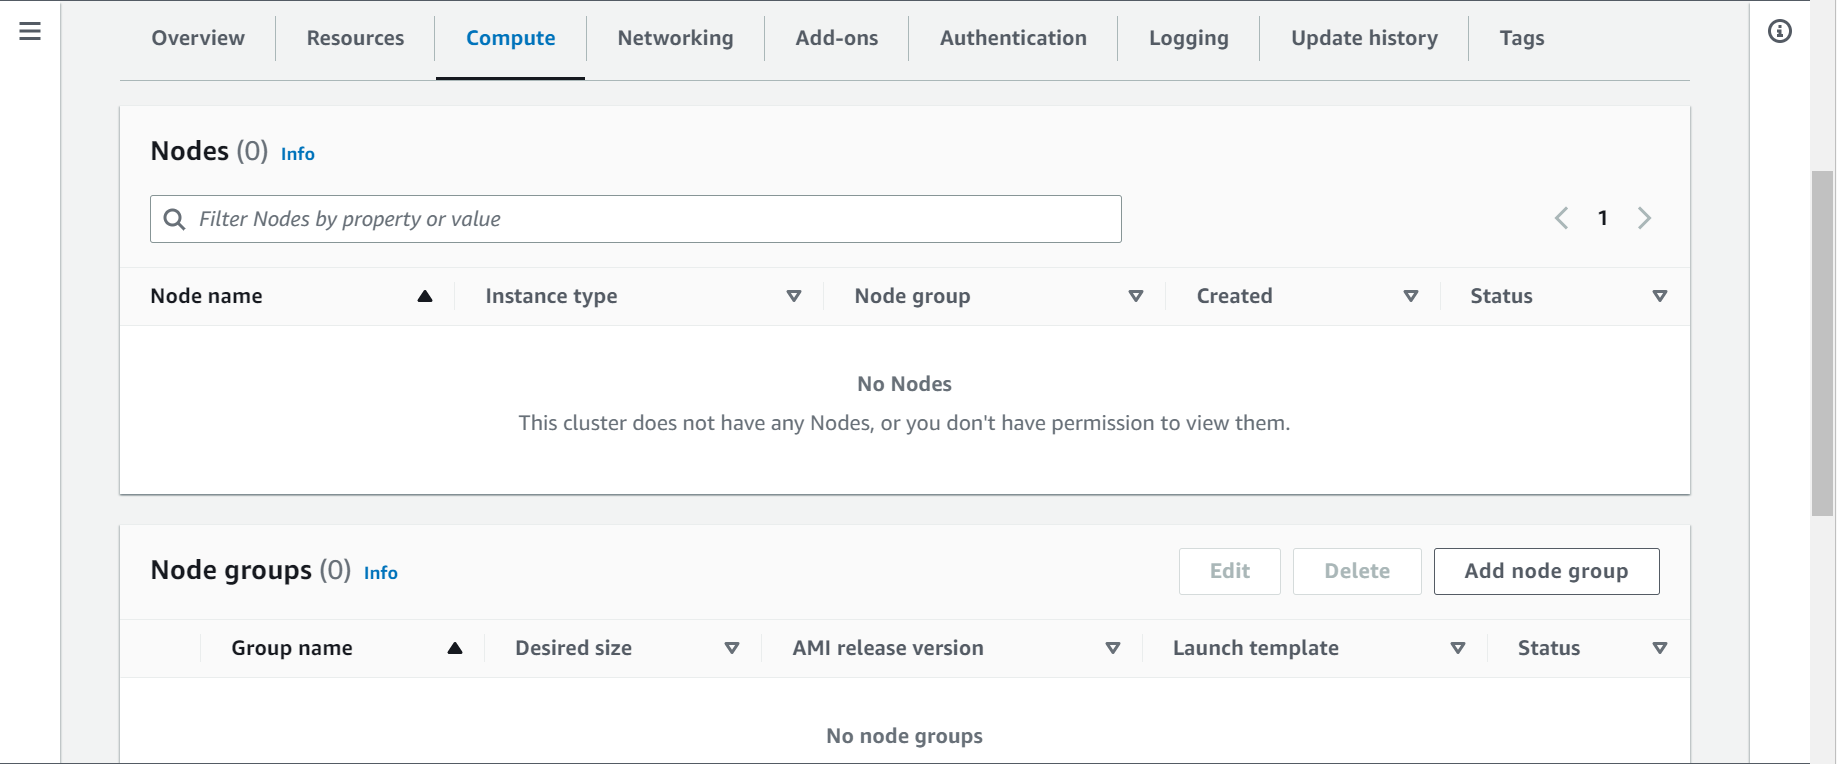
Step-3: Click on Add node group
In this step, under Compute option, click on Add node group button to create a new nod group.
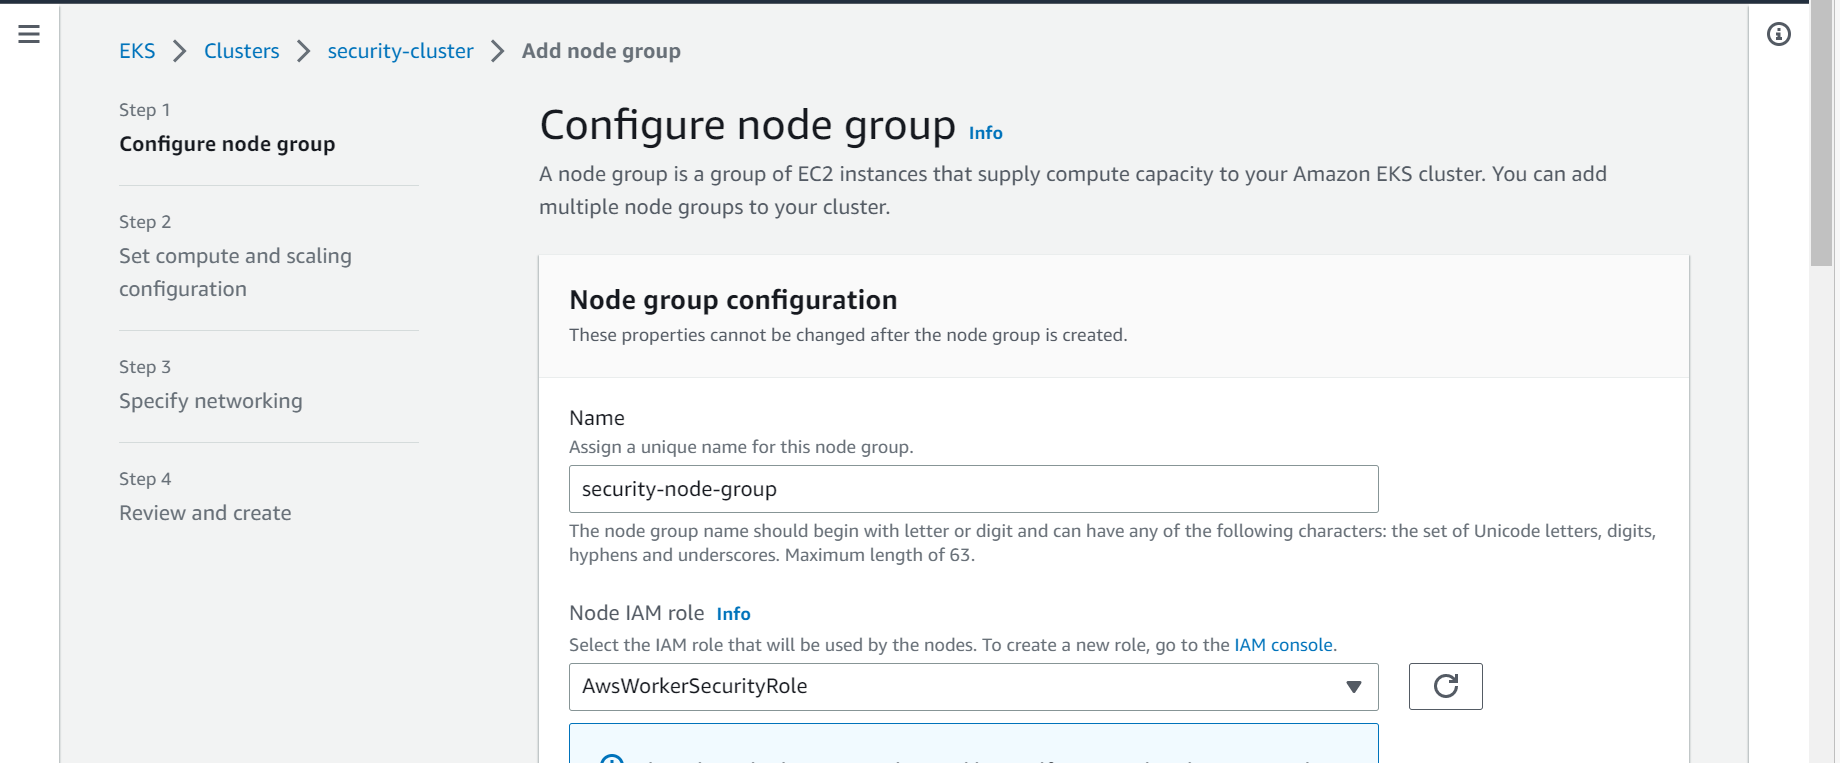
Step-4: Configure node group
In this step, give a unique name to your node group and select the IAM role which you have created in the previous section. Click on Next.
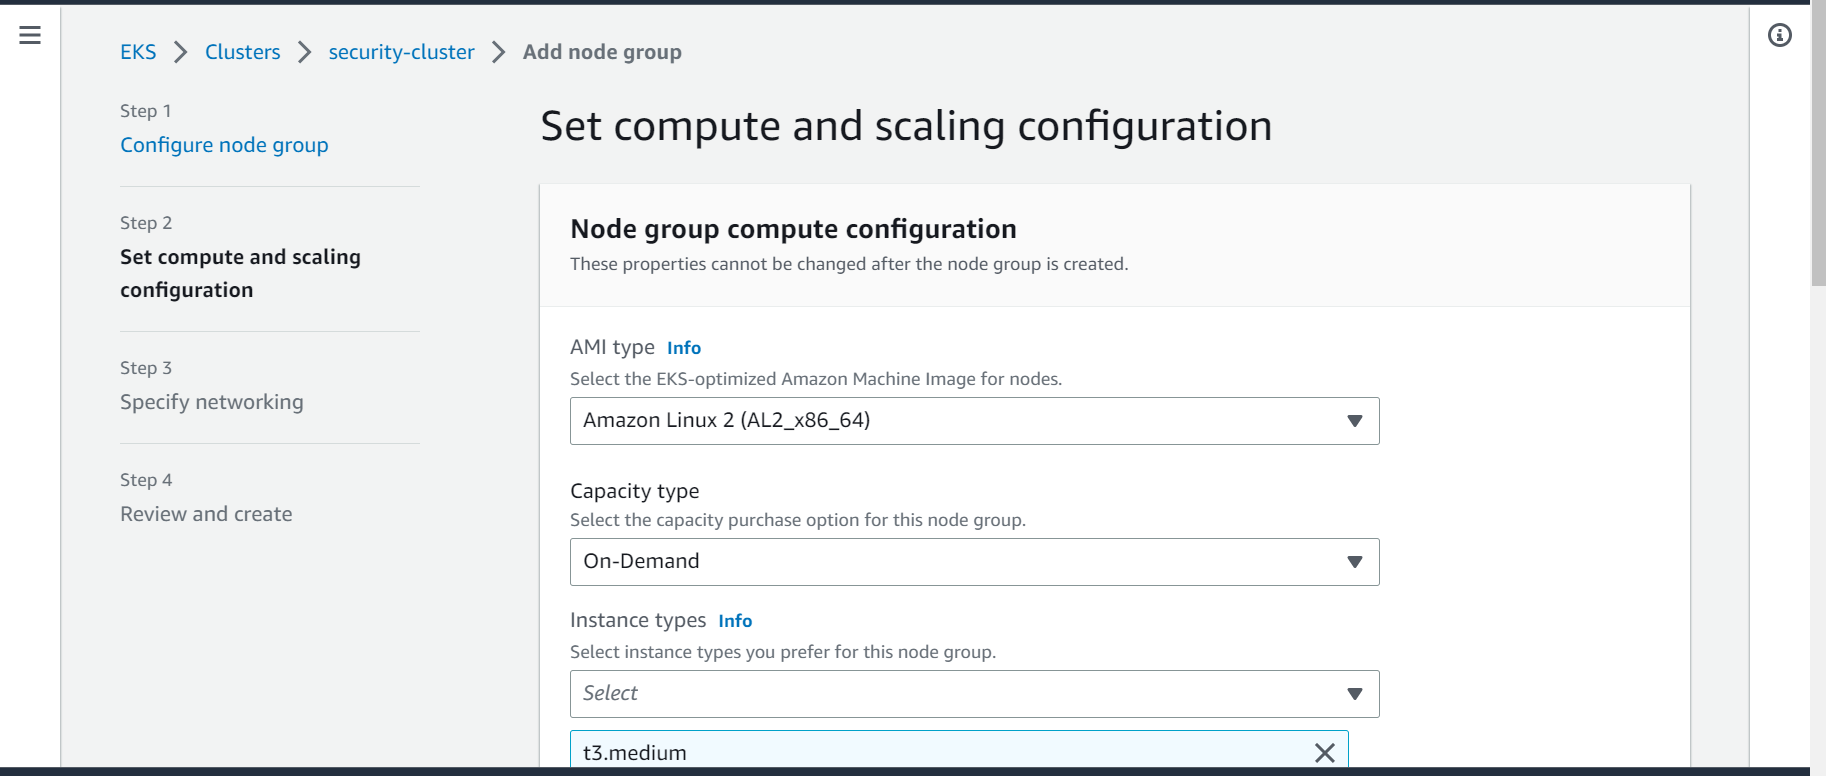
Step-5: Set compute and scaling configuration
In this step, select the AMI type, Capacity type and Instance types based on your requirement. Click on Next.
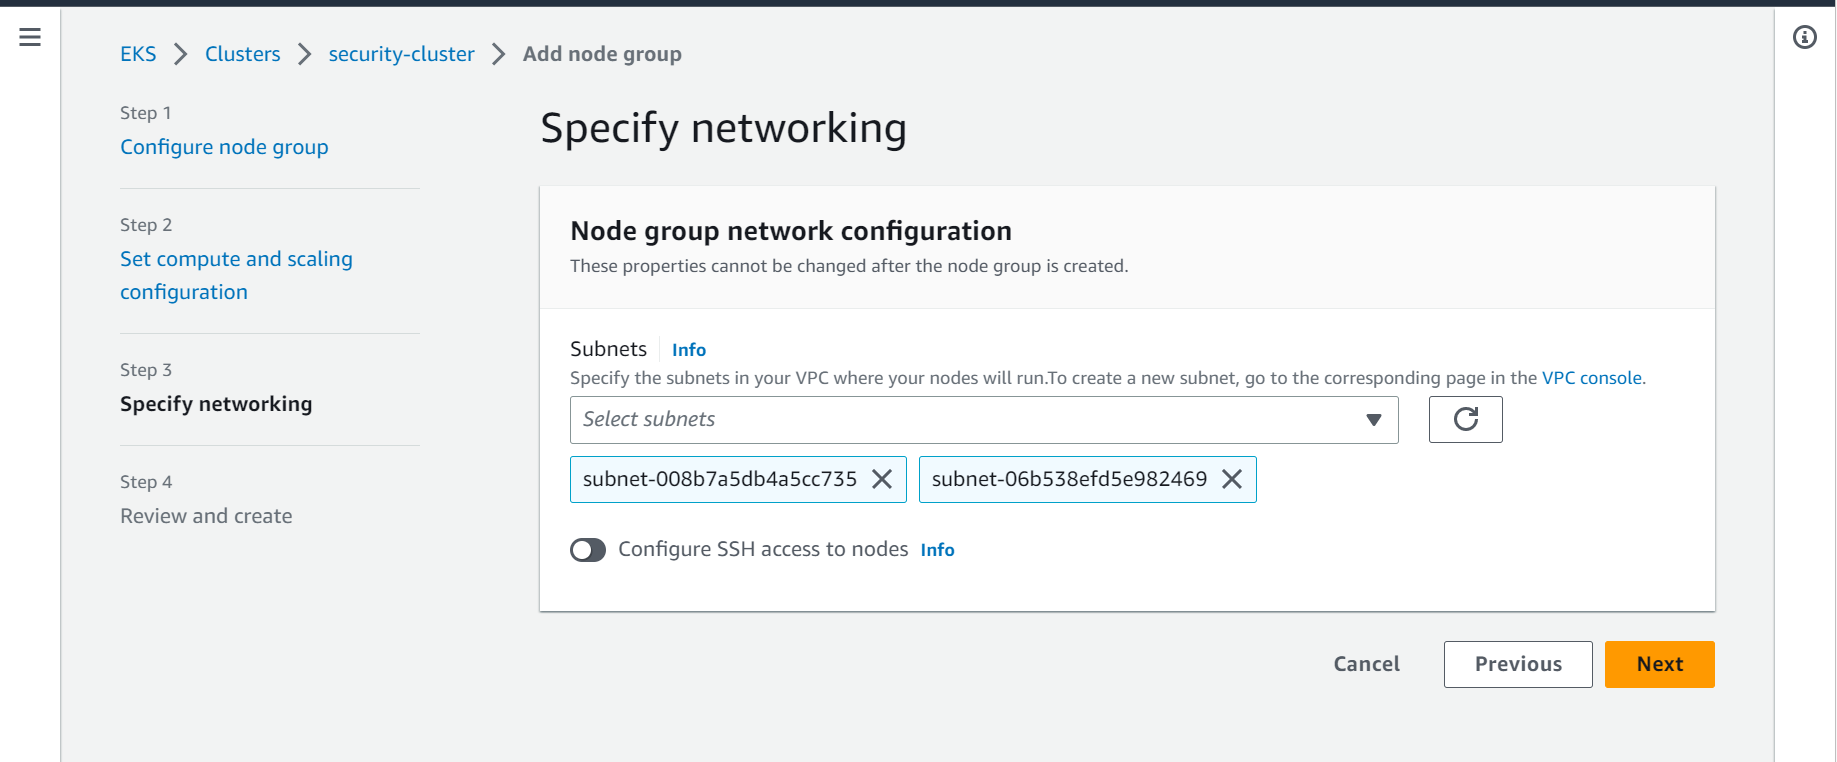
Step-6: Specify networking
In this step, select the subnets which you must have created during the new EKS cluster creation. Next, enable the Configure SSH access to nodes option. This will allow you to access the worker node via SSH. Click on Next.
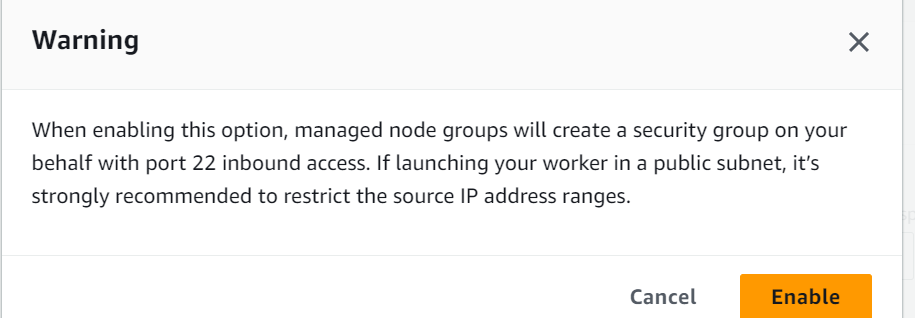
Next a pop up will appear, Click on Enable to enable the SSH access configuration.
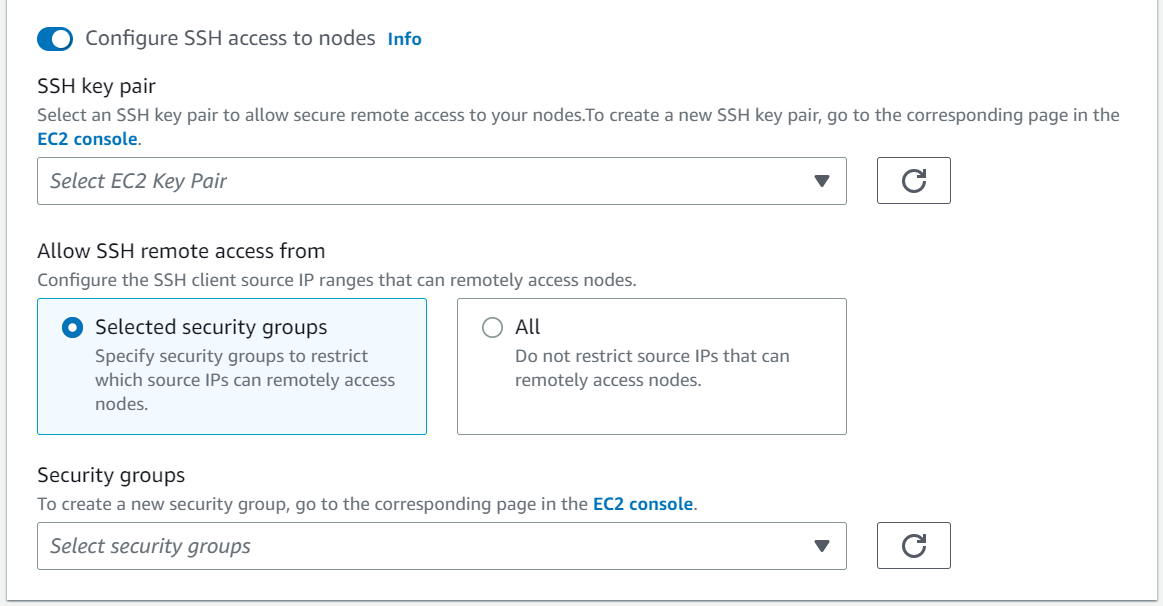
Step-7: Select Key File
In this step, After enabling the SSH access option in previous step, select the key file from the drop down which you will use to access the worker nodes via SSH. If you do not have the SSH key pair created, you can create one from EC2 console.
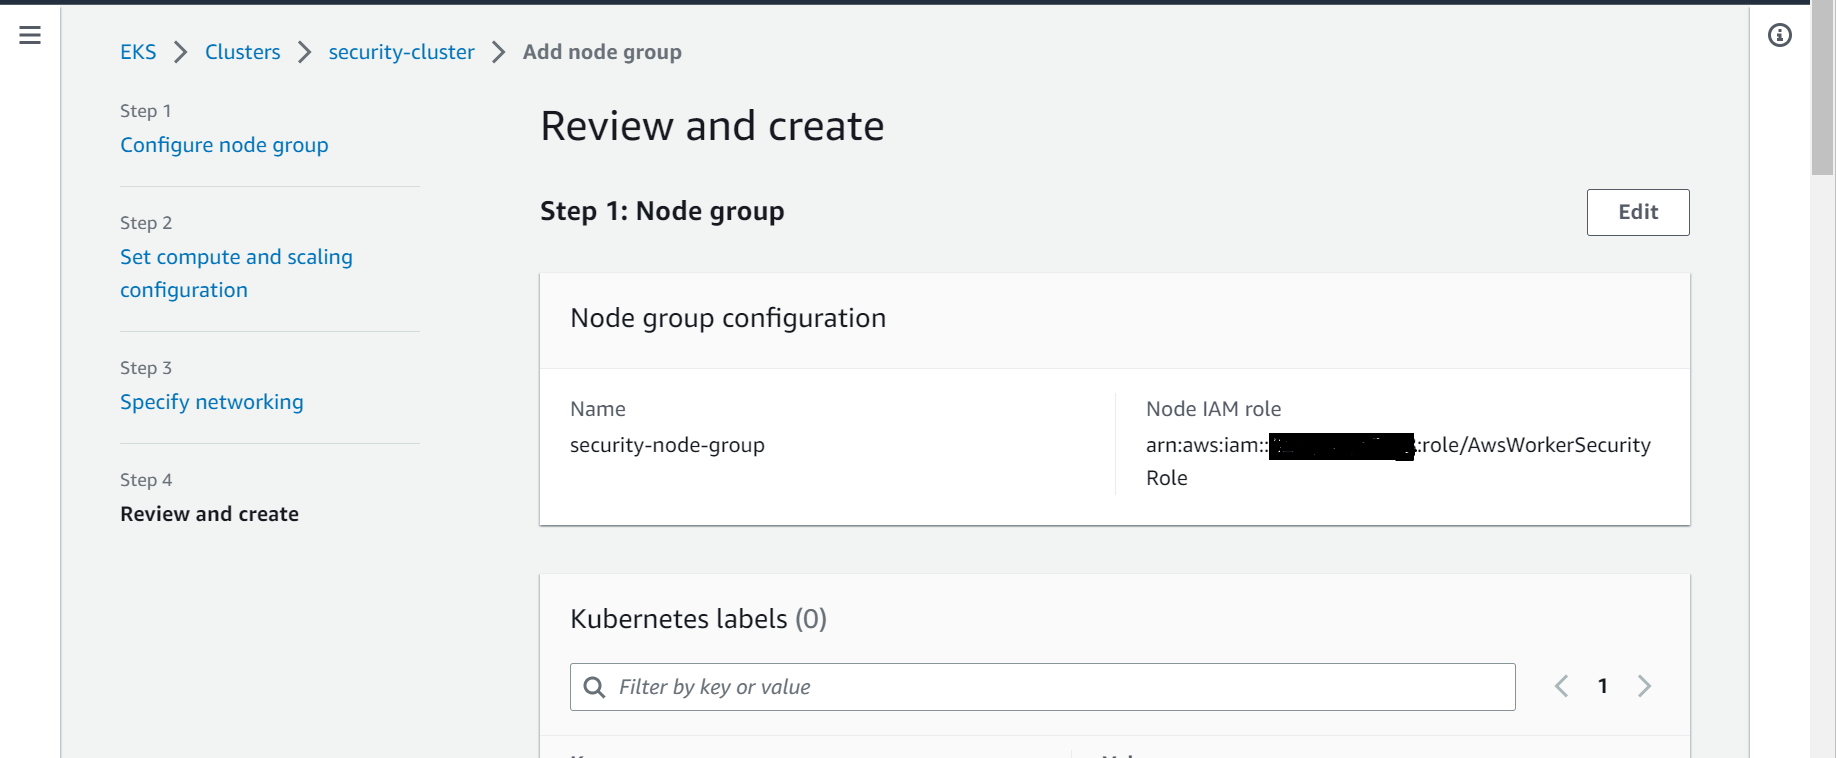
Step-7: Review and create
In this step, review all the configuration which you have selected in previous steps and create the node group.
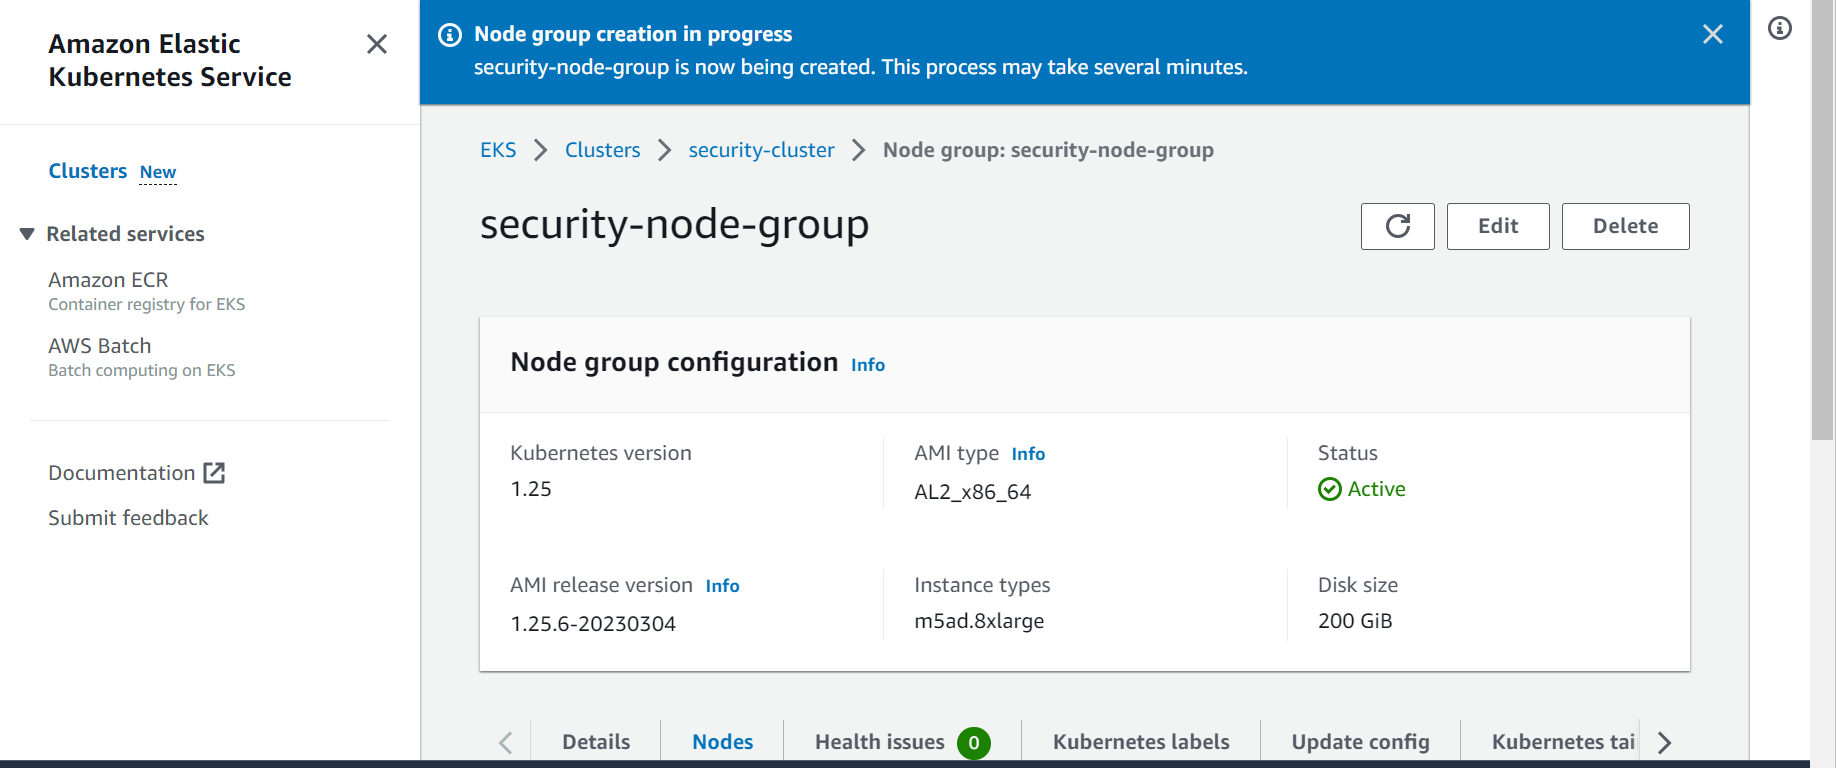
Step-8: Verify node group
It may take few minutes to create the node group. Once created, you can verify the same.
Conclusion
We have successfully created the EKS managed node group using AWS managed console. Your cluster is now ready to use and deploy applications. Start playing around with different options and settings that your cluster and node group provides to understand it better.