Amazon EC2 Overview
In this tutorial, we will learn about how to connect to EC2 instance via Putty in Windows using 9 easy steps. After you have launched your EC2 instance, you would need to connect to the instance. There are different ways to connect to an EC2 instance. These are:
- Using Session manager
- Using any SSH client and own key
- Using EC2 instance connect CLI
To use EC2 instance connect browser-based client, you need to allocate a public IPv4 address to your instance. We have allocated a private IPv4 address to our instance so we will understand and use second option to connect to EC2 instance using SSH client on Windows.

How to Connect EC2 Instance Using Putty in Windows
Also read: How to create EKS node groups
Follow below steps to connect to EC2 instance using SSH client(Putty) in Windows. Please note that prerequisites are satisfied before following the given steps.
Prerequisites
- Local machine must have Windows Operating system.
- Pre installed Putty(SSH client). You can read How to Install Putty on Windows to setup the Putty.
- An existing Key pair. You can create key pair if do not have one.
- An existing EC2 instance. Create a new EC2 instance using How to create EC2 instance.
- EC2 instance must be in running state
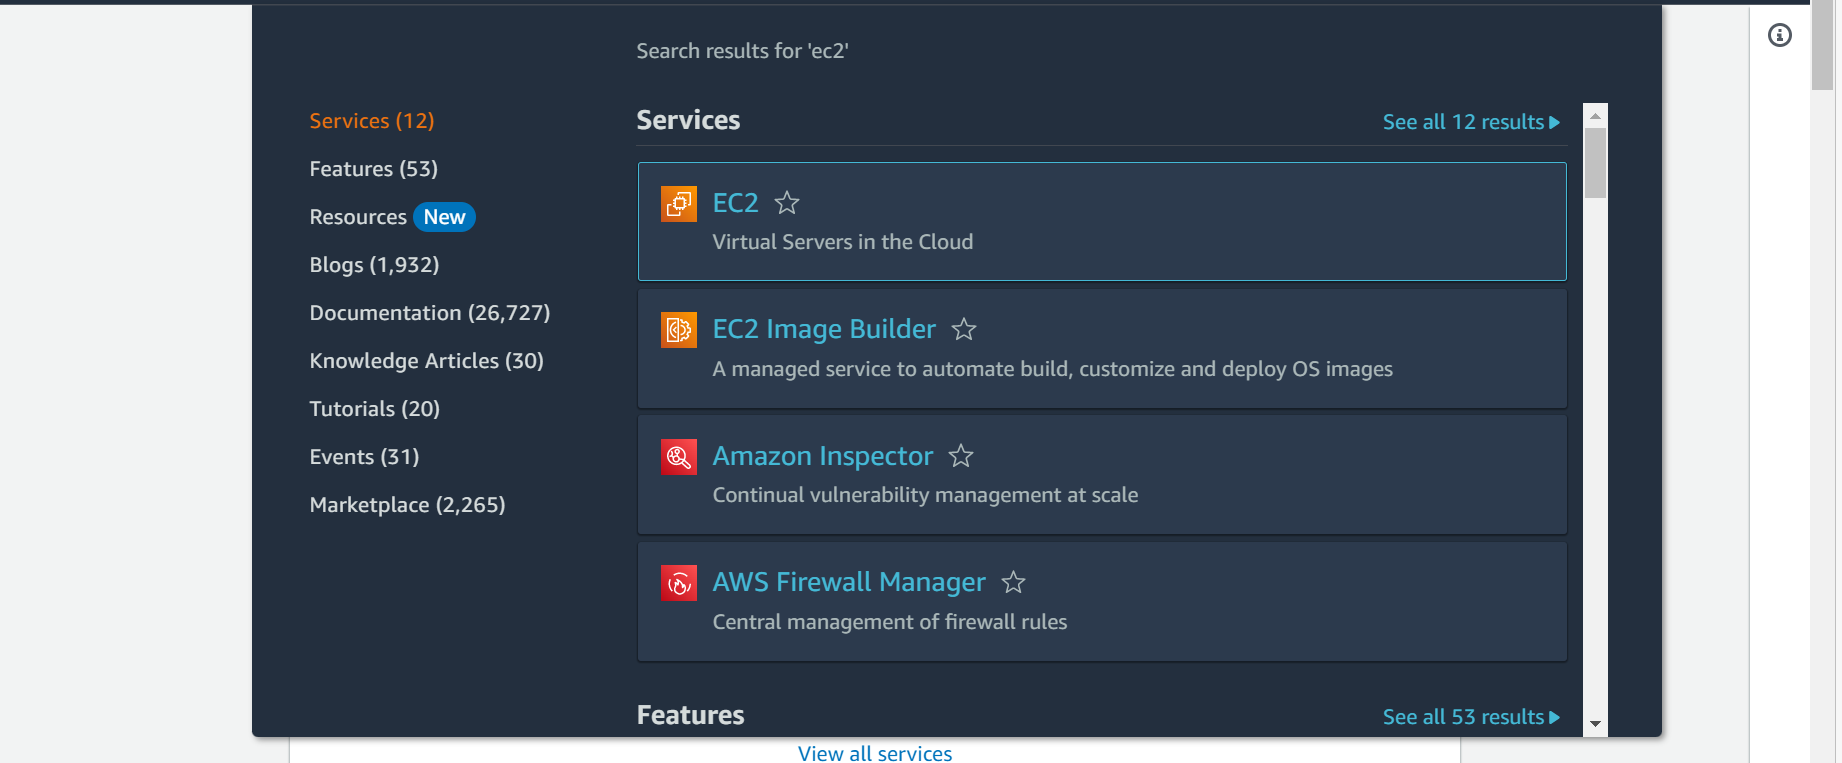
Step-1: Search EC2 service
In this step, search for EC2 service from AWS console. Click on EC2.
Step2: Select EC2 Instance
In this step, select the instance to which you want to get connect to. Click on that instance’s ID and then Click on connect option.

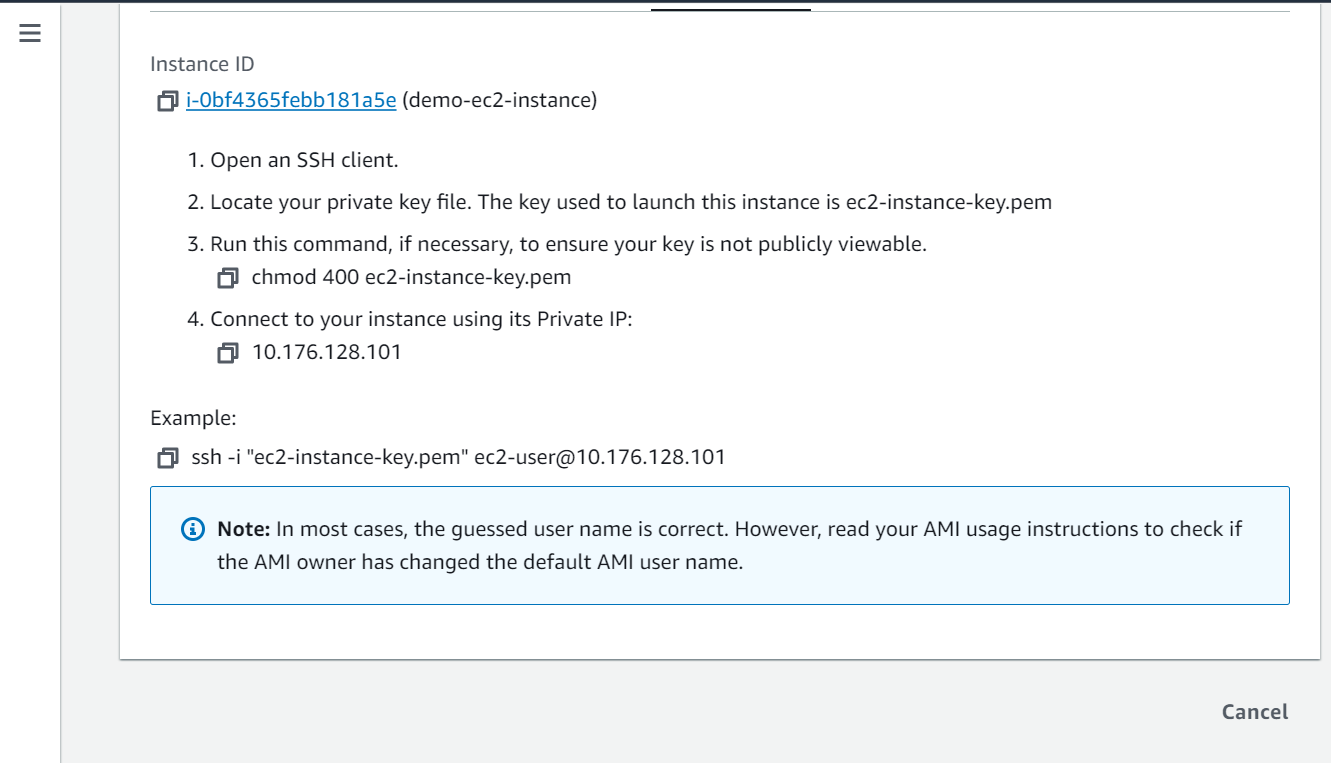
Step-3: Select SSH client
In this step, You will see 4 options to connect to the instance. Click on SSH client.

Step-4: Copy Instance host IP
In this step, copy your instance’s private IP address which will be needed to connect via Putty. Here, the instance’s private IP address is 10.176.128.101.
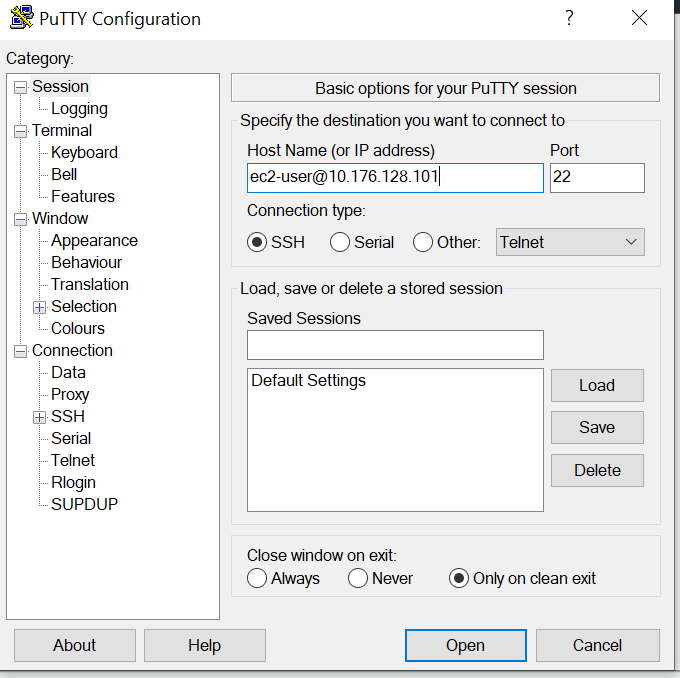
Step-5: Provide hostname in Putty
In this step, open Putty in your local machine and paste the EC2 instance’s private IP which you had copied in previous step. This is shown below.
Step-6: Configure Key Pair
In this step, click on SSH option then on Auth option from the left panel as shown below.
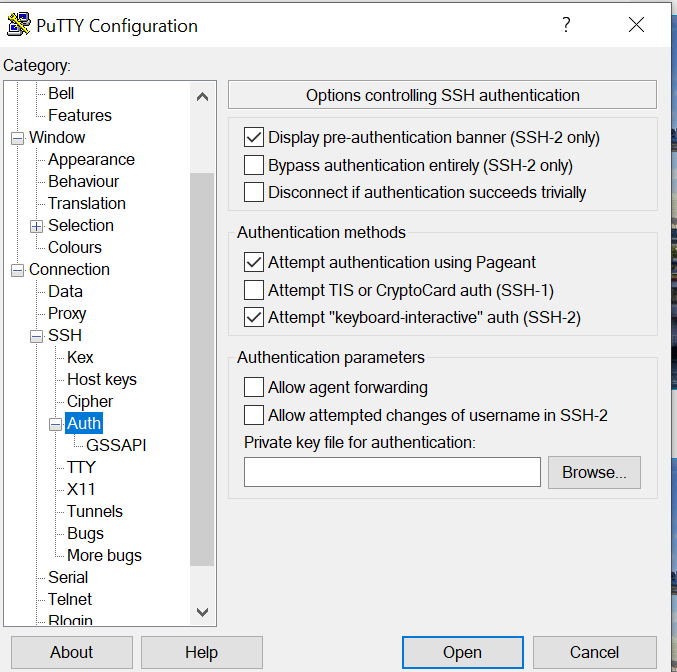
Step-7: Select Key Pair location
In this step, click on Browse option and locate your key file stored in your local machine.

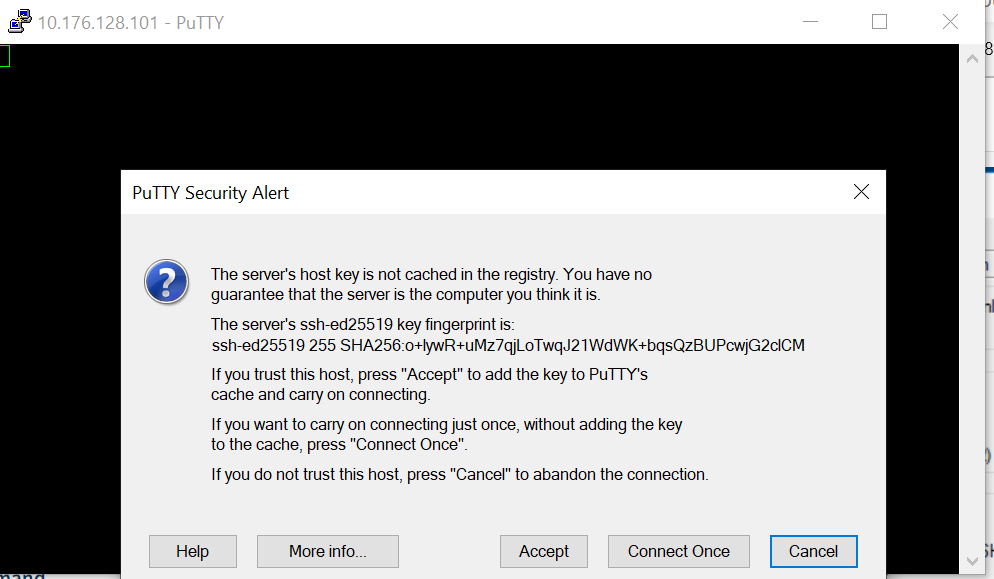
Step-8: Accept Putty Alert
In this step, once you select the key file, a one time pop up will appear to add the key in Putty’s cache. Click on Accept button.
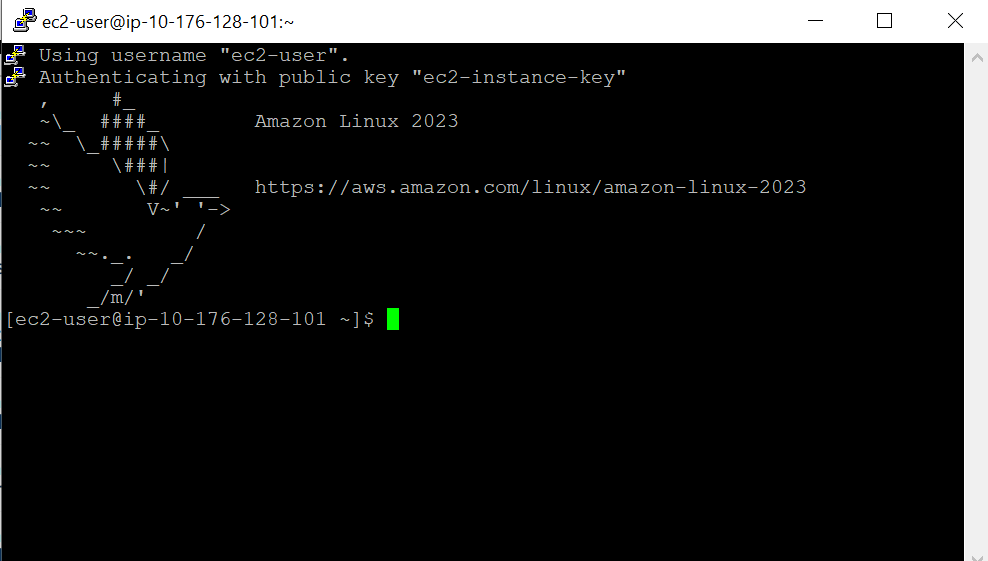
Step-9: Verify Connectivity
In this step, You will get connected yo your EC2 instance. Verify the same by either running hostname command or ip addr command.
Conclusion
You have successfully built up the connectivity to an EC2 instance using SSH client Putty on your local machine. You can explore other methods to connect to the EC2 instance to understand which method is suitable based on your requirement.