In this tutorial, we will learn about how to create EC2 instance using 10 easy steps. AWS is one of the leading cloud platform among others. Its most powerful and usable service is EC2. There are many reasons behind the popularity of EC2 service like User can launch multiple EC2 instances based on the need and do not care about hardware units to provision their applications. Also, User can access the provisioned EC2 instances from anywhere in the world.
What is EC2 Service ?
Amazon Elastic Compute Cloud(EC2) is compute service which provides scalable compute capacity. EC2 is one of the most usable AWS service as it allows the user to launch as many virtual machines as they need with bare minimum configuration. User can also stop or terminate the instantiated EC2 instances when it is no more in use which means you pay only when you use the service. It has saved the users from investing time and money in managing and investigating on hardware units for deploying their applications.
EC2 Features
- Create virtual machines.
- Customize many features of an instance like, storage, instance type, networking, memory etc.
- Pay for only what you use.
- Scalable (increase/decrease).
- Secure login to EC2 instance using Key pair feature.
- Eradicates need of hardware units.
How to Create EC2 Instance Using 10 Easy Steps
Follow below steps to easily launch an EC2 instance using AWS console.
Also read: How to provision EKS cluster in AWS
Prerequisites
- An existing VPC.
- Key pair if you do have one.
- Familiarity with instance types.
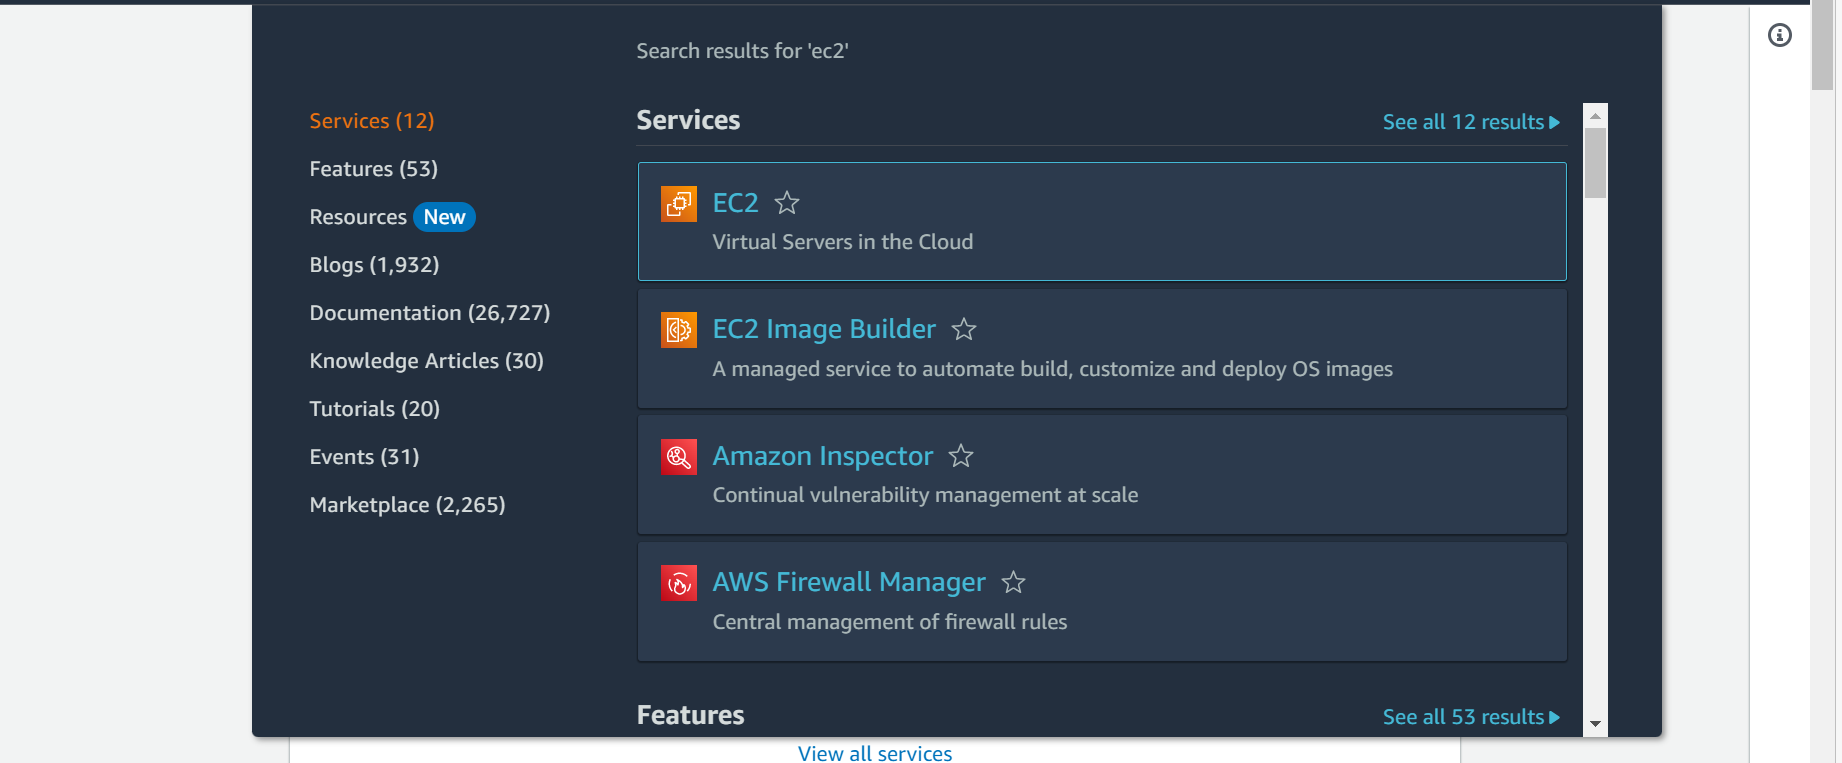
Step-1: Select EC2 service
In this step, go to AWS console and search for EC2 service. Click on EC2.
Step-2: Launch Instance
In this step, Click on Instances from left panel to see the option to provision a new EC2 instance.
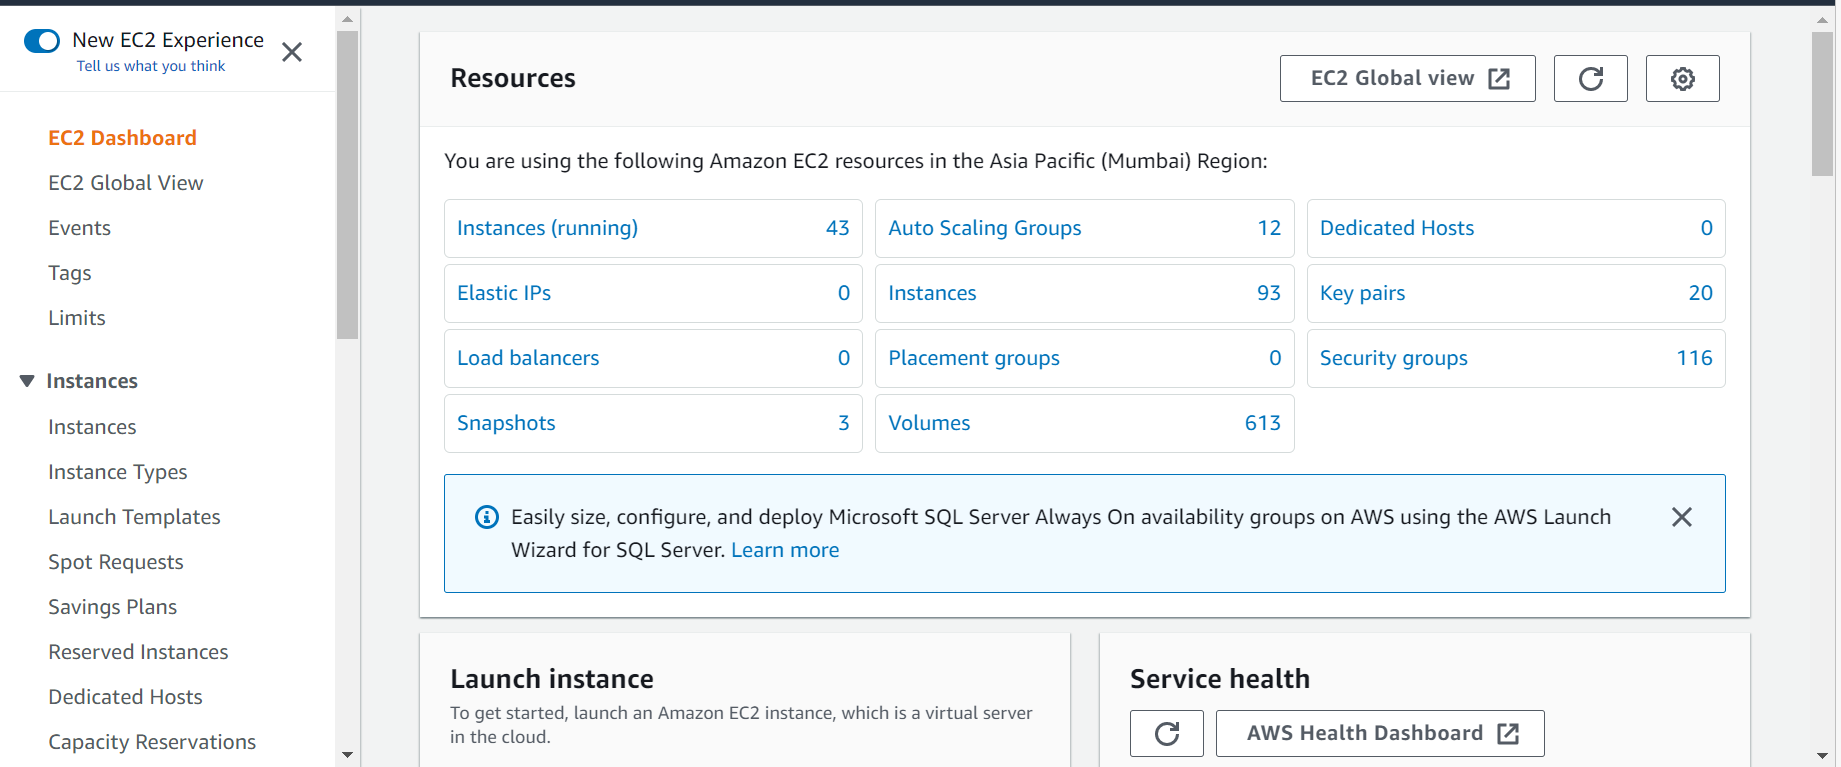
Next, Click on Launch instances.

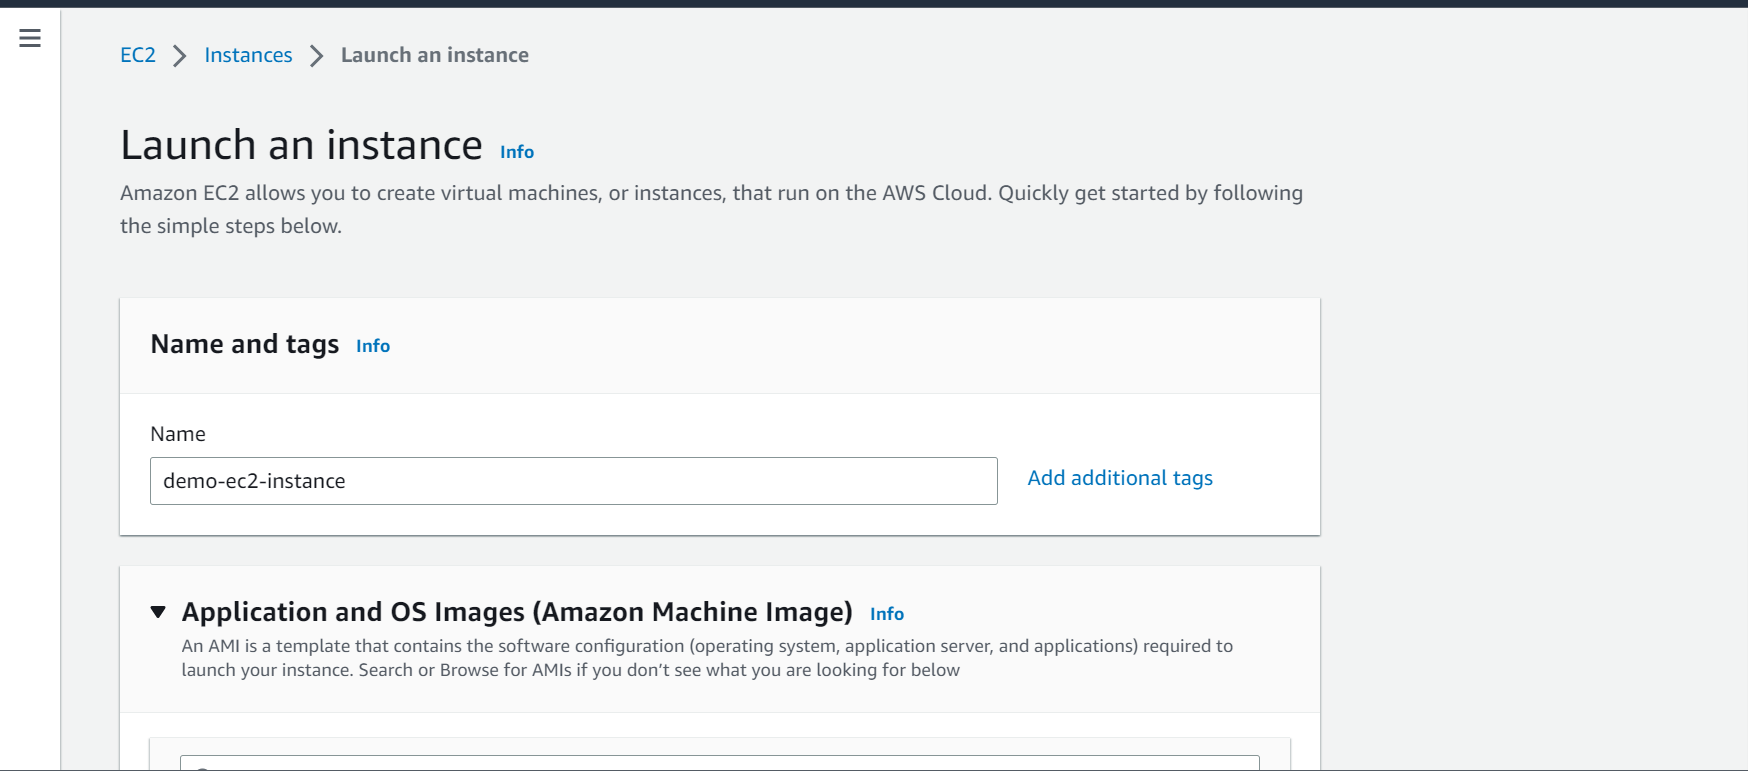
Step-3: Configure EC2 Name
In this step under Name and tags, give a unique name to your instance. I have given the name demo-ec2-instance. This is optional but prefer giving a name to easily identify your instance.
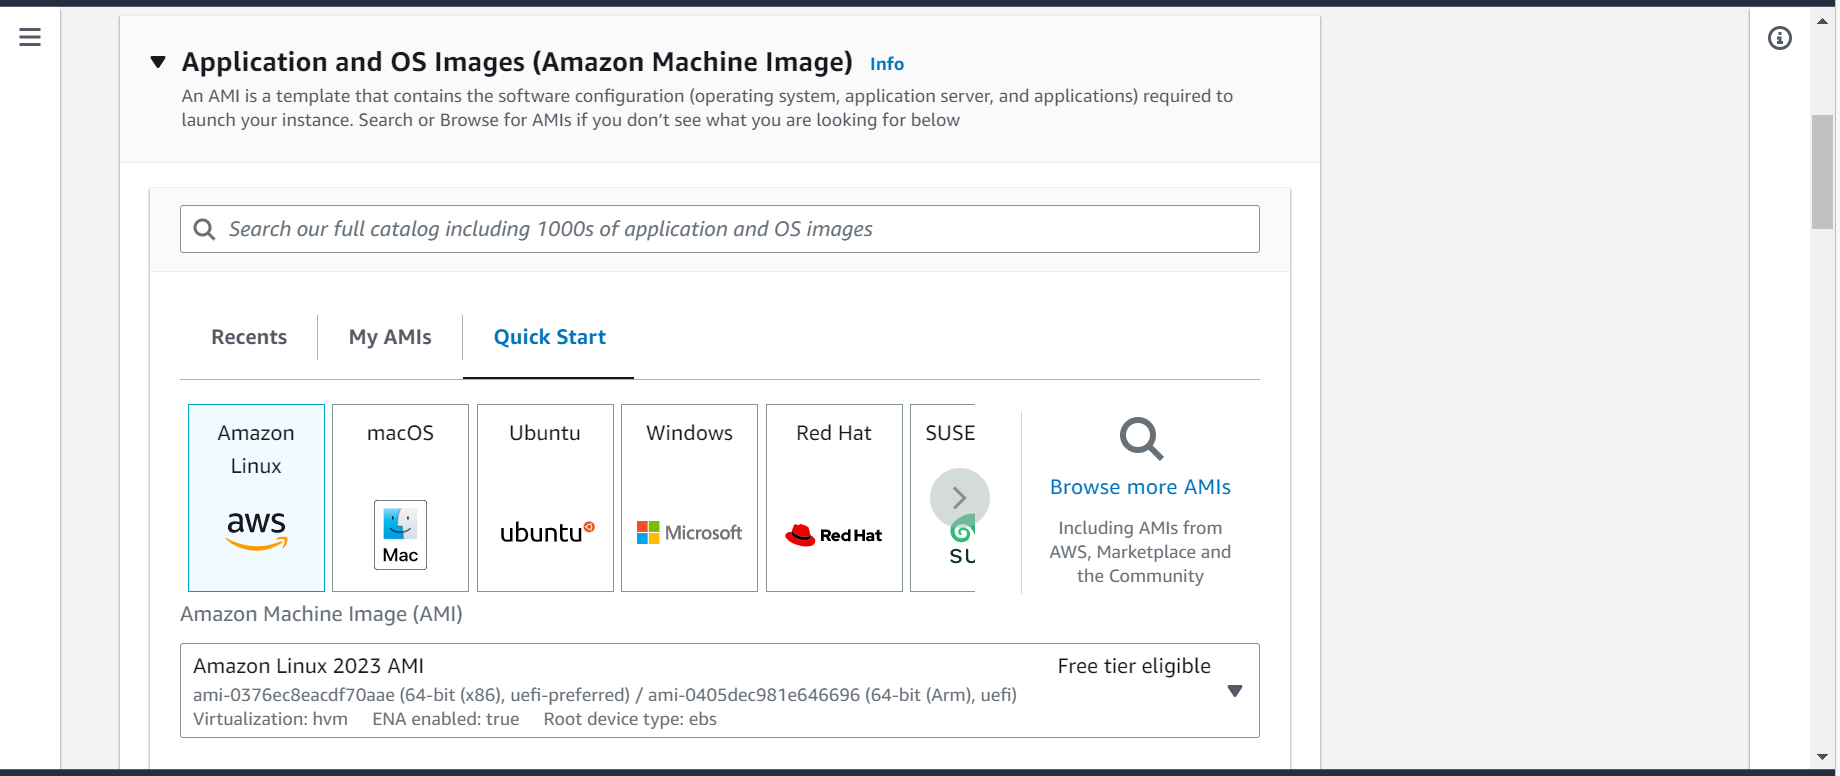
Step-4: Select AMI
In this step, select Amazon Linux as type of AMI since it is eligible for free tier.
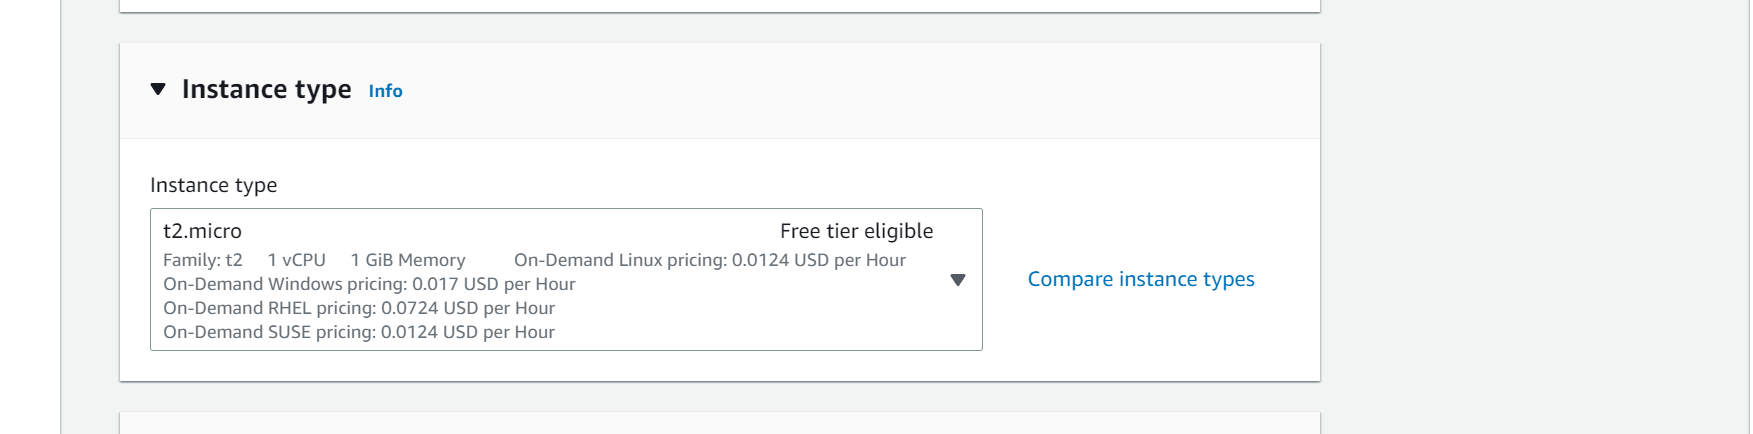
Step-5: Select Instance Type
In this step, select the Instance type. this selection is done based on the need of user. Since I am creating the instance for demo purpose, I have select t2.micro type as it is eligible for free tier.
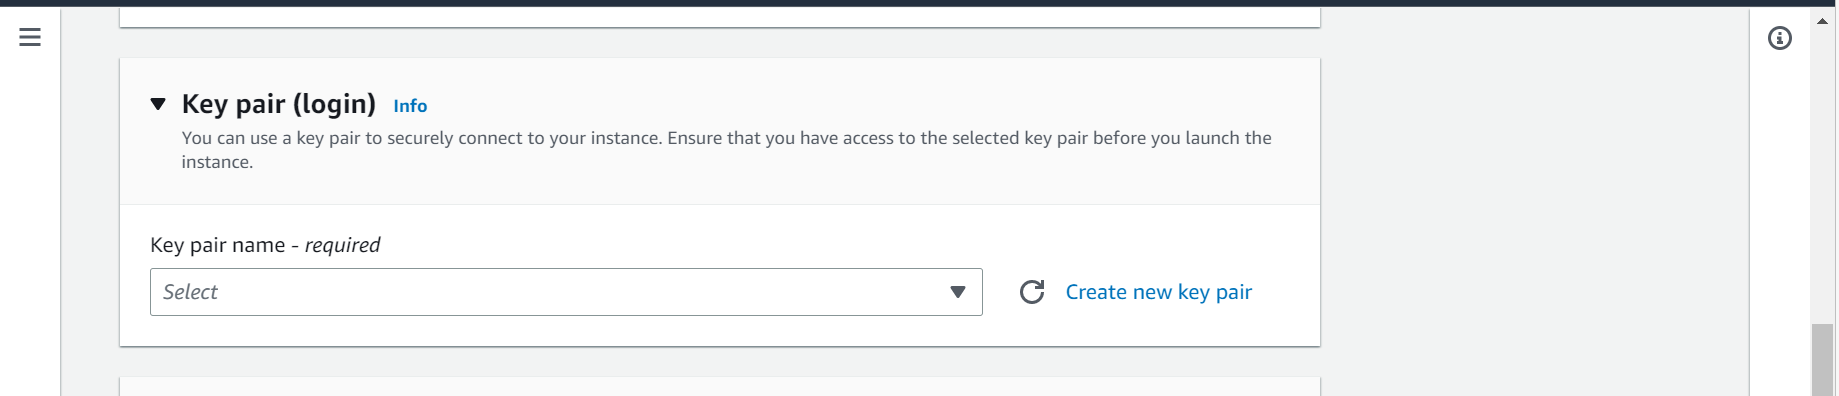
Step-6: Create Key Pair
In this step, first create a new Key pair for secure SSH login to your instance. You can also use existing Key pair if you have created it before. Select from the drop down if you have created the Key pair before else Click on Create new key pair.
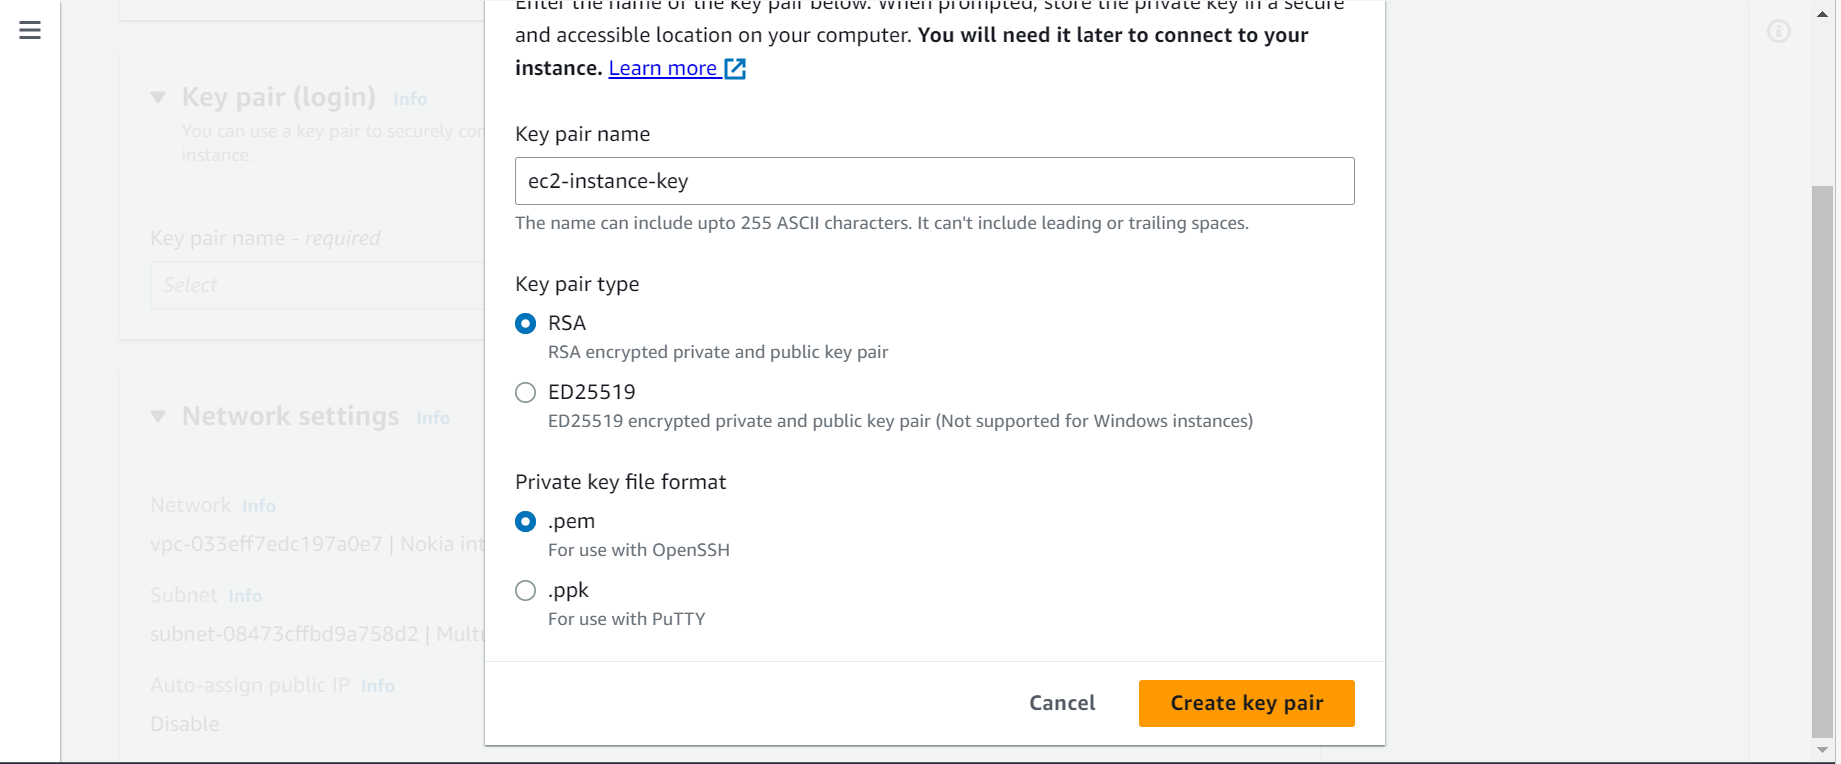
Next, a new pop up will appear. Here give a unique name to your Key pair. I have given it name ec2-instance-key. Next, Select the Key pair type and the format in which you want to save your key file. If you want to connect to your instance using Putty, save the key file as .ppk format else save it as .pem format. Once all done, click on Create key pair.
NOTE:
Step-7: Configure Network Settings
In this step if you want to assign your instance a public IP, enable the Auto-assign public IP option. For Firewall setting, you can either create a new security group or use the existing ones. Security groups are required to connect to your instance via SSH(Linux) or RDP(Windows). It authorizes the traffic using the rules which we create under security group. By default, when an instance is launches, a default security group is created which allows the traffic from anywhere. Here, we will create a new security group.
In this step, first select the correct VPC from drop down where you want to create your EC2 instance.
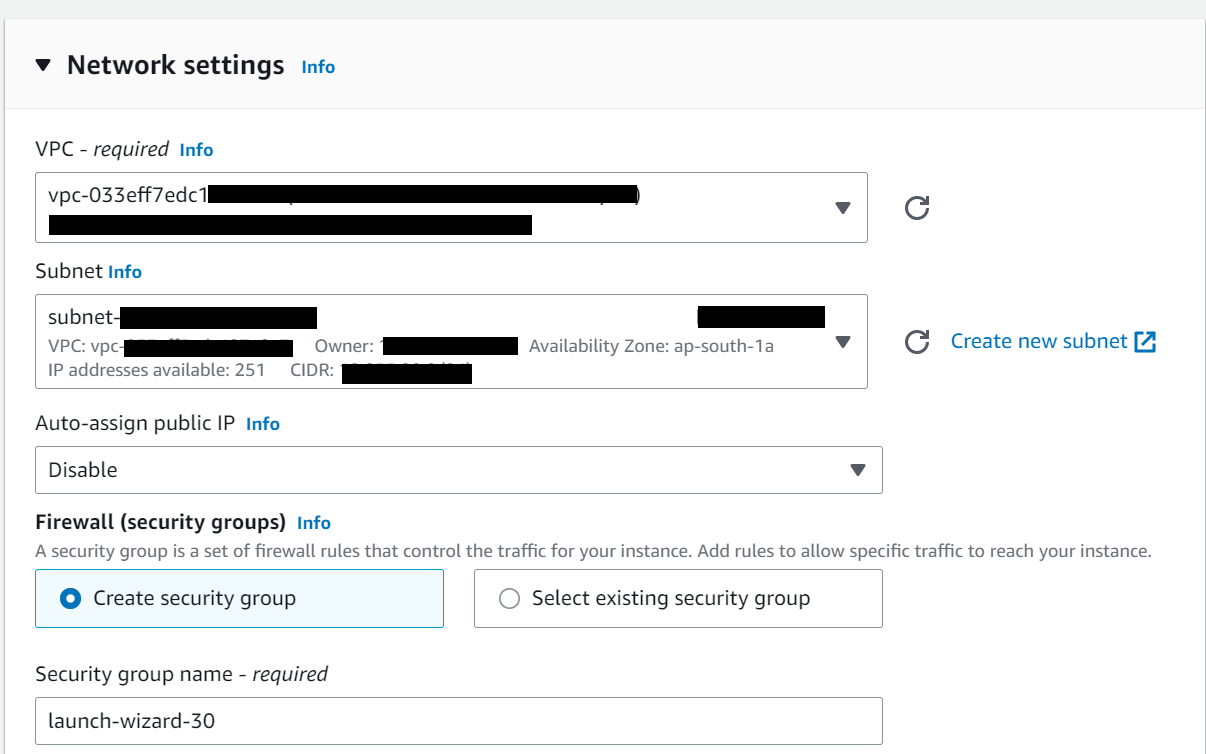
Next, Select auto-assign public IP option as enable or disable and configure the security group.
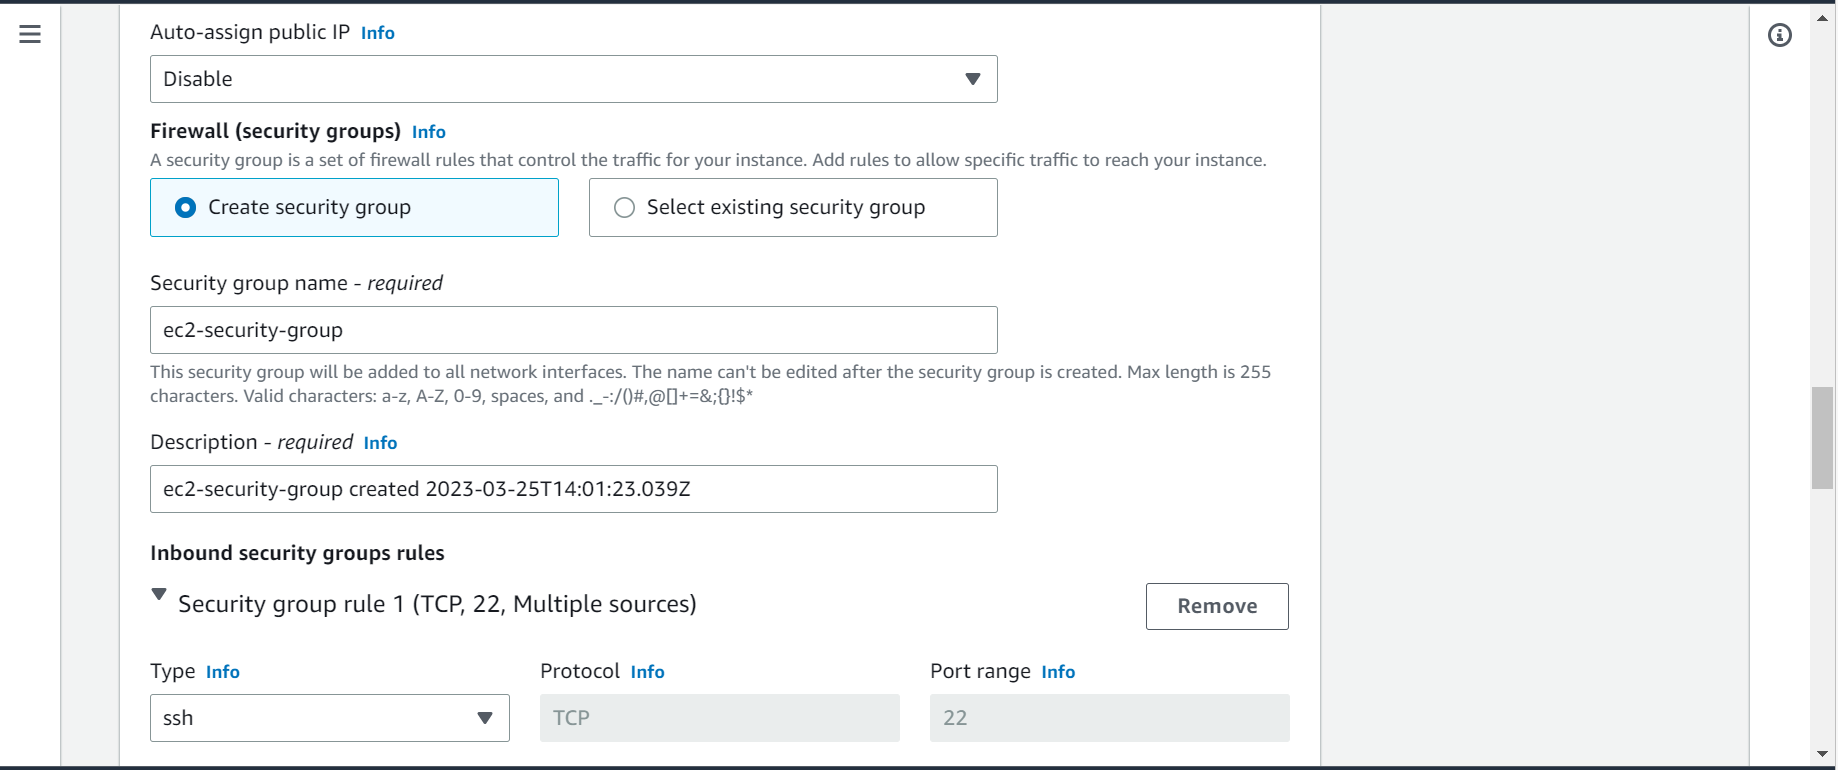
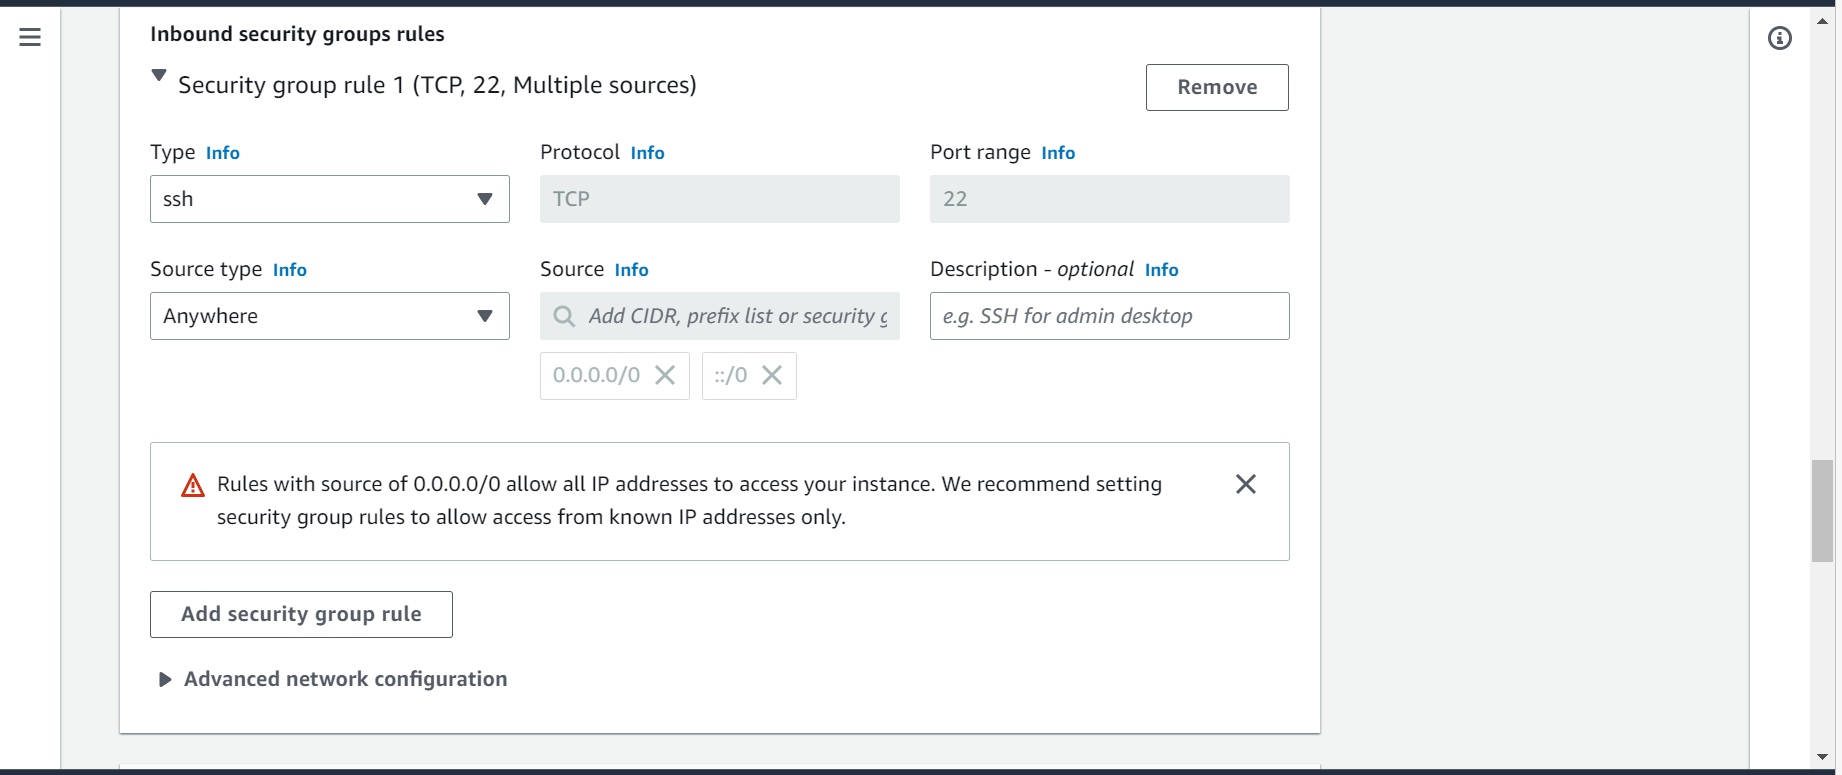
Next, keep only one default security group rule which allows the traffic from anywhere. You can add more rules based on your requirement.
Step-8: Configure Storage
In this step, first add the storage capacity as per your need. By default it select 8GB of storage but you can increase the storage.
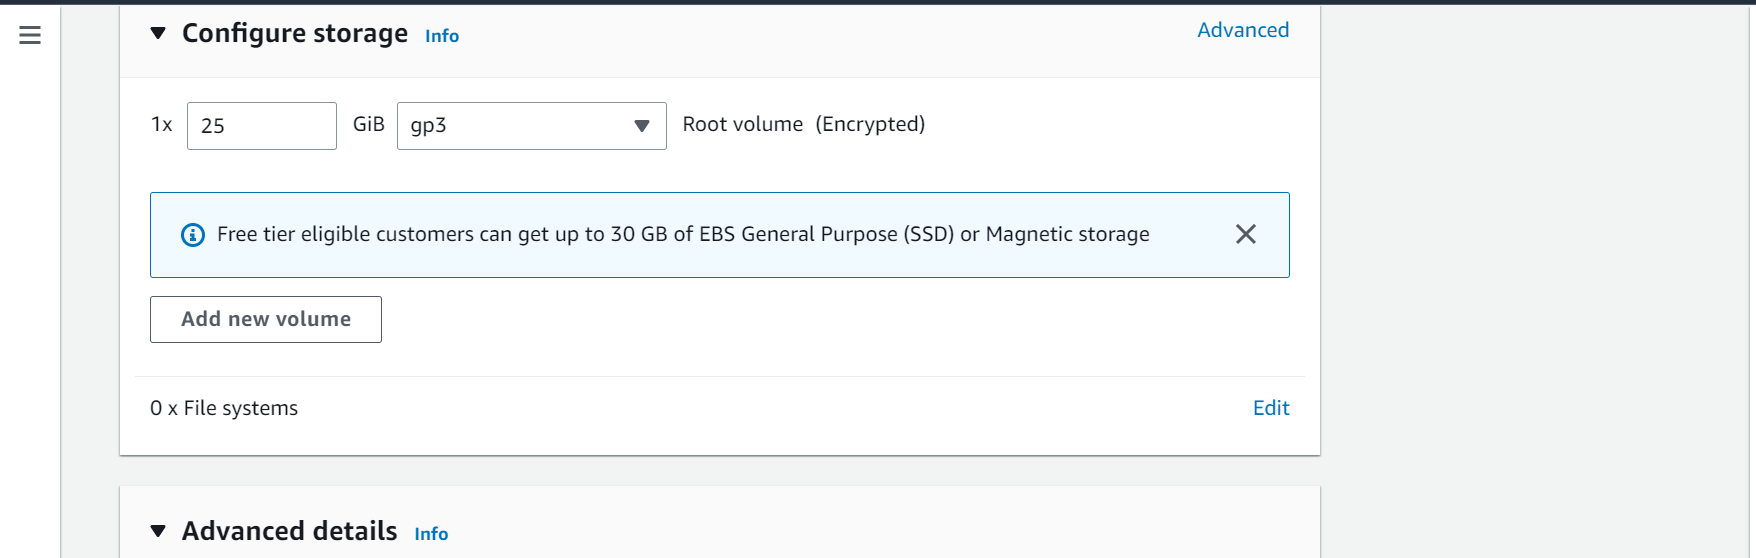
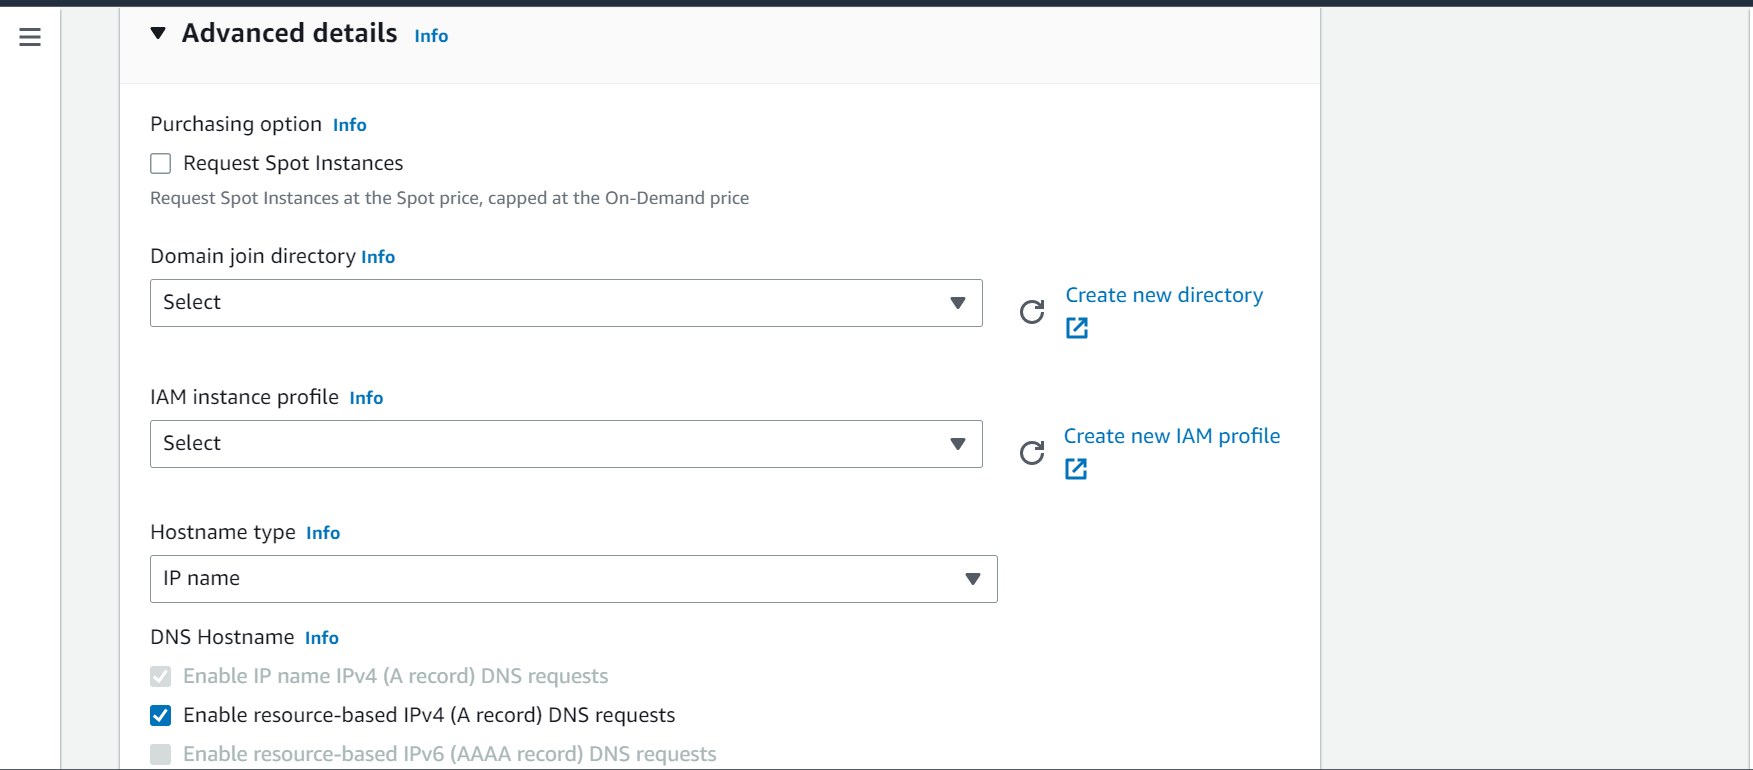
Next, leave everything default until you need to modify any options based on your need.
Step-9: Review Summary
In this step, provide number of instances you want to launch and review all the configuration. Once done, click on Launch instance.

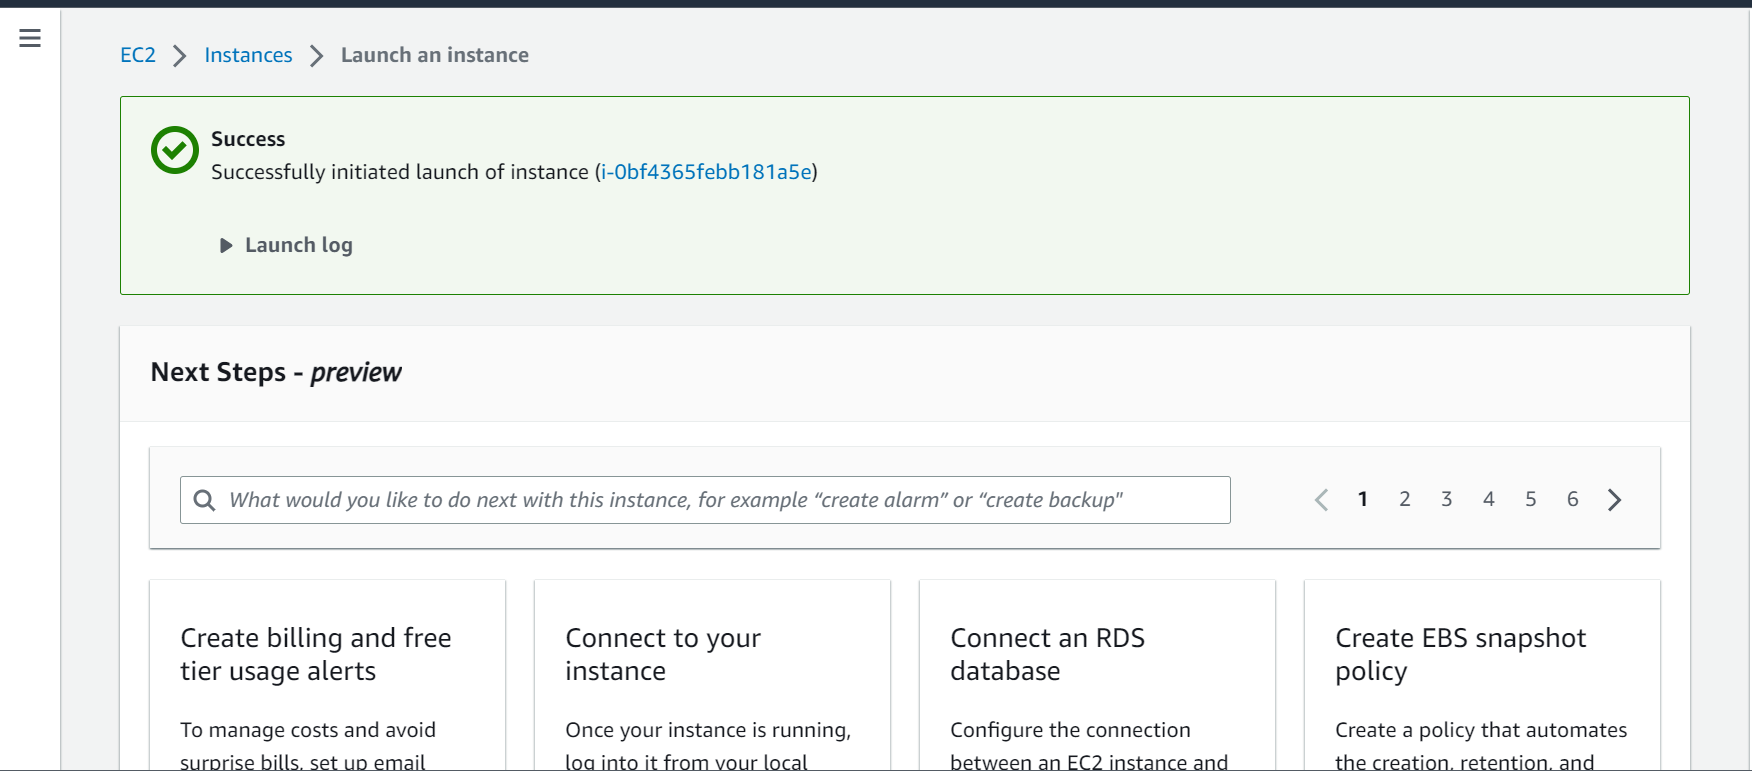
Step-10: Verify EC2 Instance
In this step, EC2 instance is created successfully. Click on the instance id to view it on console.
Instance is in Running state as shown below. Click on the Instance ID.
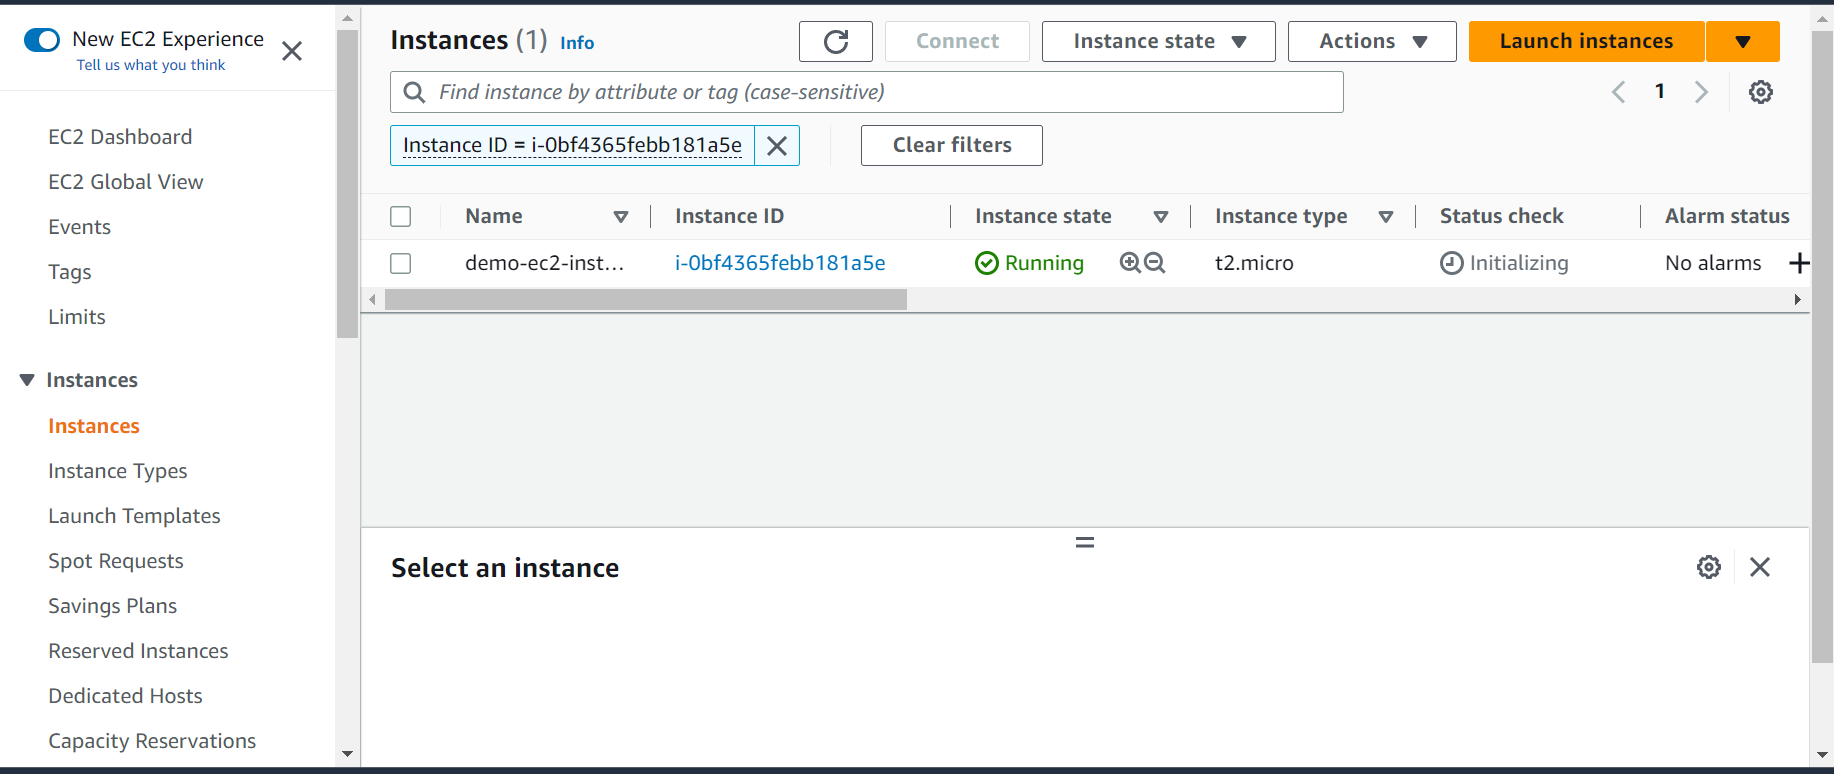
You can connect to your instance using Connect option.

Conclusion
You have successfully launched an EC2 instance. Explore all the features provided by EC2 to leverage it’s usage. Now that you have launched an EC2 instance, you can connect to the instance using different methods. Check How to connect EC2 instance Using Putty. to connect via SSH client.